Customizing Your Portal Settings: A Guide for Super Admins
Introduction
As a Super Admin, you have the power to customize the portal settings, ensuring a seamless and visually appealing experience for your users. In this comprehensive guide, we will delve into the various aspects of configuring the portal settings, empowering you to transform your digital platform into a reflection of your brand.
Accessing Portal Settings:
Transition to the portal setup interface to configure additional settings related to the platform's appearance and functionality. Super Admins can adjust primary colors, model header colors, and navigation styles to align with branding guidelines.
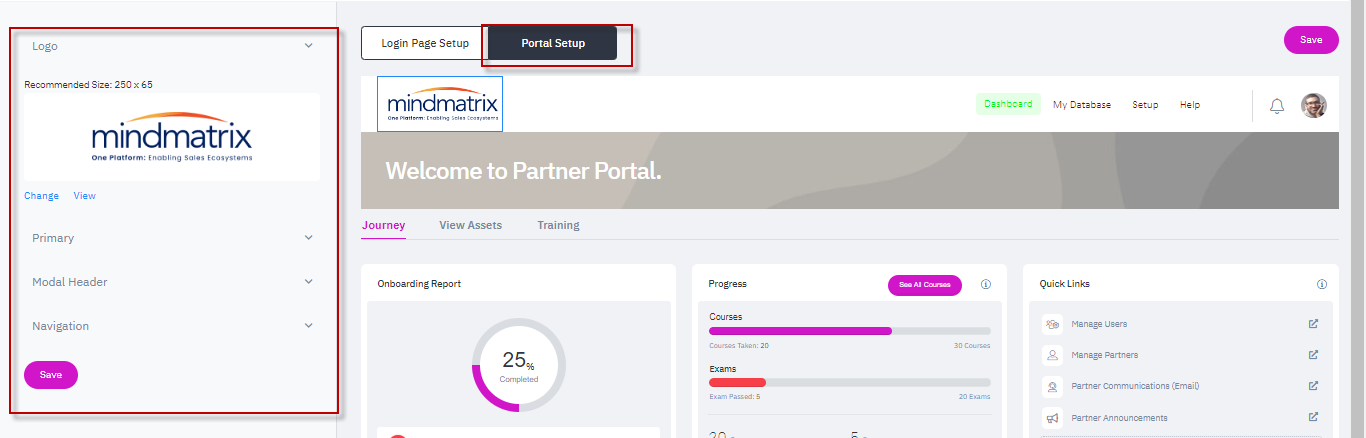
Logo Change:
Customize the dashboard by uploading a logo of choice. Super Admins can select from previously uploaded images or upload a new logo.

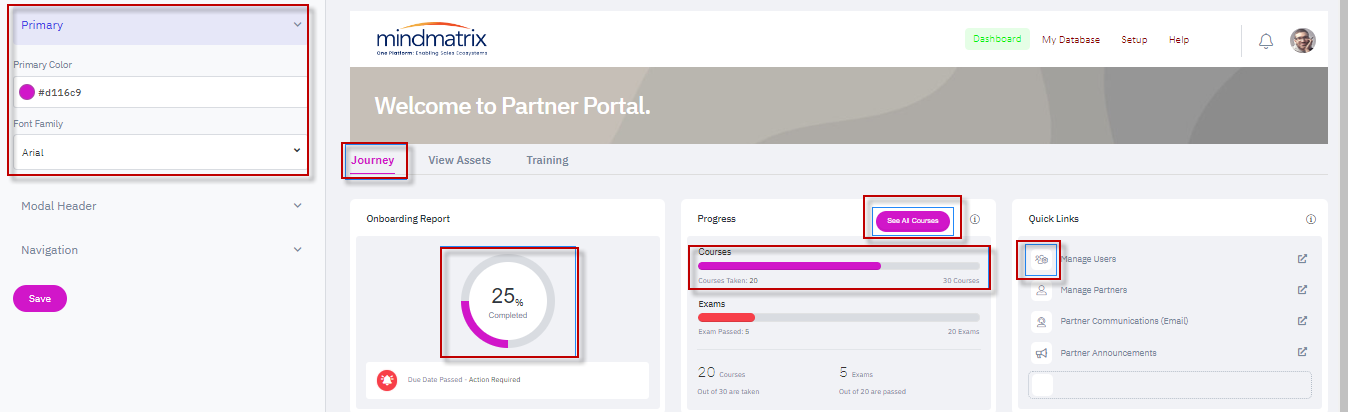
Customizing Primary Colors:
Customize primary colors to reflect the organization's branding across the platform. Super Admins can modify dashboard colors, patterns, and navigation elements, ensuring a cohesive visual identity.
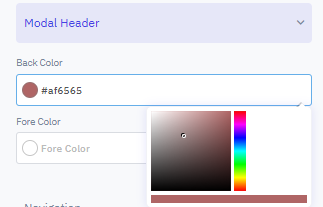
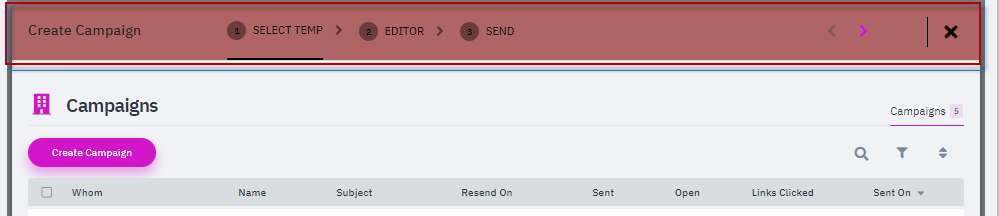
Modal Header:
Customize the modal window and make it visually appealing by providing the back and fore color.
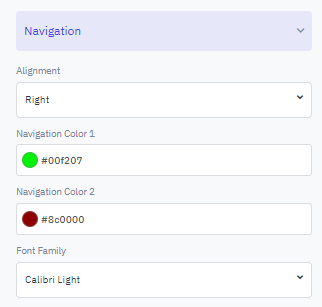
Configuring Navigation:
Tailor navigation settings to optimize user experience and accessibility. Super Admins can adjust navigation colors, styles, and positioning to align with platform aesthetics and usability standards.

Saving Portal Settings:
Once all desired changes to the portal settings have been made, save the configurations to implement updates across the platform. Refresh the page to view the changes and ensure they are accurately reflected.

Conclusion:
By efficiently configuring the install login page and portal settings, Super Admins can facilitate a seamless and tailored user experience within the digital platform. Effective customization enhances user engagement and fosters a positive interaction environment.
New Feature: Global Footer Customization for Portal

Overview
An enhancement has been made to the Portal Customization settings, allowing companies to add a Global Footer across all pages—similar to the previously available Login Page footer setup.
How to Configure
Go to the Portal Setup Editor page.

Navigate to the Footer section

Design your footer using one of the following methods:
Code View: Use HTML to fully customize the footer layout and styling.

Visual Editor: Add text, adjust font size, change colors, and use various formatting tools to create your footer.

Show/Hide: You also have the option to show/hide the global footer toggle button in the footer tab. After selecting the option if you save it then it either display or hide based on your selection across the company.


Where It Appears
Once configured, the global footer will be visible across all portal pages for the company.
Benefits
Maintain consistent branding across the platform
Share important links or messages company-wide
This enhancement brings more flexibility and control to how companies present information across their portals.
Related Articles
How Do I Add/Edit Organization Custom Fields for Super Admins?
Introduction and Overview The platform now allows Super Admin users to create and manage Organization Custom Fields. This enhancement enables organizations to configure additional fields specific to their business requirements and apply them at the ...Password Management Page for Super Admins
Introduction and Overview A new Password Management page has been introduced exclusively for Super Admin users to centralize and streamline all password-related activities within the platform. This enhancement provides comprehensive visibility into ...Outlook Plugin Installation & User Guide Knowledge Base Article
Outlook Plugin Installation & User Guide Knowledge Base Article Access marketing and sales assets, track emails and view contact activity in Mindmatrix directly from Outlook Feature The Mindmatrix Outlook plugin is a convenient and easy to use tool ...How do I toggle a Company Smart List's display setting (from 'Public' to 'Private' or vise versa)? (For Super Admins)
A Company Smart List's 'Display' setting controls whether a list will be automatically visible to all Users within a Company, or only visible to other 'Super Admin' Users. This allows Super Admins to better control User access to Company Smart List ...How do I configure the Install login page?
Introduction: The login portal is more than just an entry point – it's the first impression users have of your digital platform. As a Super Admin, you hold the key to crafting a seamless and personalized experience. This expert guide is designed ...