Drip Campaign Enhancement: Add or Delete Nodes in Media View

Introduction
An enhancement has been introduced to the Drip Email Template functionality, allowing users to dynamically add or delete nodes (such as Send and Delay events) within the Media section of a campaign. This provides greater flexibility and control over campaign flow without requiring complete reconfiguration.
How to Enable and Use the Feature
Step 1: Enable Editing in Drip Template
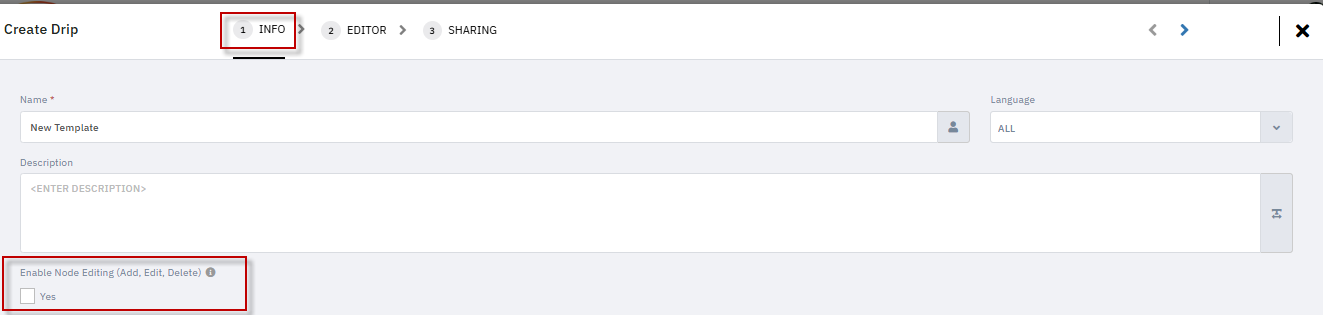
Navigate to the Drip Template creation (setup> Asset Management> Drip Template) screen.
You will see the checkbox labeled for node editing on the ‘Info’ page.
Enable the checkbox to activate editing capabilities in Media view.
Proceed to save the template and complete the initial configuration.
Step 2: Modify Campaign in Media View
Open the campaign where the editable template (Manage> Campaigns> Email Drip Campaign) has been applied.
In the Media section, use the Add icon to:
Add a Send or Delay node from the dropdown.
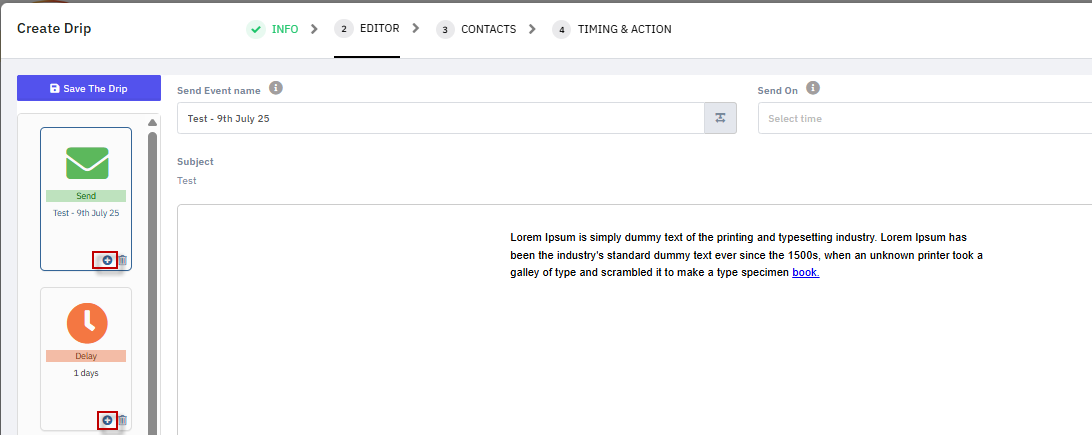
Configure the selected node (e.g., set email content or delay duration).

Use the Delete icon to remove unnecessary nodes.
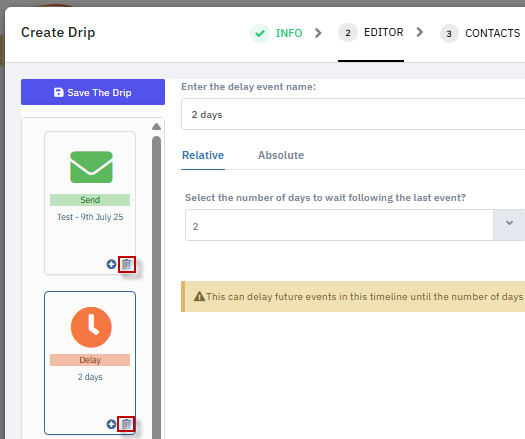
Repeat as necessary to adjust the flow.
Proceed with contact/user list assignment and finalize the campaign.

Visual Flow and Quick Editor Support
The changes made through node editing are reflected in the Campaign Flowchart view.

The Quick Editor now supports drag-and-drop functionality for repositioning nodes.
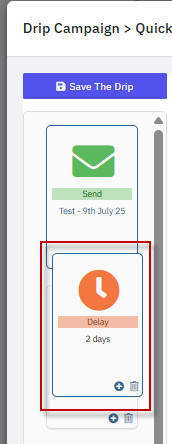
This allows for a more intuitive and user-friendly experience while managing drip sequences.

Conclusion
This enhancement introduces powerful editing capabilities to Drip Campaigns by enabling users to add or delete Send and Delay nodes directly within the Media view. Controlled via a configurable checkbox, the feature improves flexibility in campaign design while maintaining the integrity of the drip flow.
Related Articles
How do I Create a Social Media Drip Campaign Template?
Social Media Drip Campaigns are a series of social posts that can be run, scheduled, or stopped. These campaigns are designed as a triggered sequence of automated posts sent on a predefined schedule. [Learn more about creating one here: How to Run, ...How do I add contacts to a drip campaign?
It is possible to personalize navigation menus within Mindmatrix software. If you are unable to navigate to the correct page, contact your platform administrator. There are three ways to add contacts to a drip campaign: 1. Adding contacts from the ...How do I view a social media drip report?
It is possible to personalize navigation menus within Mindmatrix software. If you are unable to navigate to the correct page, contact your platform administrator. Note: Social media reporting in one account cannot be viewed by other accounts. These ...How to Run, Stop, and Schedule an Email Drip Campaign
It is possible to personalize navigation menus within Mindmatrix software. If you are unable to navigate to the correct page, contact your platform administrator. Email drip campaigns are a series of emails that can be played (running), scheduled, or ...How do I launch a social media campaign on behalf of someone else?
Posted by The Team at Mindmatrix on 26 February 2016 11:46 AM Adding users to a Drip Campaign Social Director: To launch a social media campaign on behalf of another user, first go to "Manage", and then "Campaigns", then select "Social Drip", and ...