How can I change my dashboard settings? (Super Admin only)
Introduction:
In dashboard customization, version V5 introduces a more versatile and user-friendly approach, allowing users to tailor their dashboards to meet specific requirements. This guide focuses on customization for the V5 Dashboard Personas, outlining the process of adding rows, incorporating widgets, and efficiently managing the layout.
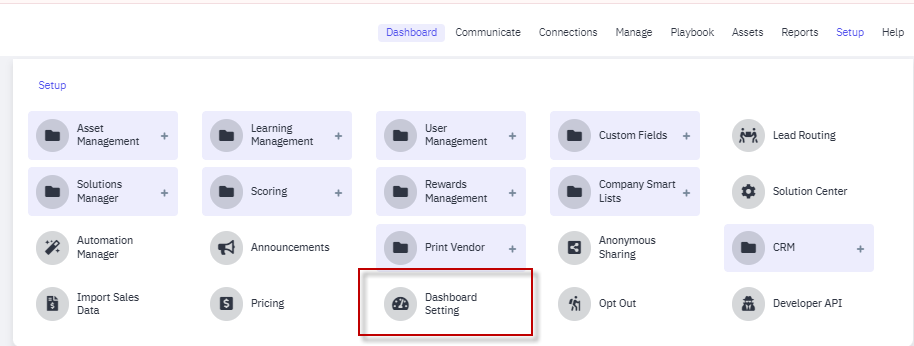
Navigate to Dashboard Settings:
Begin by navigating to the dashboard settings page to initiate the customization process.

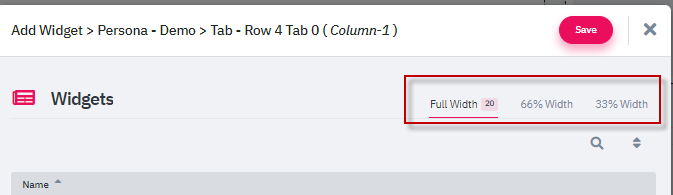
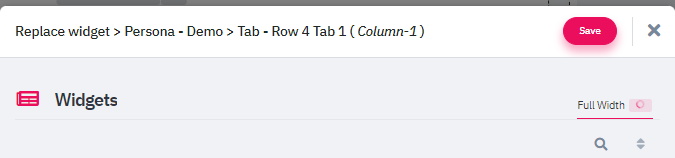
Adding Widgets:
- Widgets can be added with or without specifying a tab name.
- Explore three categories of V5 widgets: full-width, 66 width, and 33 width.
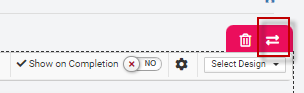
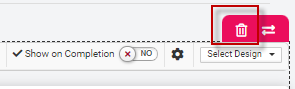
Deleting Widgets:
Delete widgets by clicking on the delete icon.

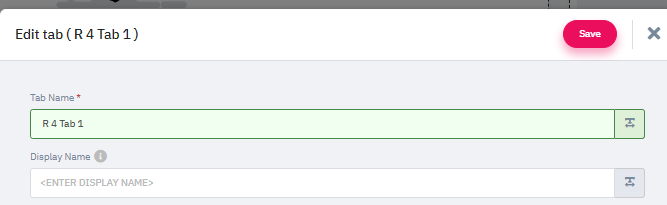

Localization and Display Name:
Customize tab names by entering values in the localization language field.
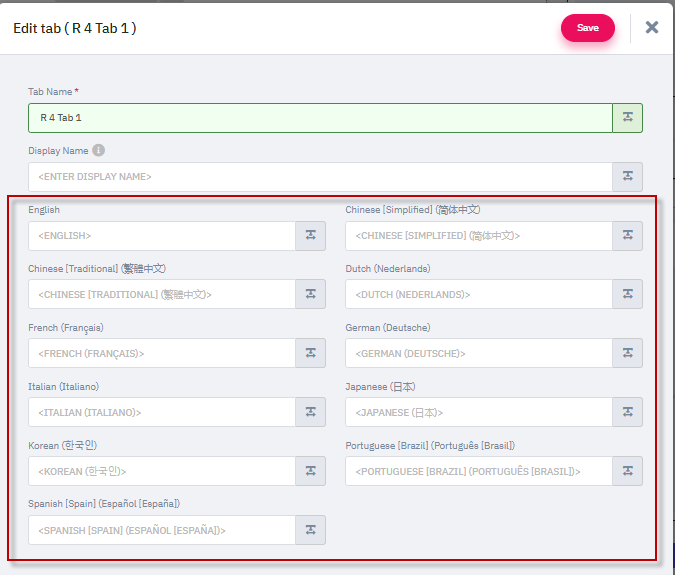
After making modifications, save the dashboard by clicking the save button.


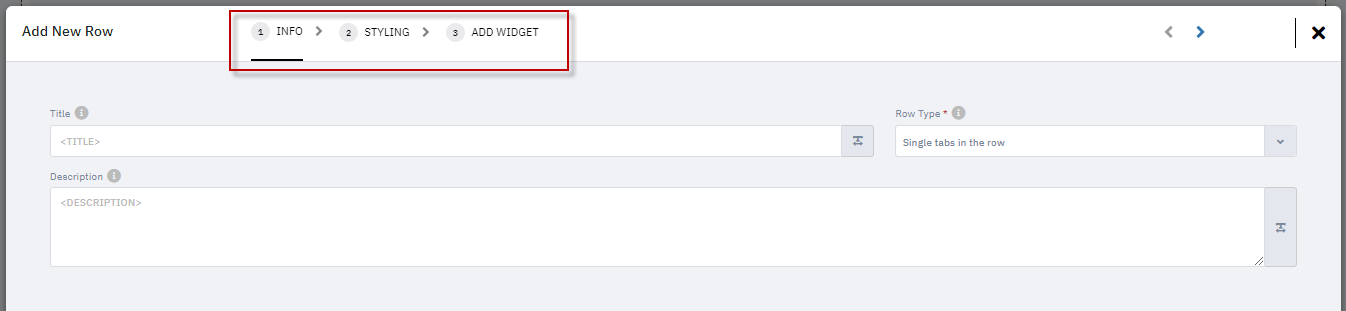
You can now add a Title, Description, and styling to the widgets on your dashboard. To add this information, click the "Add Another Row" button. This will open a pop-up where you can enter the Title and Description of the row.
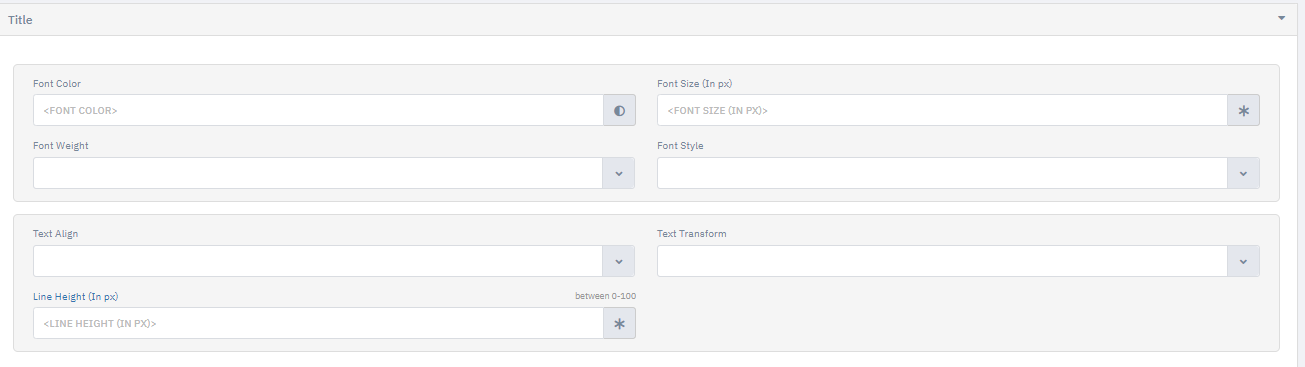
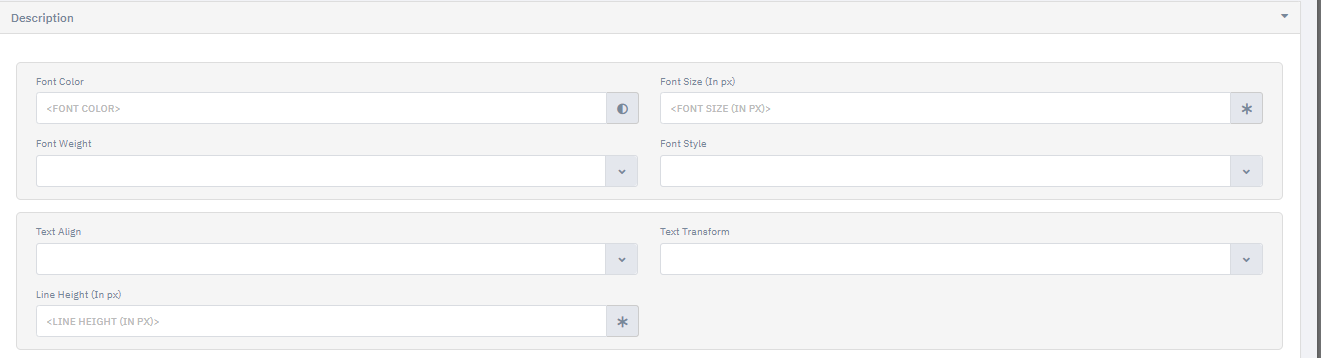
In the Styling tab, you have the option to edit the Row Placeholder, Title, and Description. Any updates you make will be reflected on the dashboard after you click the Save button.
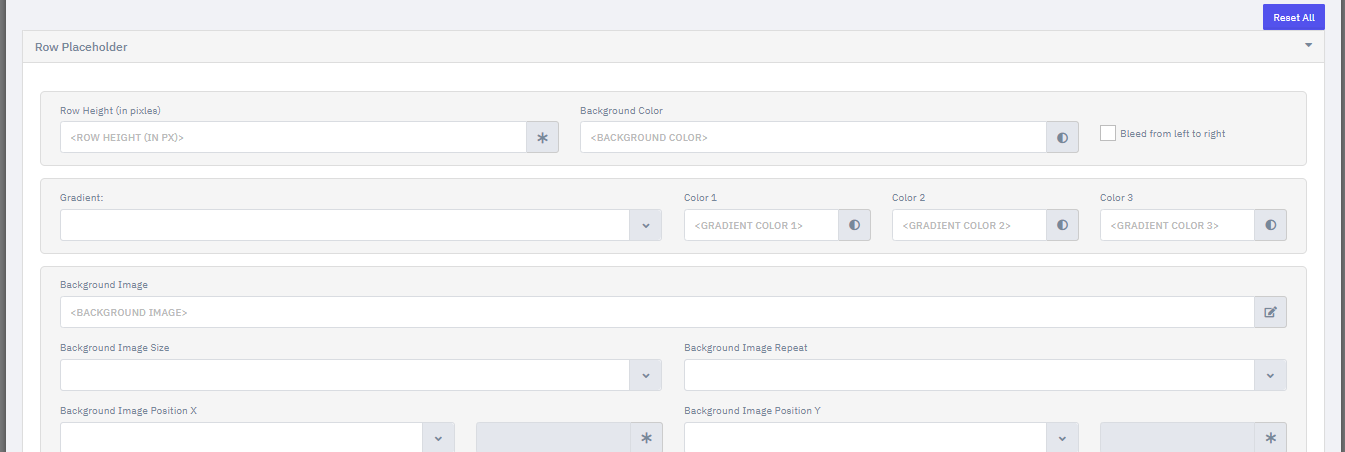
Additionally, you can reset the changes made to the Row Placeholder, Title, and Description by clicking the "Reset ALL" button.

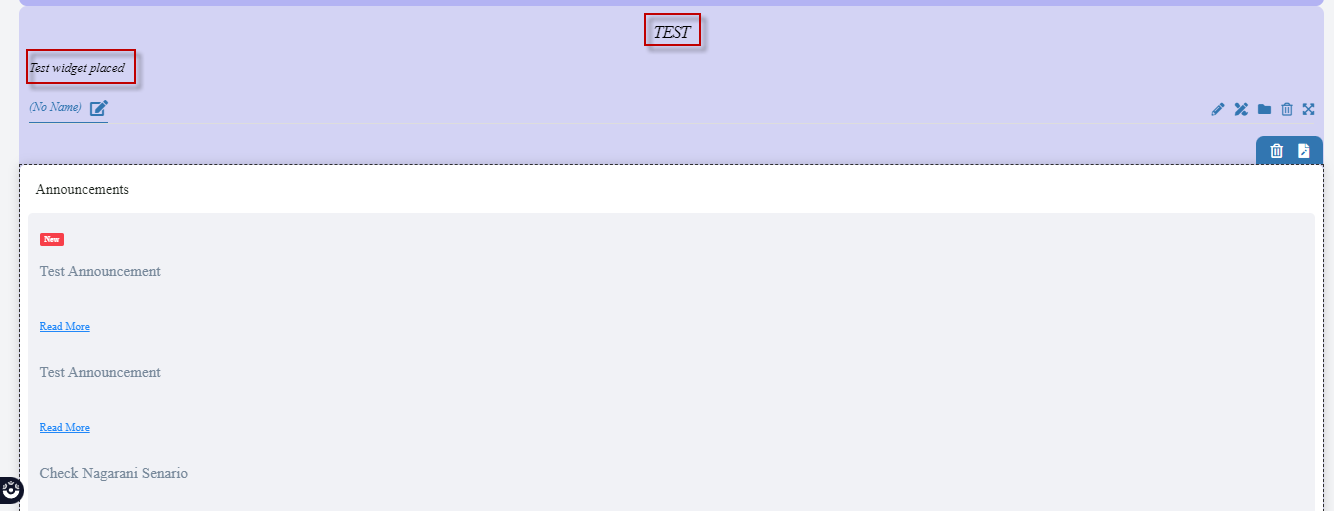 Even after the widget has been added to the persona, you can still edit the styling of the title, description, and row.
Additional Steps for Clarity:
- Ensure Changes are Visible: After saving, verify that the changes are visible on the dashboard as intended.
- Navigate and Test: Navigate through different personas to ensure the customizations are consistent and visually appealing across all personas.
- Check the customized dashboard on the dashboard page for the selected persona.
- Confirm that the layout and modifications align with the changes made in the Admin page.
Thumbnail Quick Link (100% Width) in Dashboard Settings

Overview
To improve visibility and navigation in user dashboards, a new widget titled “Thumbnail Quick Link (100% Width)” has been introduced. This widget creates a full-width banner-style display of links, each with a thumbnail preview, ideal for highlighting critical actions or featured assets.
 How to Add This Widget
Navigate to Dashboard Settings
Go to: Setup > Dashboard
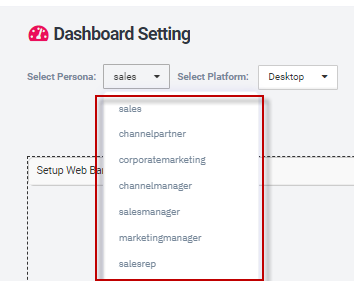
Choose the Persona to which you want to add the widget
Search for the Widget
Click “+ Add Widget”
Search: Thumbnail Quick Link (100% Width)
Configure the Widget
Assign name, icon, and layout placement
Add one or more target links (these can be internal tools, external links, assets, or training content)
Save and Publish
Click Save
Refresh the dashboard under that persona to see the new widget live
What It Looks LikeDisplays thumbnail cards across the full dashboard width
Designed to be eye-catching and accessible at the top or center of a user’s view
Allows for rich call-to-action style navigation
 Best Use Cases
Quick Start Guides for new users
Training modules or certification links
Campaign spotlight or priority announcements
Visually driven user engagement
🖥️ Ideal for mobile and desktop dashboard views
✅ Fully persona-based control
Related Articles
How do I change the appearance of the Dashboard for other users?
Only Channel clients that have the permissions can change a Dashboards pre-set for portal Users. Changing the view of a Dashboard for Users is done under Roles. Using the below article you can learn to swap out a pre-set dashboard for Users tied to ...Customizing Your Portal Settings: A Guide for Super Admins
Introduction As a Super Admin, you have the power to customize the portal settings, ensuring a seamless and visually appealing experience for your users. In this comprehensive guide, we will delve into the various aspects of configuring the portal ...Dashboard Overview: Corporate Marketing
Below is a diagram of the standard layout for the Bridge platform's "Corporate Marketing Persona" Dashboard. Corporate Marketing Persona Dashboard Widgets (Part One): A. Feed - activity as it happens. Here you can immediately see when contacts click ...How to enable the Dashboard Widget Tool?
To activate the "Dashboard Widget" tool, please submit a ticket to "Support@mindmatrix.net". Upon activation, users will be able to view the Dashboard widget tool on their dashboard page. The Dashboard widget tool allow users to control the ...How do I toggle a Company Smart List's display setting (from 'Public' to 'Private' or vise versa)? (For Super Admins)
A Company Smart List's 'Display' setting controls whether a list will be automatically visible to all Users within a Company, or only visible to other 'Super Admin' Users. This allows Super Admins to better control User access to Company Smart List ...