How can I implement a navigation brand logo in your portal?
Introduction:
Introducing a brand logo into your portal’s navigation enhances user experience and reinforces brand identity. A recent update has introduced a portal setting that enables organizations to display their navigation brand logo prominently. This guide provides a step-by-step approach to implementing this new feature, ensuring that the brand logo is visible on the top left corner of the portal interface.
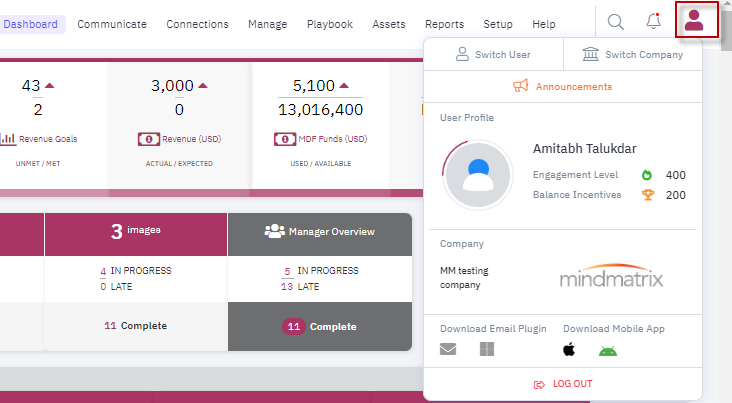
Once you see the popup, please click on the “Company profile”
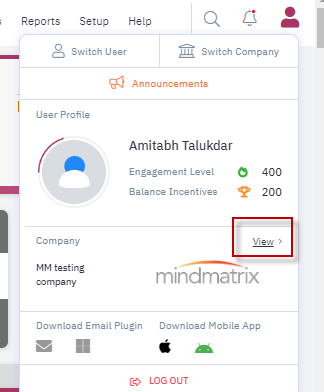
- You will be taken to the company profile page after clicking the “View” text.
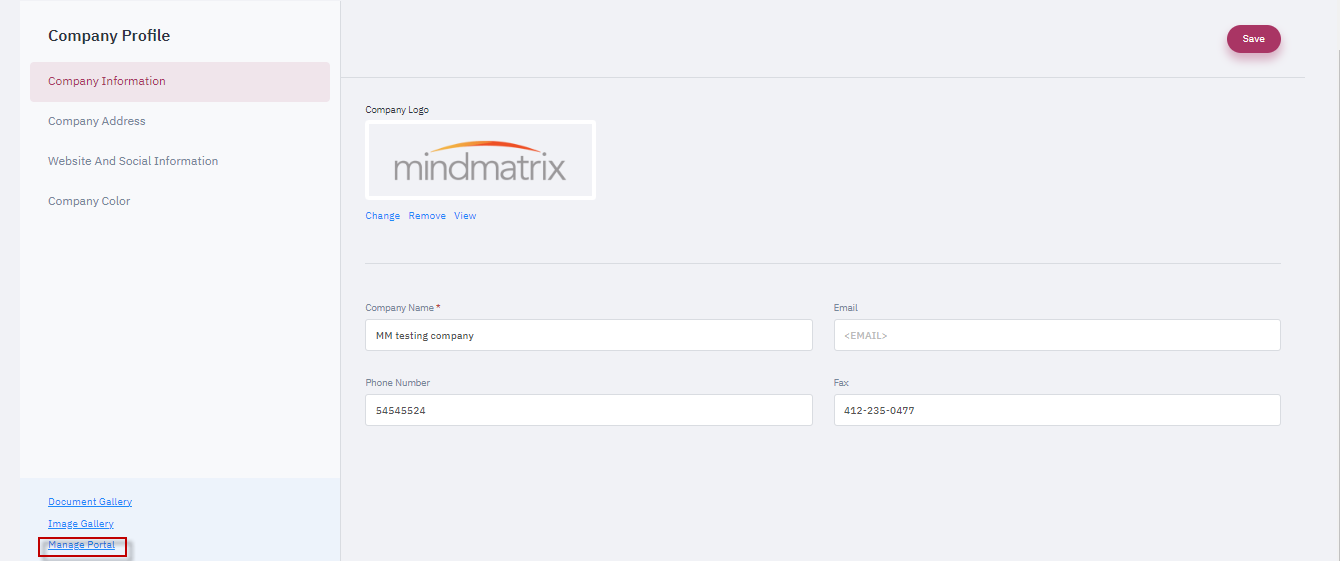
- On the left-hand side of this page, you will see the option to edit “Manage Portal”
Branding Options
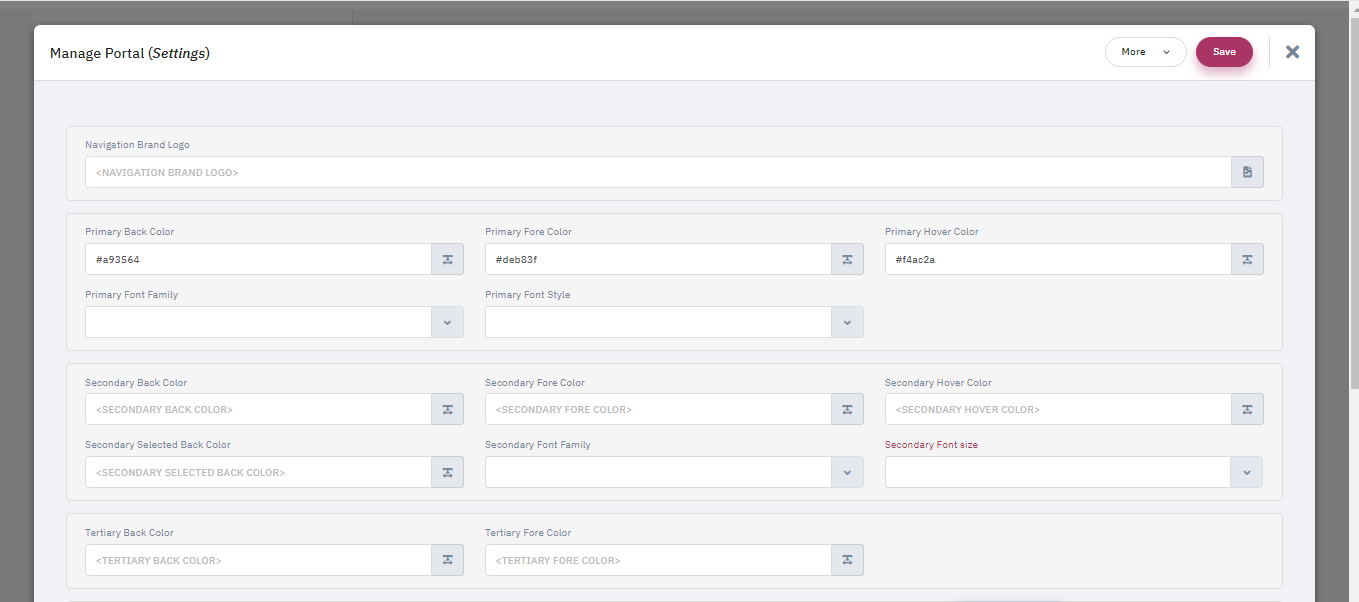
Uploading the Brand Logo
Click on the ‘Navigational Brand Logo’ field to upload the Logo. You need to click on the arrow mark option to upload the logo file from your computer. And once the logo is uploaded click on the 'Save' button to save the changes.

Ensure that the logo adheres to the recommended size and format specifications to maintain its quality on the portal.
After uploading the logo, go to the dashboard page to see how the logo will appear on the live portal. This step is crucial to ensure that the logo’s size and placement align well with other navigational elements.

Testing Across Different Devices
You can ask your internal users to check this by logging into their accounts with different devices and screen sizes to ensure the logo is consistently displayed correctly.
Conclusion
With these steps, any organization can leverage the new portal setting to showcase its brand identity more effectively. The navigation brand logo is a significant touchpoint that can improve and maintain brand consistency across your company.
Related Articles
Customizing Your Portal Settings: A Guide for Super Admins
Introduction As a Super Admin, you have the power to customize the portal settings, ensuring a seamless and visually appealing experience for your users. In this comprehensive guide, we will delve into the various aspects of configuring the portal ...How do I update my branding details as a Salesforce PRM user?
In Mindmatrix, you can personalize assets with your branding details. For users that have Salesforce PRM accounts and use the Mindmatrix app, you can update your logo and contact details in the branding section of your PRM. These instructions will ...What types of assets should I be considering for the launch of my partner portal?
Setting up the right assets in your partner portal can ensure the success of your resellers. As you get started with this process, we've put together a short guide for you to think through the needs of your portal to increase your chances of a ...How do I create a brand?
Go to Setup > Asset Management > Brand Give your brand a name, and then click “Save”. Your brand will appear in the “Brands” section. Click to add content or make edits. Brand Elements: A. Image Types: upload images to use for logos. B. Doc Types: ...How do I share a brand that I have created with others?
It is possible to personalize navigation menus within Mindmatrix software. If you are unable to navigate to the correct page, contact your platform administrator. Go to Setup > Asset Management > Brand Select the brand that you wish to share. Click ...