How do I add text or images to a Print Template?
Posted by The Team at Mindmatrix on 23 June 2015 09:07 AM | |
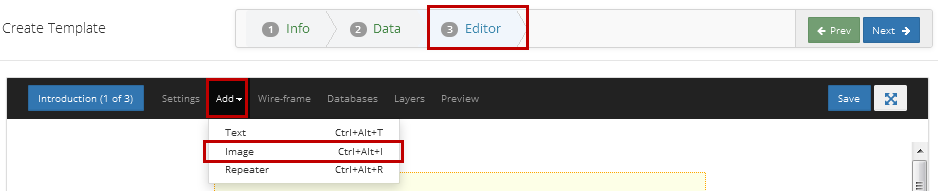
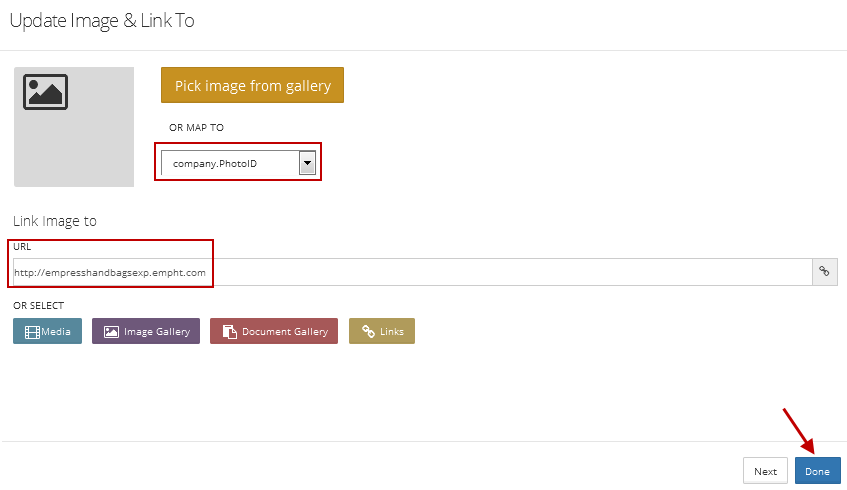
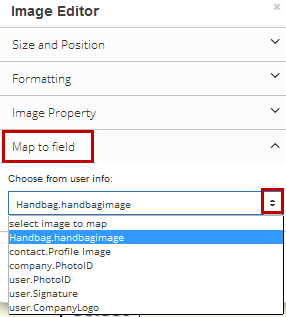
Add TextIn the ‘Add’ drop down, select ‘Text’.The text box allows you to use the basic design editor (contains text tools) and HTML editor. Consider using the design editor. You can manage text properties here. Add Image
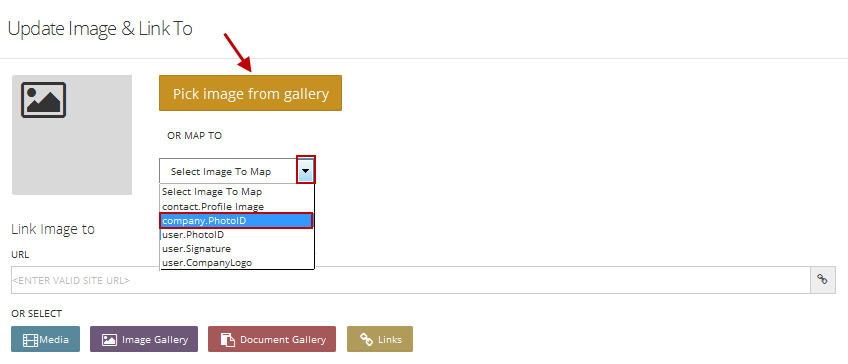
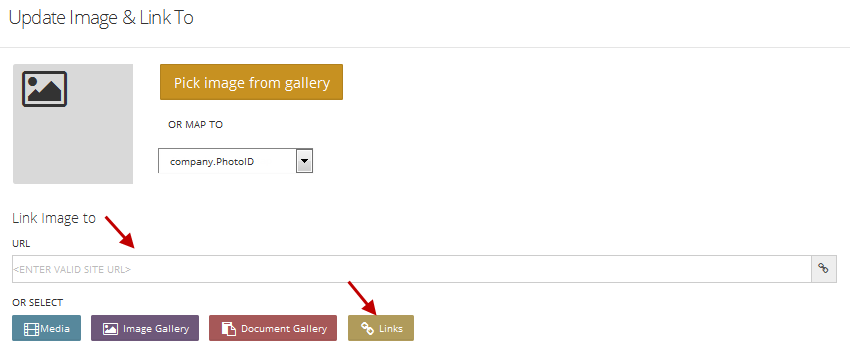
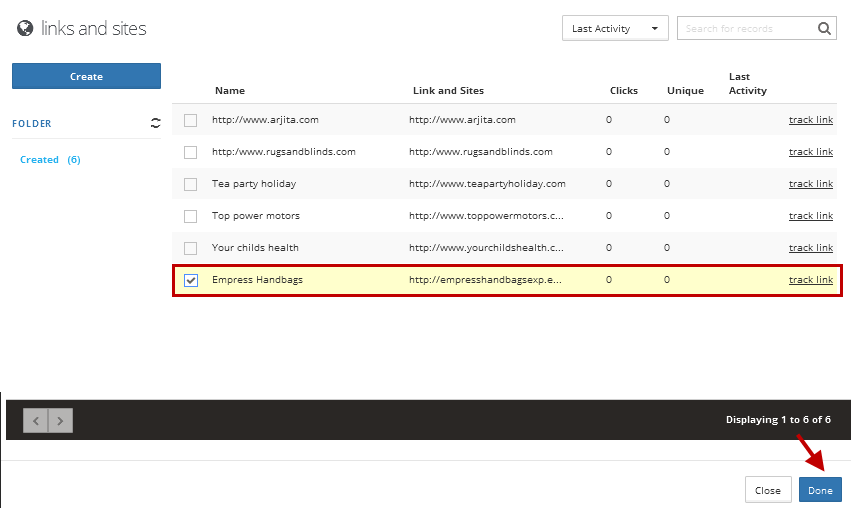
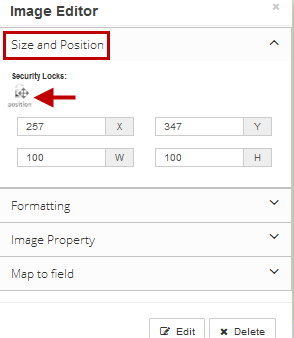
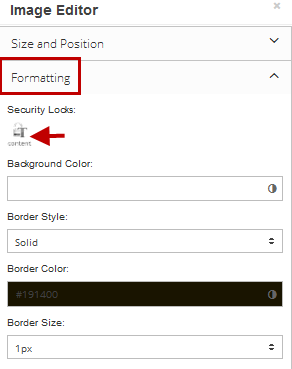
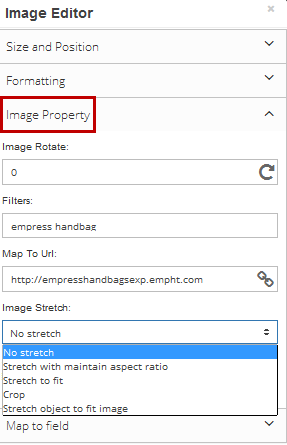
Image Editor
| |
Related Articles
How do I edit Page Settings to change general styling attributes such as background color or size and create wireframes?
Posted by The Team at Mindmatrix on 23 June 2015 08:59 AM To manage the page settings, select ‘Settings’. In the ‘Page Setting’ section, enter the page name/width/height in the relevant fields. Select the ‘Background Color’ picker, and choose the ...How do I create a copy of an image or text box in a Print Template?
Posted by The Team at Mindmatrix on 23 June 2015 09:14 AM How Do I Create a Copy of an Image/Text Box? Select ‘Layers’. Select the layer of the tool you desire. For e.g. a text object layer. Click ‘copy’ icon for the same. Click ‘Yes’. A copy ...How do I create a Print Template?
Creating a Print Template Navigate to the Setup tab. In the 'Asset Management' section, select 'Templates' . Go to the 'Print' tab. Click Create. Personalization Select the required personalization option from the dropdown (e.g., No). Click Go. ...How do I associate a database with a page in a Print Template and create entries using the Repeater?
Posted by The Team at Mindmatrix on 23 June 2015 10:40 AM NOTE: You can apply multiple databases for a page. Select ‘Databases’ Select the required database/s. Click ‘Save’. Adding a Repeater If you wish to provide the contacts information for ...How do I create a Certification Exam Template?
Creating a certification is a great way to test your user's knowledge. You can review how the user's performed by checking the certification reports. Navigating to the Certification Template Gallery: To make a certification test, go to Setup > Asset ...