How do I create a custom format for Product Database records?
Accessing the "Product Custom Fields" Editor:

Creating Organizational Tabs and Data Entry Fields:
Creating Organizational Tabs:
Creating Data Entry Fields:
Saving Your Configuration:
Summary: New AI-powered translation feature allows automatic content translation when copying product database records into different languages. This tool streamlines the creation of multilingual product information.
New Feature: AI-Powered Content Translation in Product Database
Key Points:
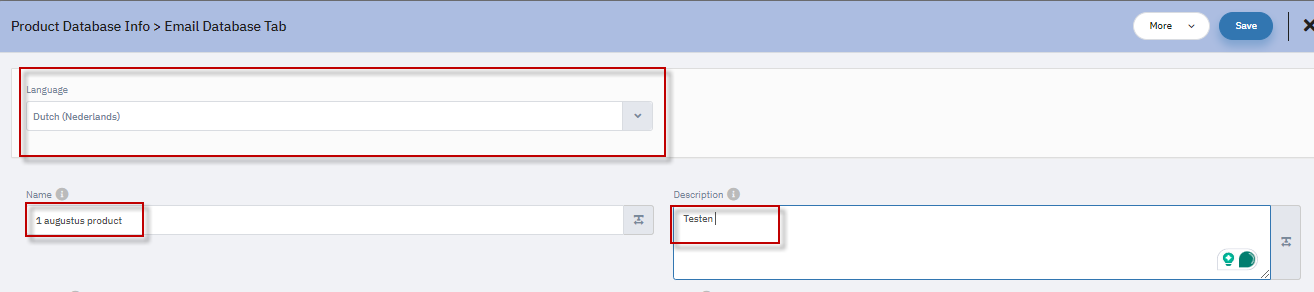
Location: Media section of product database records
Function: Translate content into different languages while copying records
Languages: Multiple language options available (e.g., English to Dutch)
How to Use:
Start copying a database record
Select the desired target language
Check the "Translate content using AI" checkbox
The system will automatically translate the record's content

Important Note:
If the "Translate content using AI" checkbox is not selected, only the language field will change. The content will remain in the original language.

Quickly create multilingual product records
Save time on manual translations
Ensure consistency across language versions

A new enhancement has been introduced to the product database that provides additional options for displaying custom fields in the
records grid. This gives administrators greater control over how product information is presented and organized on the records page.
When creating or editing a product database field, two new options are now available in the Select a Grid Display dropdown.
Available Grid Display Options
The following options have been added:
Display in Grid
Display in Grid with Sort
Display in Grid
When this option is selected, the custom field will be displayed as a column on the Product Database Records page.
Display in Grid with Sort
When this option is selected:
The custom field will be displayed as a column on the product database records page.
The field will also be available as a sorting option, allowing users to sort records based on the values in that field.

Checkbox
Image
Document

Provides flexible grid display options for custom product fields.
Enables sorting by custom field values for easier record management.
Improves data visibility by surfacing relevant fields directly in the records grid.
Allows administrators to tailor the records view to organizational needs.
Enhances the overall usability of the Product Database Records page.
The new grid display options for Product Database custom fields give administrators enhanced control over how product information is presented. With the ability to display fields as columns and enable sorting, organizations can create a more organized and functional records view. While certain field types such as checkbox, image, and document are not supported, the enhancement provides valuable flexibility for the majority of custom field configurations.
Related Articles
Implementation of the Product Database Approval Process
Introduction: A structured product database approval process has been implemented to streamline data validation and ensure multi-step review before records are finalized. This system allows organizations to establish customized approval workflows ...How to create an Approval Process for a Product Database?
Introduction: The Approval Process for the Product Database or Custom Object allows for a structured review and approval flow to ensure that only authorized and verified entries are added or modified. This guide explains how to implement and ...Implementation of Export functionality for Product Database records has been implemented
Introduction The Mindmatrix platform now supports exporting Product Database records to Excel. This enhancement allows users to download structured data from custom product databases, enabling easier data handling, reporting, and offline analysis. ...How I do update a product Database with a new Product Record?
Go to Manage > Database Records Note: On the Bridge platform, clients can personalize menu navigation to better suit the specific needs of their Users. Things may be under a different part of your navigation bar depending on your settings and ...How do I associate a database with a page in a Print Template and create entries using the Repeater?
Posted by The Team at Mindmatrix on 23 June 2015 10:40 AM NOTE: You can apply multiple databases for a page. Select ‘Databases’ Select the required database/s. Click ‘Save’. Adding a Repeater If you wish to provide the contacts information for ...