How do I create a Dataroom?
Posted by The Team at Mindmatrix on 08 September 2015 03:53 AM | |
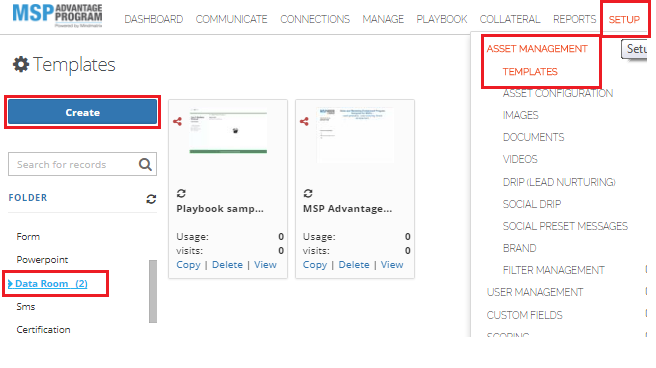
Datarooms are professional looking collections of trackable assets that users can send to potential customers. To create a dataroom, go to “Setup”, then “Asset Management”, and “Templates”. In the “Folder” section, click on “Dataroom” and then click on the blue “Create” button. This will bring up the personalization menu. If you wish to turn your template into a survey, select the “Questionnaire” button, otherwise, choose “None”. When you are finished, click “Go”.
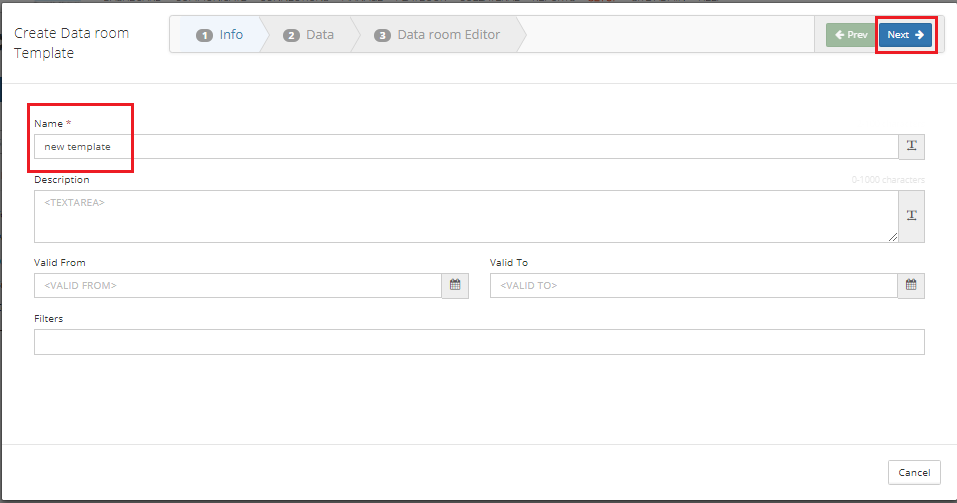
This will bring up the “Dataroom” window. Choose a name for your template, and if you wish, a description and set of filters. When you are finished, click “Next”.
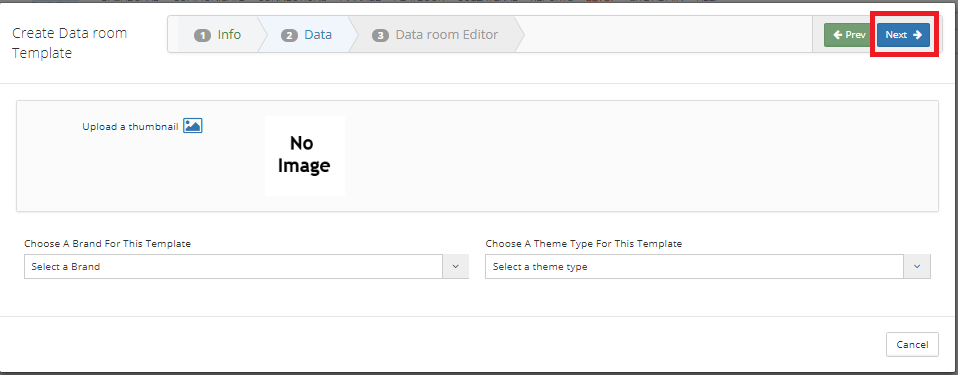
If you wish you may also add a thumbnail for your template as well as selecting branding and theming options.
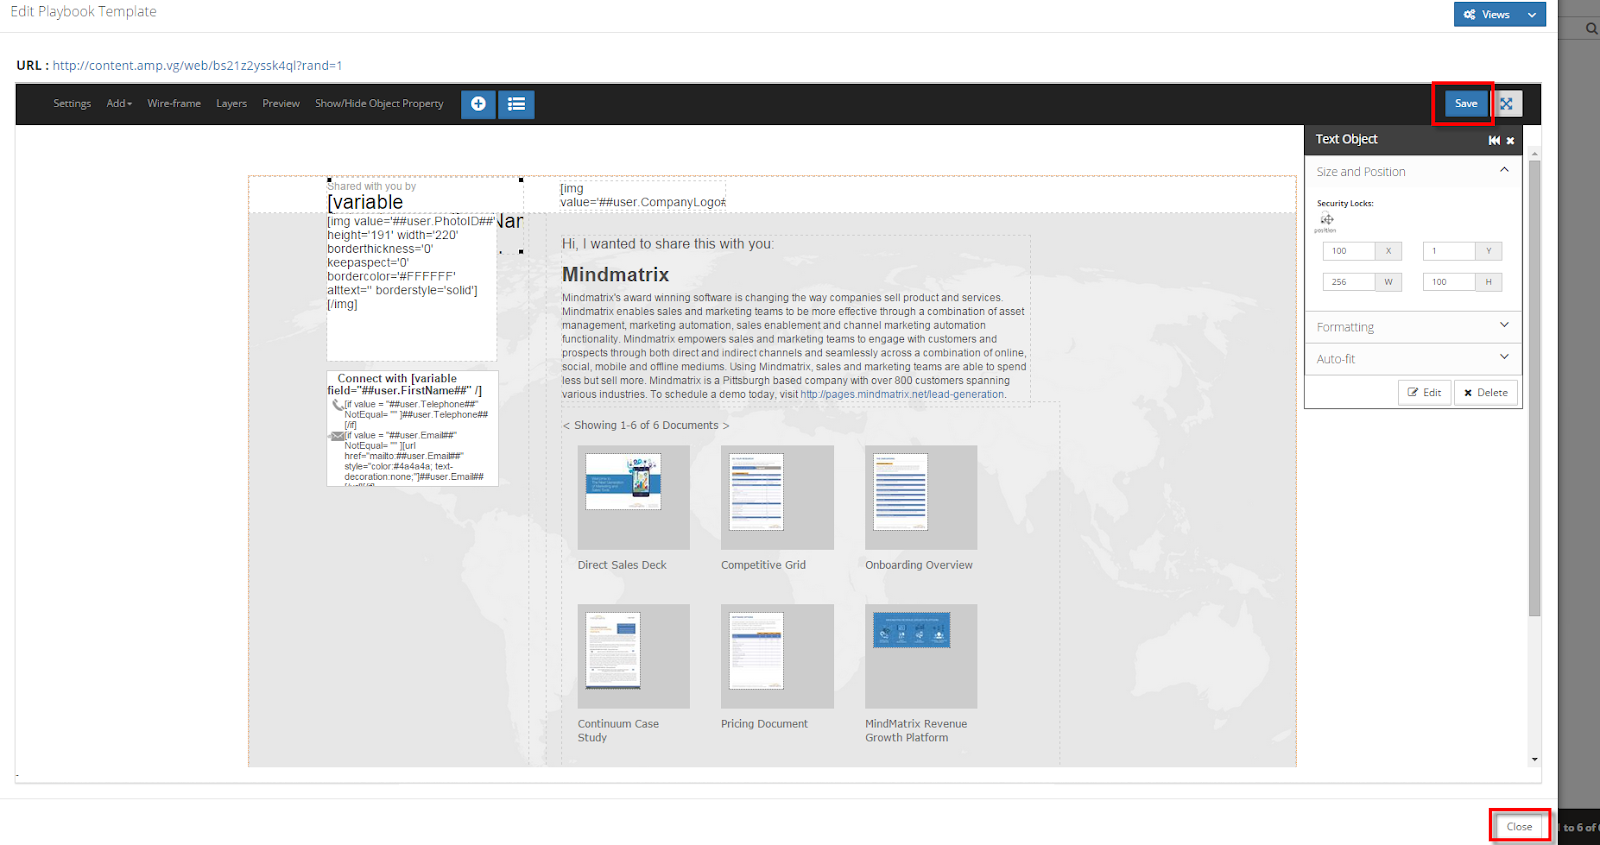
This will open up the “Dataroom Editor” option. The top bar will contain the tools needed to edit the template.
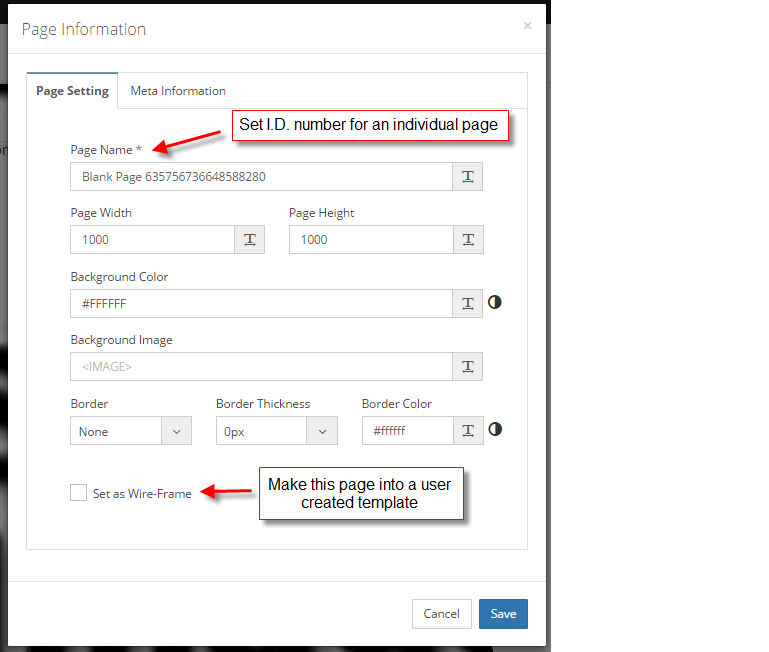
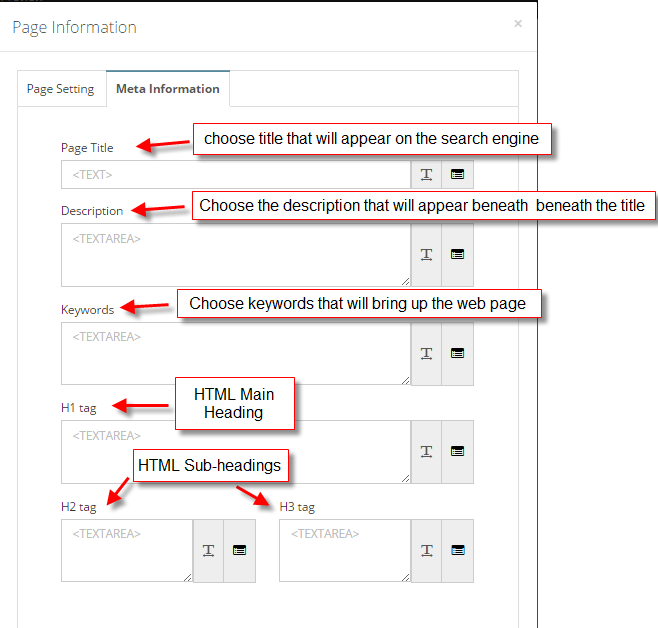
Customizing appearance and SEO options Clicking on settings will open up the “Page Information” window, which will be divided into two tabs, the “Page Setting” tab and the “Meta Information” tab. The “Page Setting tab” will allow you to customize the appearance of a page. The “Meta Information” tab will allow you to customize SEO options.
You can also add Google Analytics or tracking code in the tracking code in the “google script” box, and add Java script in the “page script box
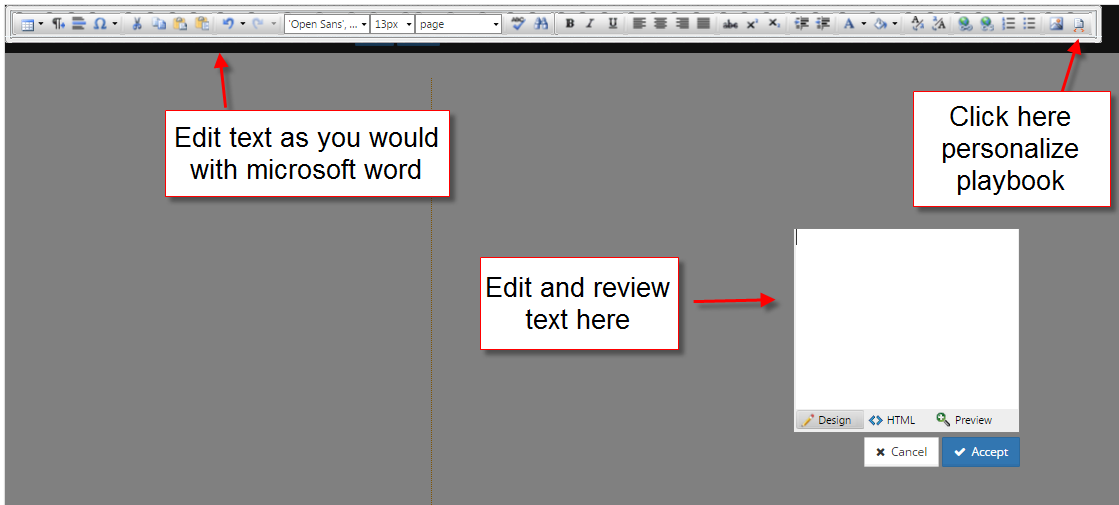
Adding text to your Dataroom To add text or images to your word file, click on the “Add” tab in the menu bar. If you wish to add text, click on the “Text” option.
This will open up the text editor screen.
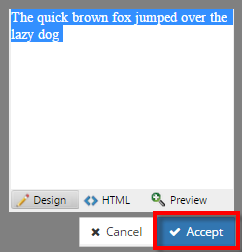
When you are finished entering in your text, click “Accept”
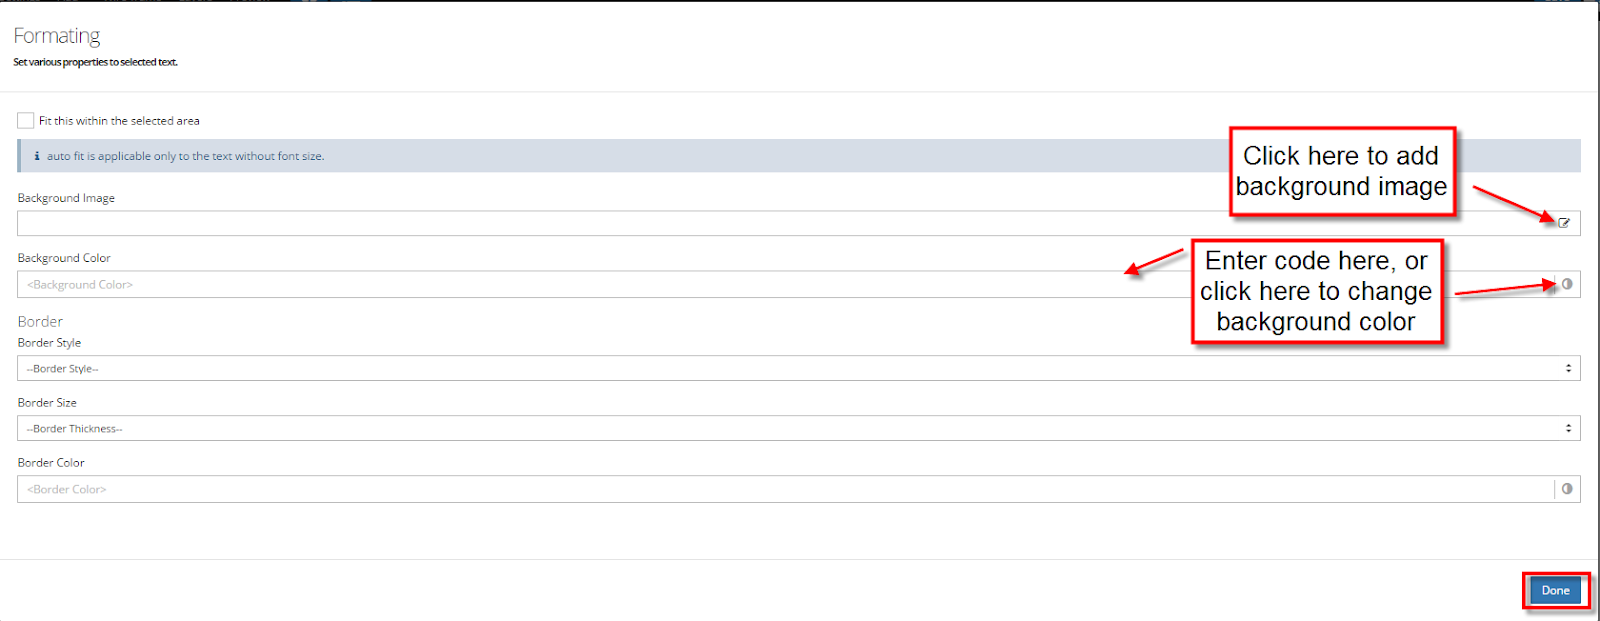
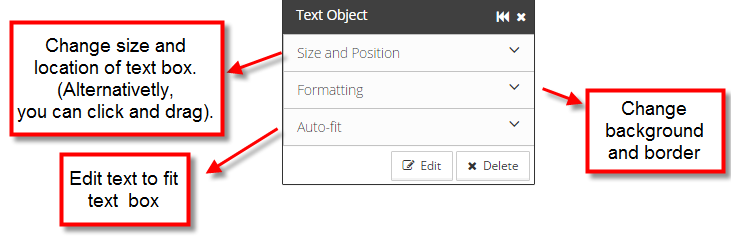
This will bring up the “Formatting” window, where you can determine what your text box will look like. When you are finished, click “done”. If you wish to edit anything you did in the “Formatting” window, you can click on the text box, and then click on the relevant part of the “Text Object” box.
Adding images, documents, and other assets to your dataroom
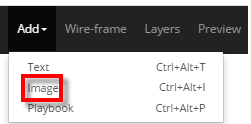
To add an image to your dataroom, click on the “Add” tab, and then click on “Image”.
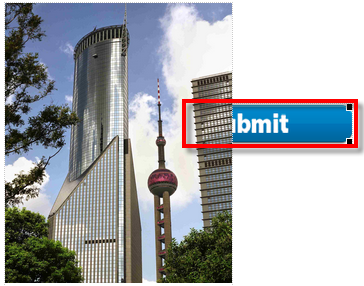
This will open the “Update Image & Link To” tab.
You can make additional edits the “Object Property” box.
You can also add assets by clicking on the “Add Assets” tab.
From there, select the type of asset that you want, and then click close. Changing image layers.
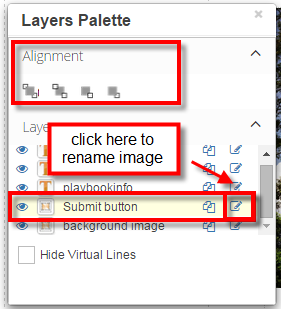
To edit how images overlay one another, click on the image, and then click on an image and then click on the “Layers” tab. This will open up the “Layers Palette”. Click on the image that you want to move, and then click on the alignment tab to move the image further to the front or back. Click on the alignment tab. We recommend that you give each image a distinct name to make distinguishing between them easier.
When you are finished, click on the “x” icon in the upper left-hand corner. The changes you make should appear on the screen.
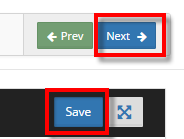
Putting the finishing touches on your template When you are finished with your template, click “save” and then “next”.
This will give you a preview of what your dataroom will look like. If you are satisfied, click save and close.
 A new Call-to-Action (CTA) Button object has been introduced to the Data Room Template Editor. This feature allows you to insert interactive buttons that link to any desired URL, helping you guide viewers through important actions or resources. Key Capabilities
Benefit
This new object gives you more control and flexibility in how you guide users through your Data Room content. | |


Overview
A new “Copy Link” icon has been introduced for Dataroom assets across both the Asset Library and Dashboard Widgets. This enhancement allows users to copy the Dataroom URL instantly—without needing to preview the asset—making link sharing more efficient.

In the Asset Library
Navigate to: Assets > Asset Library
Under Dataroom asset type, locate the asset
You'll now see a copy link icon (🔗) next to each Dataroom entry
In Widgets or Dashboard Components
In widgets displaying Dataroom assets (e.g., “Quick Links”, “My Assets”)
Hover over an asset to see the copy icon appear
Click the icon to copy the asset URL to your clipboard
What It Does
Instantly copies the Dataroom link to your clipboard
Allows you to paste it in email campaigns, chats, or documents
Supports secure, direct access to the Dataroom if permissions are granted
 Use Case Examples
Sales Reps quickly sharing gated content with prospects
Marketing Teams embedding Dataroom links into email campaigns
Training Managers providing fast access to collateral
 Benefits
Eliminates the need for preview or extra steps
Speeds up asset distribution workflows
Maintains access control while enabling easy sharing
A new option called Data Filtering has been introduced in Data Room templates under Data Room Properties, allowing administrators to control which assets are displayed in a Data Room dynamically. This enhancement eliminates the need to manually add individual assets, as the system automatically populates the Data Room with assets matching the defined filter conditions.
While configuring a Data Room template, a new option called Data Filtering is available under Data Room Properties.
This option enables condition-based asset filtering for dynamic content population.
By selecting Data Filtering, you can define conditions to filter the assets that should appear in the Data Room.
Multiple filter conditions can be configured to target specific asset types or attributes.
The filtering conditions allow you to specify which assets should be included based on selected criteria.
Template Configuration Behavior
During template configuration, the assets matching the defined conditions will not be displayed directly in the template setup view. This is expected behavior, as the dynamic filtering occurs at runtime when users access the Data Room, not during the template design phase.
Accessing the Data Room
When the Data Room is accessed by users, the dynamic filtering takes effect:
Navigate to the Media section of the Data Room page (#collateral/data-room).
Open the Data Room created using the template with Data Filtering configured.
The system will automatically display all assets that match the filtering conditions defined in the template.
Enables dynamic asset population in Data Rooms based on defined criteria.
Reduces manual effort in adding assets individually to each Data Room.
Ensures only relevant assets matching the configured conditions are displayed to users.
Automatically updates Data Room content as new assets matching the filter criteria are added to the system.
Streamlines template management by centralizing asset selection logic within filter rules.
The Data Filtering feature in Data Room templates provides administrators with a powerful tool for dynamic asset management. By defining filter conditions at the template level, organizations can ensure that Data Rooms automatically display the most relevant content to users without manual asset assignment. This enhancement improves operational efficiency, maintains content consistency, and ensures that Data Rooms always reflect the latest assets matching the specified criteria.
Related Articles
How do I access the Asset Template gallery?
As an MSP Advantage, MarketNow Concierge or IT Advantage client, you have access to pre-created content in your account that you can customize on your own, or work with support to utilize. This article details how you can find these ready-made assets ...How do I create a brand?
Go to Setup > Asset Management > Brand Give your brand a name, and then click “Save”. Your brand will appear in the “Brands” section. Click to add content or make edits. Brand Elements: A. Image Types: upload images to use for logos. B. Doc Types: ...How do I create a PowerPoint template?
Option 1 - Converting an Existing PowerPoint presentation into a Mindmatrix template: 1. Make sure you have the Mindmatrix Desktop Widget installed. 2. Click on Insert and select AMP Field Chooser. 3. This will allow you to convert your Powerpoint ...How to be Successful Using MSP Advantage Program
Posted by The Team at Mindmatrix on 18 February 2016 11:40 AM MSP Advantage Program is a great tool to help companies grow their marketing and sales efforts. Our MSPs who have seen the most success follow these 4 items: Patience: Industry ...AI-Powered Content Generation for MSP Advantage
AI-Powered Content Generation for MSP Advantage Take advantage of our AI-Powered Content Generation service, designed to streamline your marketing efforts. This service creates professional, high-impact content, customized to your audience and goals, ...