To send out an announcement to all users, go to the "Setup" section, and then click on “Announcements”. 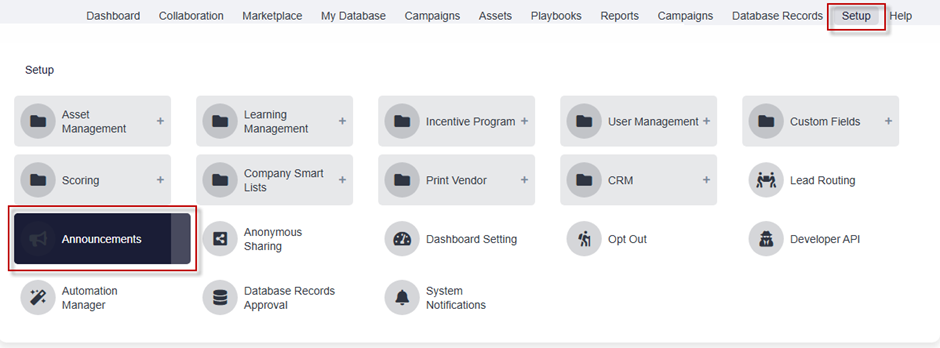
In the “Announcements” section, click on the blue “Create” button. 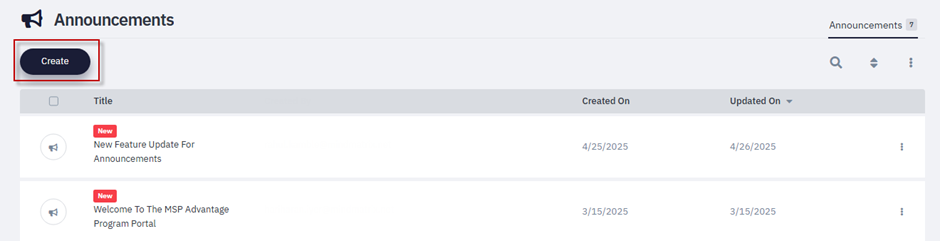
1. Give your announcement a title. 2. Select the language option from the dropdown list. 3. Add a validity date if required. 4. To display the announcement in a pop-up when a user logs in, select this option. 5. Add the description of the announcement. 6. Add a web banner or an image to the announcement.
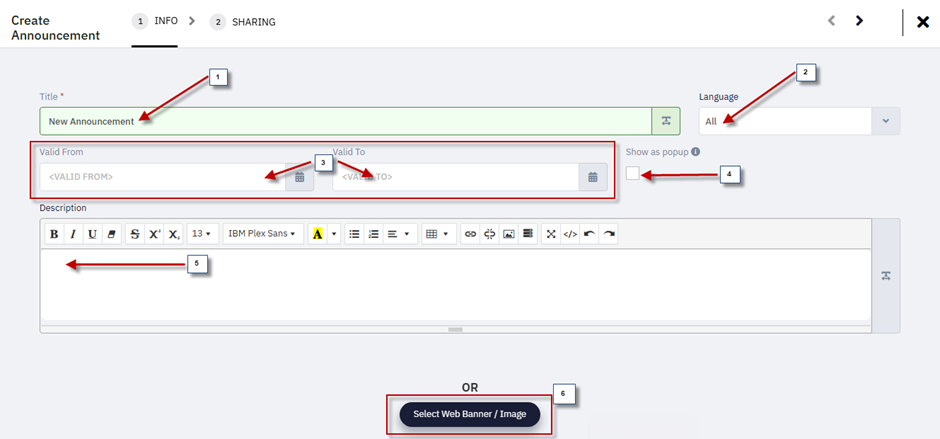 Select a web banner or an image to add it in the announcement.
Under the Sharing page mark the checkbox to set the email notification to all assigned / newly assigned users. Select the radio button to “shared” for a specific user or a user group or a company accordingly to share the announcement with and click "Finish" to save the announcement.
Your announcement will now appear to every user in their profile section to whom you have shared this announcement along with a pop-up when logged into the selected shared user.
The pop-up displays once the user logs in with whom the announcement has been shared appears as soon as the user is logged in.
You can also delete announcements by revisiting the Announcements page. Select any announcement and click the delete button.

How to Use Filters in Announcements
 Overview
An enhancement has been made to the Announcements feature that allows users to associate filters with announcements. This improves how announcements are organized, discovered, and consumed across the platform.
How to Add Filters to AnnouncementsCreate or Edit an Announcement Access the Filter Section Apply Filters Select and add the relevant filters that apply to your announcement (e.g., region, department, campaign type).
Save and Share

Where Filters Are VisibleOnce filters are applied and the announcement is shared, they will be visible in the following areas: 


BenefitsEasier Discovery: Users can filter announcements based on relevance. Better Organization: Group and categorize announcements for clearer communication. Targeted Access: Helps end-users find the most relevant updates faster.
Summary This update brings structure and clarity to company-wide communications by allowing announcements to be categorized and filtered. It enhances discoverability and ensures critical information reaches the right users at the right time.
| 