How do I create groups and sub-groups of Contact fields?
Introduction:
This guide details the process for creating groups and sub-groups for contact or deal fields. This enhancement allows for a more organized and hierarchical structuring of contact information.
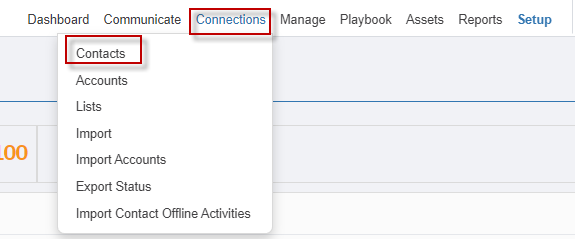
Access Contact Custom Fields:
In the setup options, select "Contact Custom Fields" to access the relevant page.
Add Groups and Sub-Groups:
After enabling the feature, you can access the association of contacts functionality. Here's how to do it:
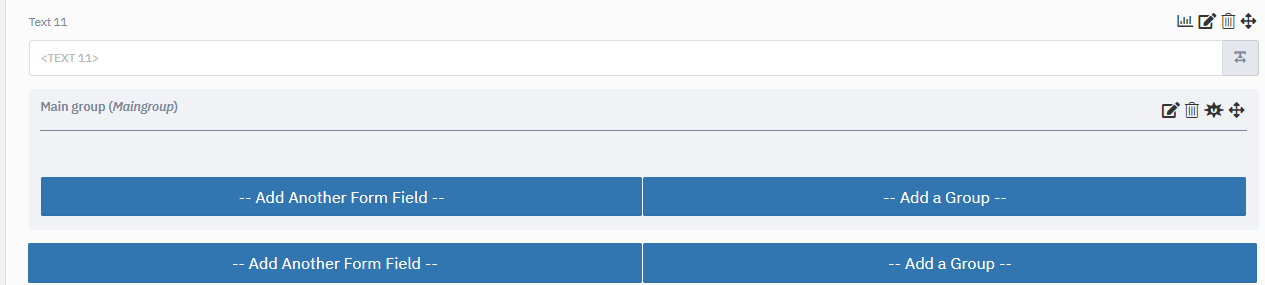
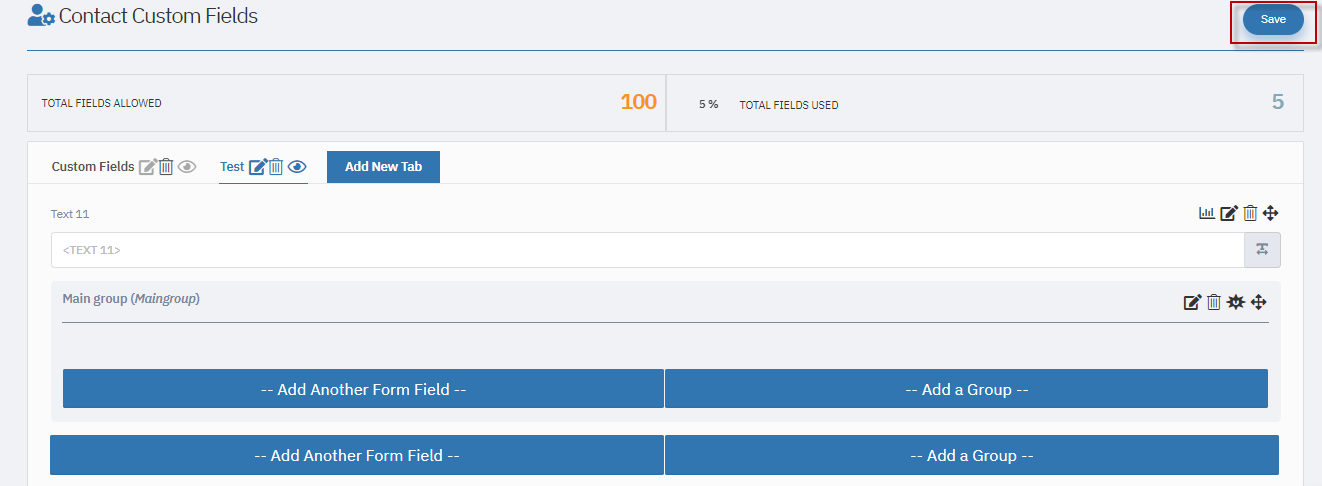
Initial Setup: Previously, only the "Add Another Form Field" option was available. Now, the "Add Group" option is also provided.
Add a New Group:
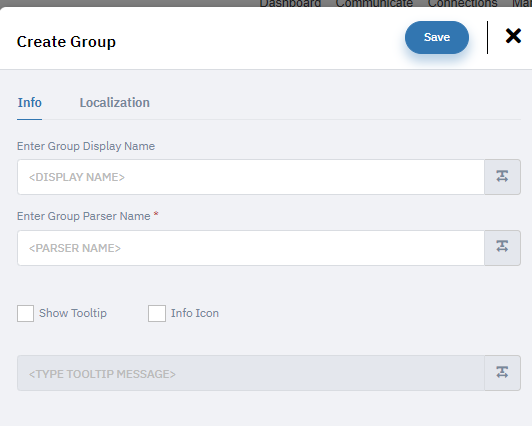
Click on the "Add Group" button.
Enter the group display name and parser name.
Optionally, add a tooltip info icon for the group.
Click "Save" to create the group.

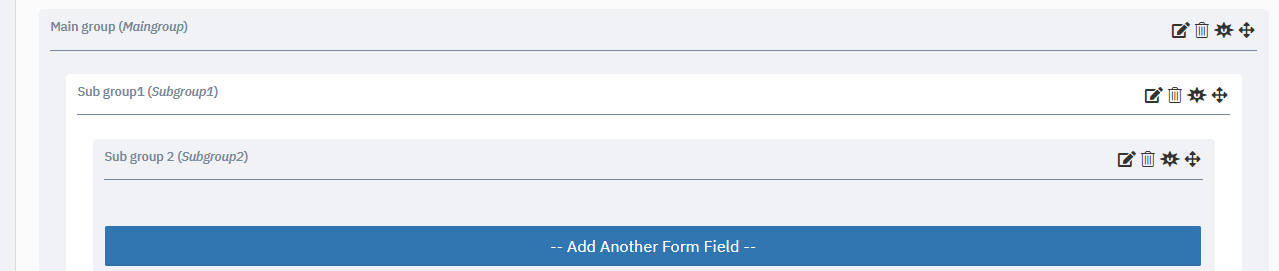
Add Fields to the Group: Within the group, use the "Add Another Form Field" option to include fields. You can add up to three levels of groups within a single group. Beyond three levels, only form fields can be added.
Configure Field Display Conditions:
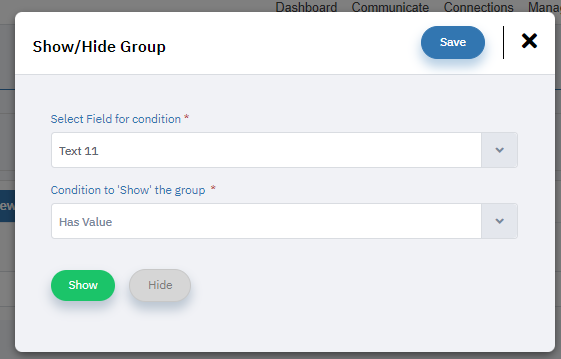
Set Display Conditions: Each group or sub-group can have conditions set to control their visibility based on field values. For example, if a field (e.g., Text 11) has a value, the group will be visible. If the field is empty, the group can be hidden.
Configure Show/Hide Functionality: Define conditions using options such as "Has Value" or "Is Empty." If a specific condition is met, the group will be shown or hidden accordingly.
Save and Reflect Changes:
After configuring the groups and fields, save the settings. The changes will be reflected in the contact fields interface, displaying the newly added groups and fields.
Verify in the Contact Interface:
Navigate to the contact interface to verify the new setup. Ensure that the groups and sub-groups are displayed correctly based on the configured conditions.

Conclusion:
This enhancement enables a structured approach to managing contact fields, allowing for better organization and visibility of data based on hierarchical grouping and sub-grouping.
Related Articles
How do I create custom data entry fields for Contact entries?
Custom data entry fields will allow you to record even more data about your contacts. They can be used in your forms and updated from your CRM. Accessing the Contact data entry field editor: To start, click on Setup > Custom Fields, then choose ...How to add custom fields to Salesforce to map to Mindmatrix custom or contact fields?
Posted by The Team at Mindmatrix on 06 August 2015 05:19 AM Log into your SF admin account and on the right-hand side, click on the “Setup” Now on the far-left side of the page, click on “Build” and then “Customize”. In the menu that opens, select ...How do I create custom fields within a MDF fund?
You can add custom fields to MDF requests to obtain more information on behalf of the submitter OR even create internal fields for the Approver to update before they approve the request. To add a custom field to your MDF fund plans, follow the steps ...How do I create a single contact?
Creating a single contact within the MSP Advantage platform can be very useful when you have all the relevant information ready, but not in a digital form. 1. Navigate to the contacts page by selecting My Database > Contacts Note: On the Bridge ...How do I create a custom Opportunity submission form?
To create an Opportunity for the first time, you need to create a custom data entry field in the "Opportunity Custom Field" section of the Bridge platform. To create a custom Opportunity submission form, go to the “Setup” tab, select “Custom Fields”. ...