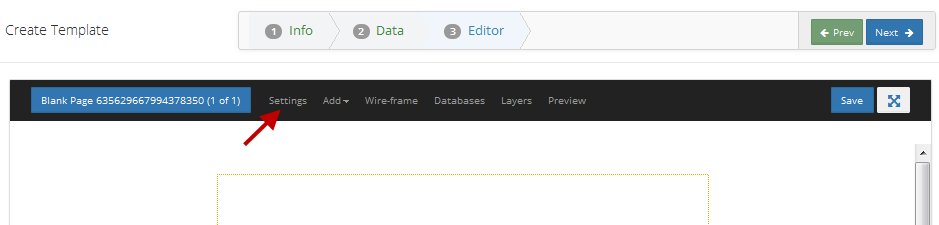
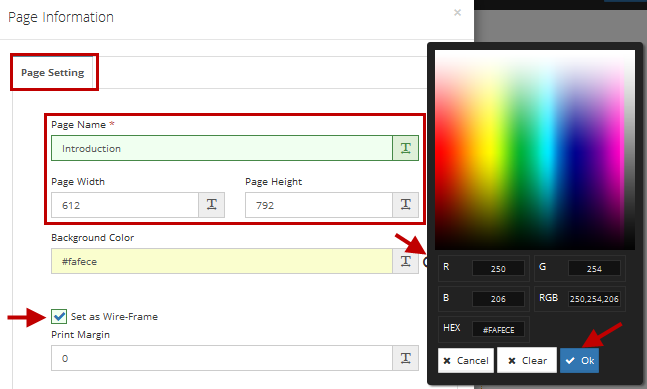
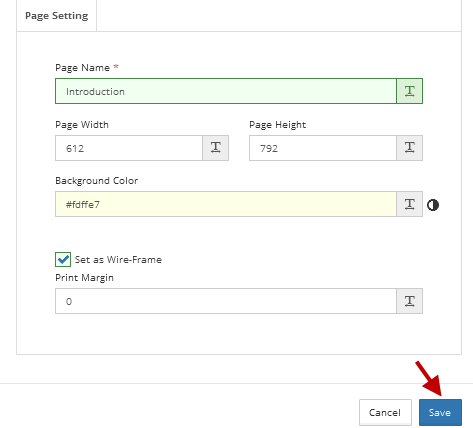
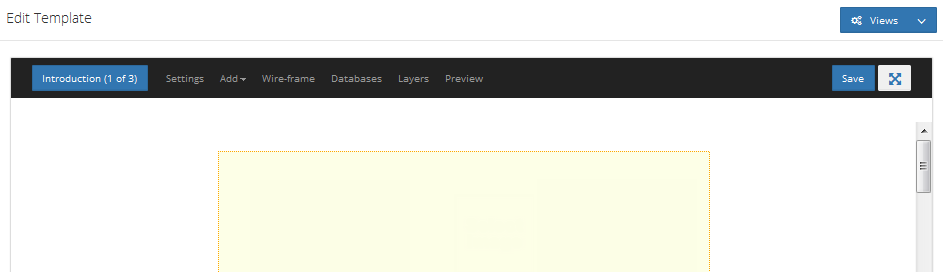
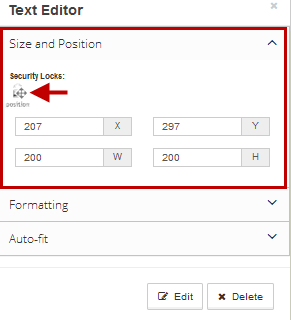
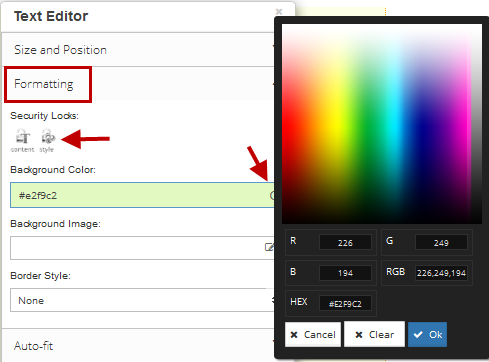
How do I edit Page Settings to change general styling attributes such as background color or size and create wireframes?
Posted by The Team at Mindmatrix on 23 June 2015 08:59 AM | |
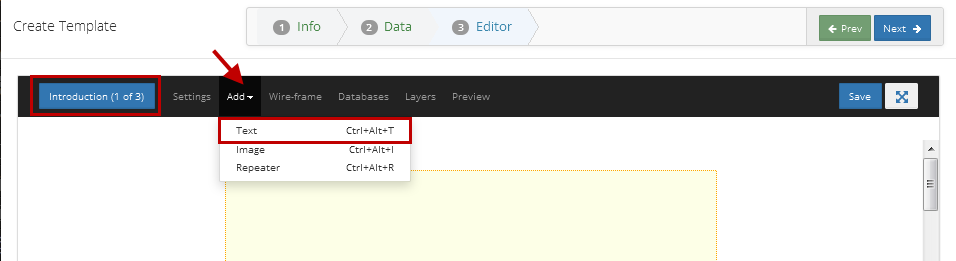
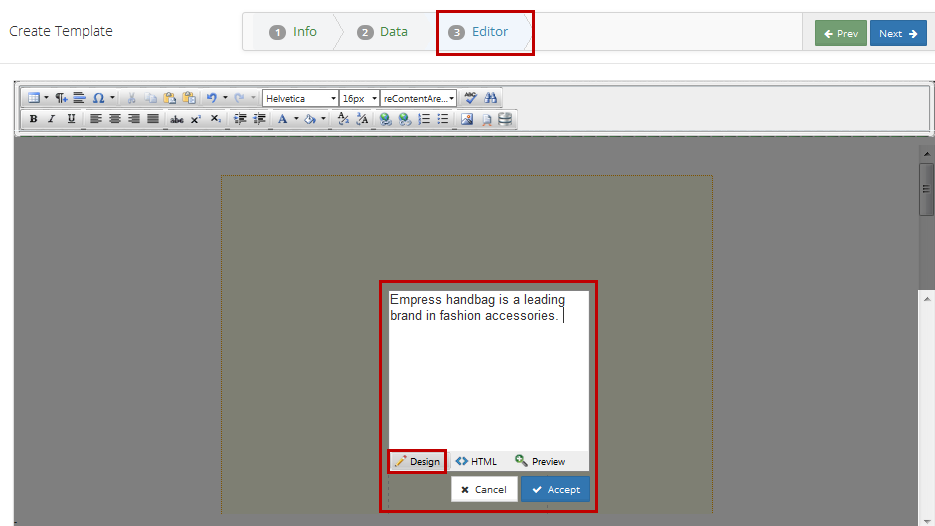
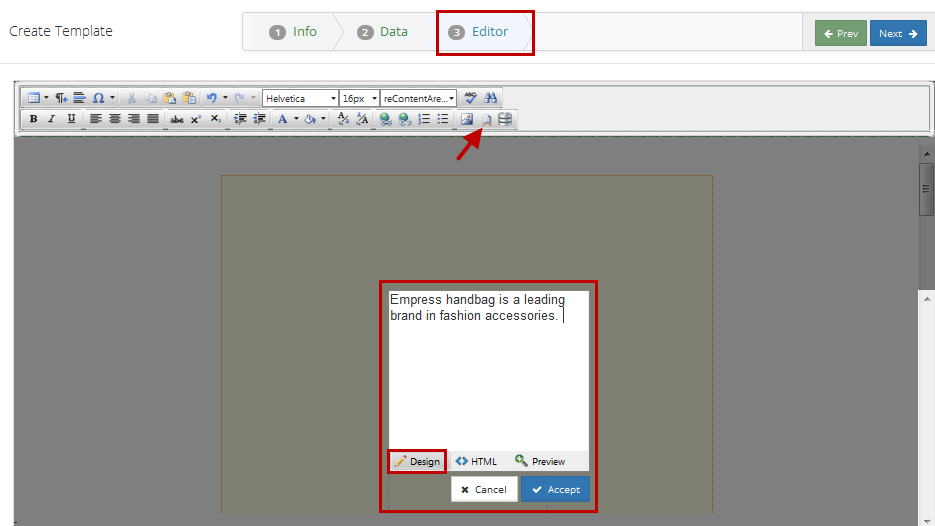
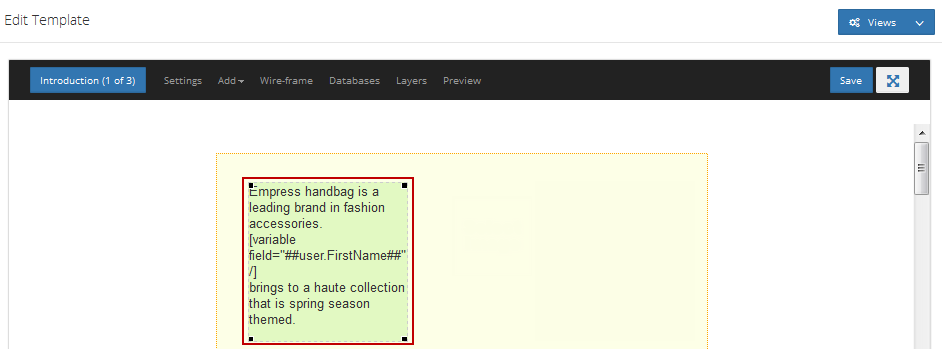
How Do I Add Text and Images to Print Templates?
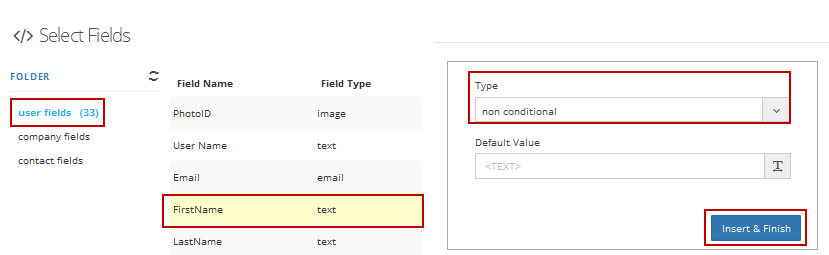
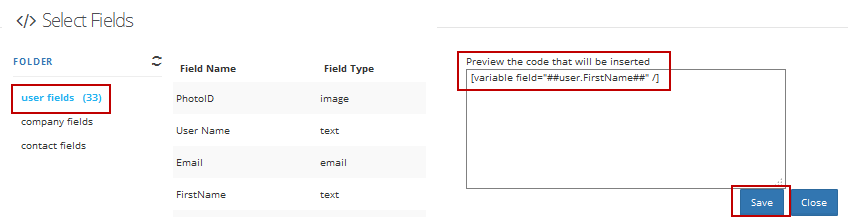
How Do I Personalize User/Contact/Company Variables in Print Templates?
NOTE: You can access database added to the page, and insert its variables into the text box.
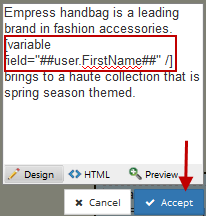
NOTE: You can copy/paste the code anywhere in the text box. However, do not edit the code.
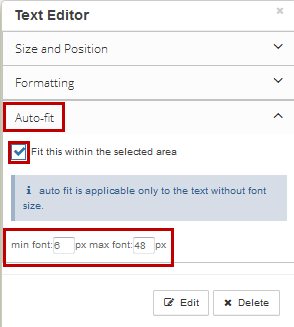
Text Editor
| |
Related Articles
How do I create landing page web templates?
In order to use a landing page, you need to publish the landing page template into "Output" mode. You can learn more about using landing pages in Output mode here: How do I use landing pages? 1. To create a landing page, you will need to utilize a ...How do I create or edit an Email Template?
Read more about sending one-off email blasts here: How to send a one-off email to contacts? Learn how to add an email template to a drip campaign here: How to Create an Email Drip Campaign Template 1. To create an email template, click on Setup, then ...How do I create a poll?
For information on how to access and use the landing page editor, see: How do I create landing page web templates? Inserting a poll into a webpage template: In the landing page template editor, click on the “Add Object” drop-down and select “Poll”. ...How do I create a form?
Forms are online questionnaires that you can use to collect information on your customer base. Forms are also commonly used on Web Templates to create landing pages, or you can grab only the coding to a form to use it directly on a website in order ...How do I create a Blog Post Template?
To create a “Rich text” post to Blogger/Word Press Blog site, go to "Set Up", and then open the "Asset Management" drop-down, and then select "Templates". From there, click on the drop-down button in the upper left-hand corner of the screen, select ...