How do I import Contacts?
 It is possible to personalize navigation menus within Mindmatrix software. If you are unable to navigate to the correct page, contact your platform administrator.
|
Posted by The Team at Mindmatrix on 08 September 2015 08:26 AM
|
|
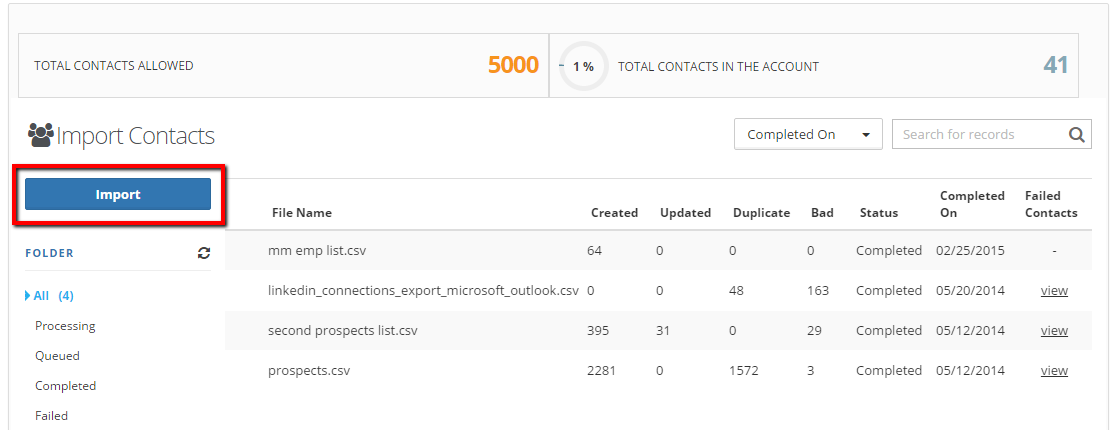
Before you begin, please make sure that your contact lists are in a CSV using one of the templates here. Once you have your CSV saved, you are ready to import contacts. First go to Connections, then Import.
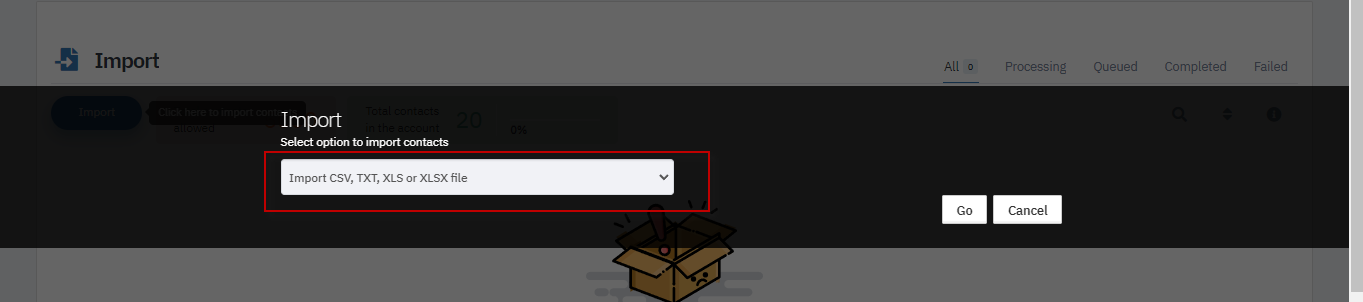
Click “Import” to import your contacts. Next, you can choose which option you would like to use to import contacts. Once you made your choice, click “Go”.
Earlier, users could only upload contacts using CSV or TXT files. The system now supportstwo new file formats: XLS and XLSX.
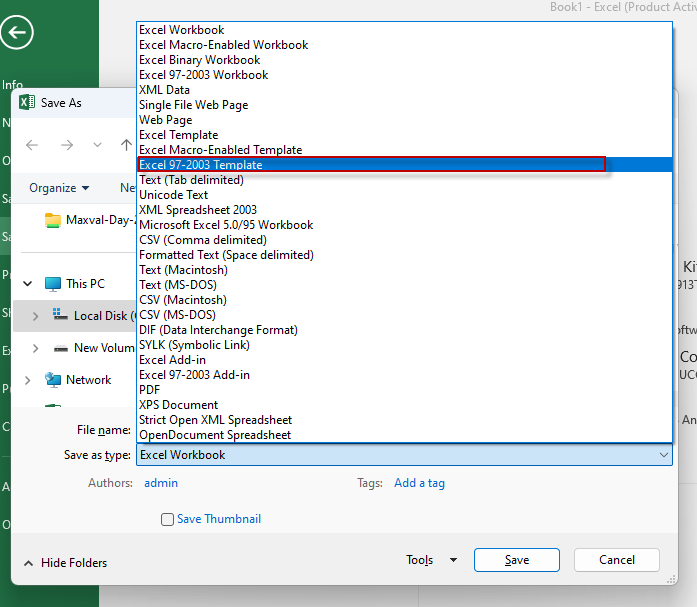
If you are uploading an Excel file, you can select one of the two options shown below and upload the file into the system.
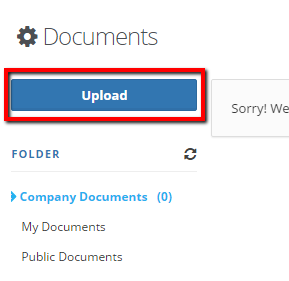
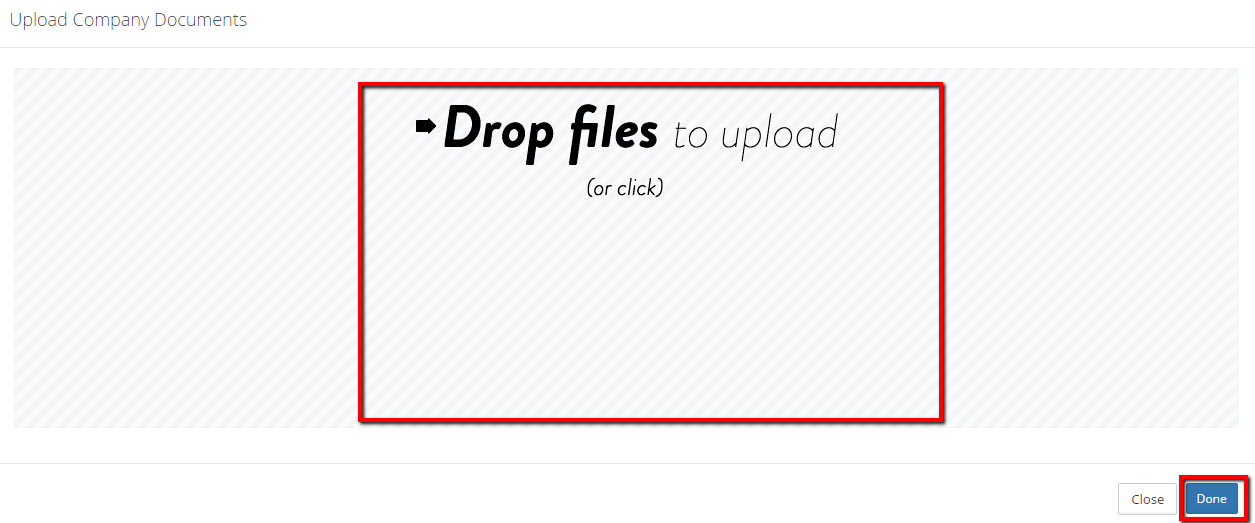
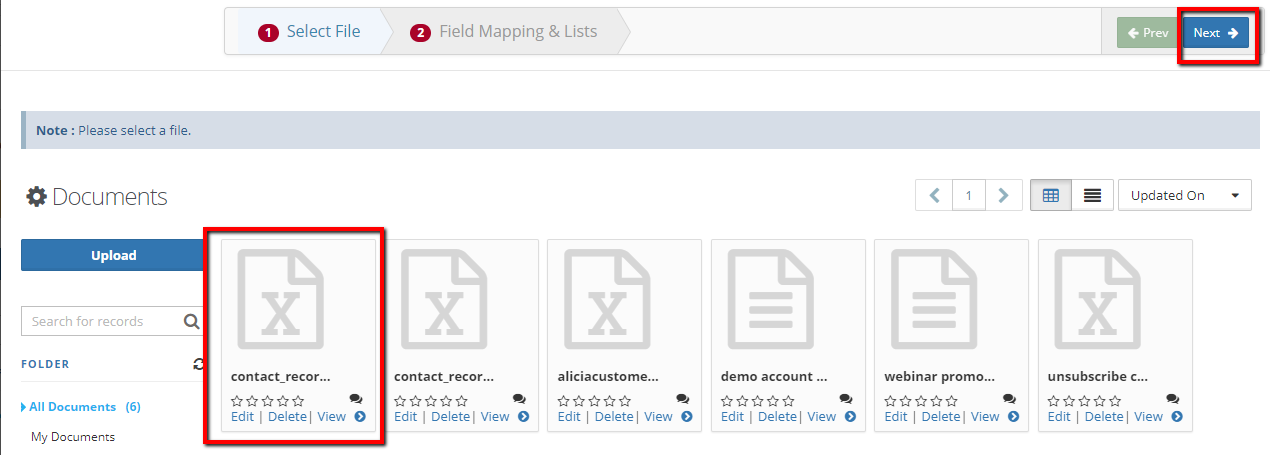
If you chose to import a CSV or TXT file, you will need to upload that document. Drop your file to upload or click on the box to find a file on your computer. Once you have selected your file, click “Done”. Choose your file that you would like to import and click “Next”.
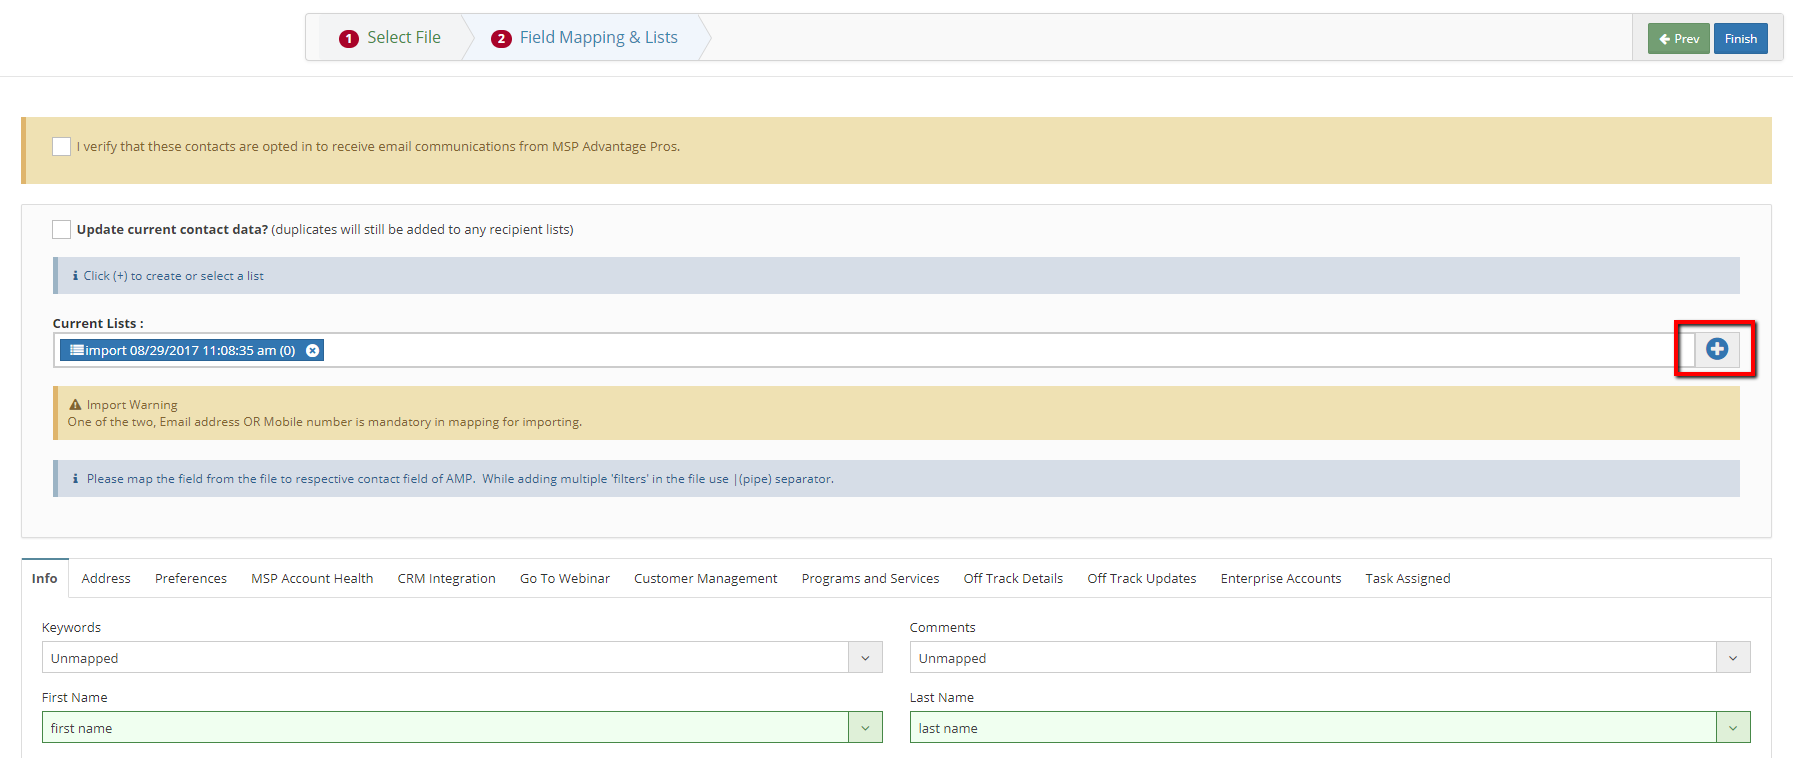
Once we click on Next, we get the field mapping option. This screen has multiple options:
Update Current Contact Data? – In case there is existing contact in the account, it will help us in updating the information for the same.
Field mapping – map the available fields from the list in the portal.
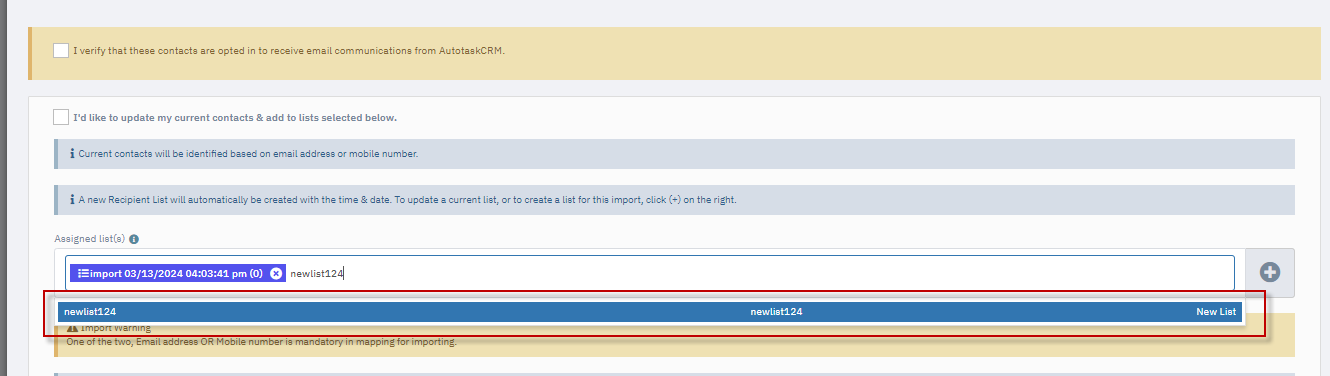
You will need to map your fields. You must have either an email address or mobile number in order to import the list. By default, the software will add these contacts to a recipient list called "Import [Date] [Time]". To create a new recipient list or add your contacts to a recipient list, click on the "+" icon. You can add contacts to more than 1 recipient list.
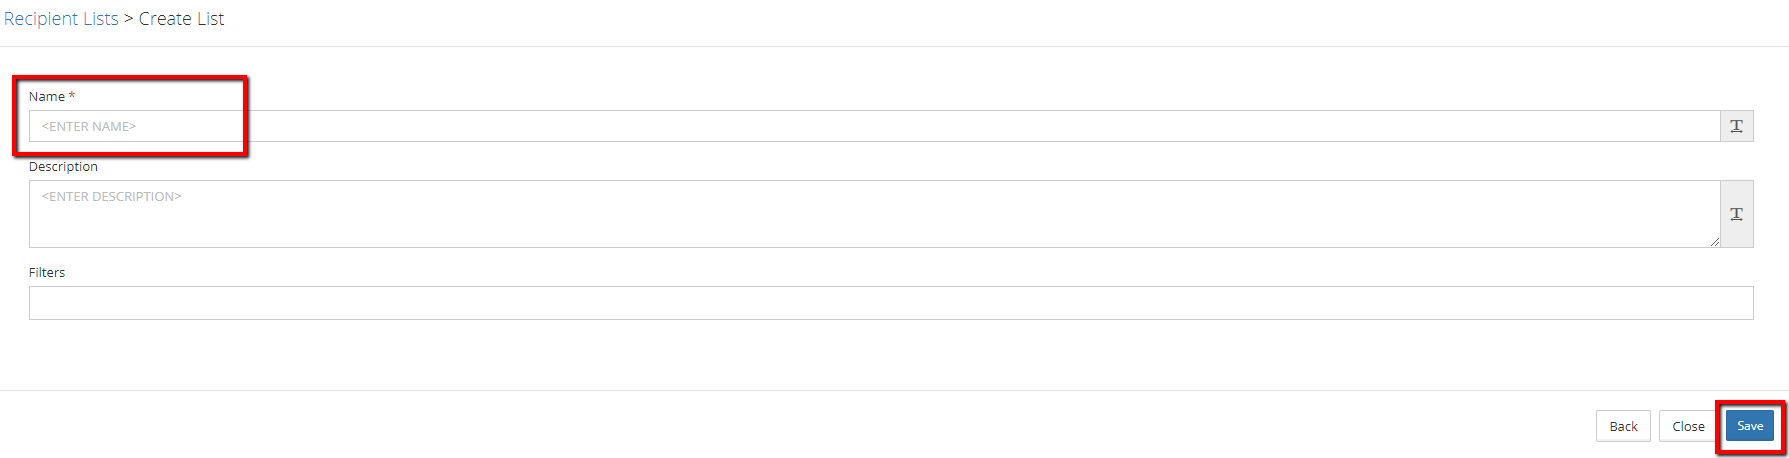
Select a recipient list that has already been created or you can create a new recipient list.
If you are creating a new recipient list, create a name for your list and click "Save".
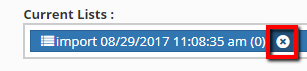
Once you've selected your recipient list, click "Select" in the bottom right corner of the window. To remove the original recipient list, click on the "X" icon to remove it.
Also, now you can simply enter the name of the new contact recipient list in the provided field, and if it's not already in existence, the system will offer it as a new selection in the dropdown menu for you to create and choose.
Please check the screenshot below for the existing contact list:
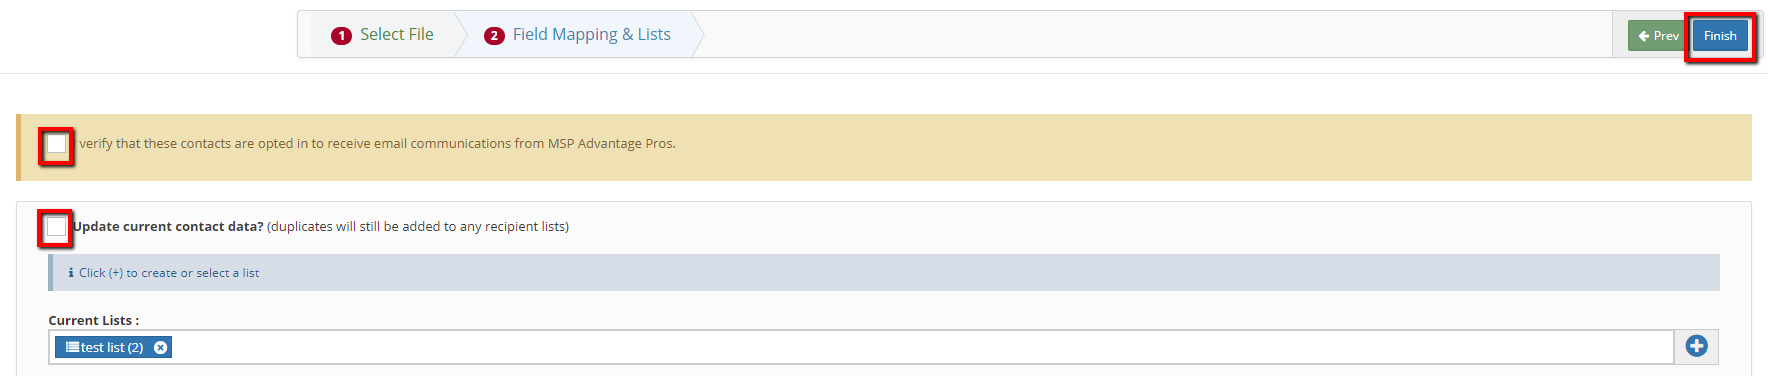
If you would like to update contact data with this list import, select the checkbox next to "Update current contact data?". This allows you to bulk update contact records. Please keep in mind that if you have a CRM integration set up, the CRM record is the master record, so if you need to update contact records, please do so in your CRM. Be sure to verify that all contacts are opted in to receive emails from your company. Once you have completed these two steps, click "Finish".
|
|


Related Articles
How do I import contacts from Gmail?
Posted by The Team at Mindmatrix on 27 January 2016 12:54 PM To use the Gmail pluggin, first make sure that the Mindmatrix Chrome extension is properly installed. For instructions on how to do this click here. The pluggin tool allows you to access ...How do I add contacts to a Sales Playbook?
For more information about Sales Playbooks from a user perspective, see How do I use a Playbook? Adding Contacts to Sales Playbook (Stepwise-Wise View): Click on the "Add/Remove Contacts" button. 'Add Contact(s) to Sales Playbook' options: A. Dynamic ...I ran into an issue importing contacts, what should I do?
Posted by The Team at Mindmatrix on 21 March 2017 04:58 PM If you see an error message when importing your contact list, you should review your contacts for any data issues. 1. Check and make sure you have mapped fields. You should always map the ...How do I resolve errors when importing contact lists?
If you see an error message when importing your contact list, you should review your contacts for any data issues. 1. Check and make sure you have mapped fields. You should always map the email address field for example. 2. Check the contact ...How to Import Contact Offline Activity Records
Part One: Formatting a TXT or CSV File for Upload The .txt or .csv file containing the contact activity records should have columns for some or all of the following information categories: Column Title: Email Column Entry Format : Contact email ...