Create a Connectwise API Member Create a new ConnectWise API Member to authenticate with AMP. Creating a MemberIn your ConnectWise account, navigate to System > Members, then click the API Members tab. Click the + icon to create a new member. 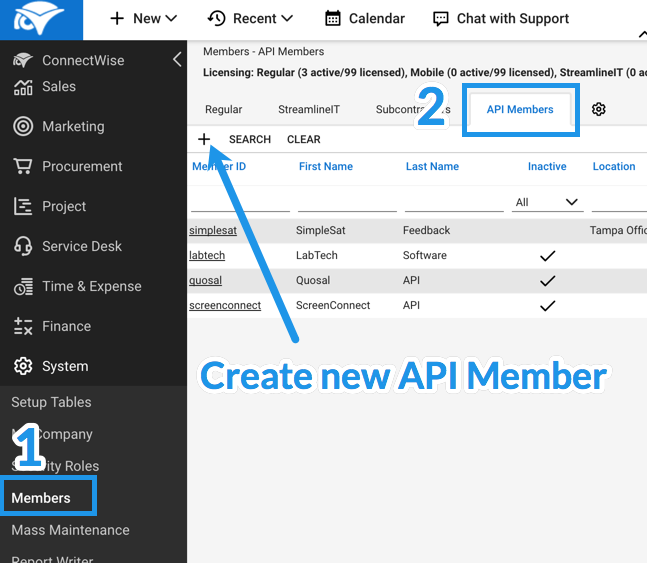
Enter the required information to create the new member. For License Class, choose API. 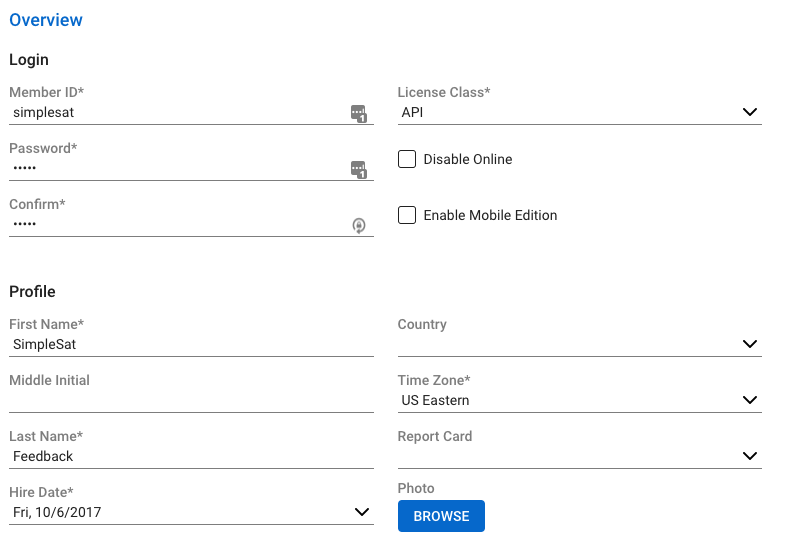
Generating an API KeyAfter you've created the new member, click the API Keys tab, then the + icon to create a new key. 
You can name the description AMP Integration, then click the Save icon. Once you do, you can copy your Public and Private Keys. 
Make sure to save the Private Key somewhere, it cannot be accessed after you close this page! If you happen to close the page, create a new API key. NOTE: If you create a new API Keys then old key will not get disable unless you delete the previous key. After you have your Private and Public Keys - along with the Member ID you wish to route contacts and activities to. Enter this information into your integration activation under Mindmatrix User Profile. Note: Identify the Member you want the contacts/Todo activities to be assigned to. That Member should have "API Reports" access. (see screenshot below). The Member will be assigned a Security Role, that role is where you set the API reports access to "ALL"

NOTE: You can create only a single ConnectWise integrator ID per company. Every user of that company can use the same integrator ID to login with AMP. NOTE: The Member ID is the username you use to login to your ConnectWise account. Each user of your company can have their own unique Member ID, but the same integrator login details. 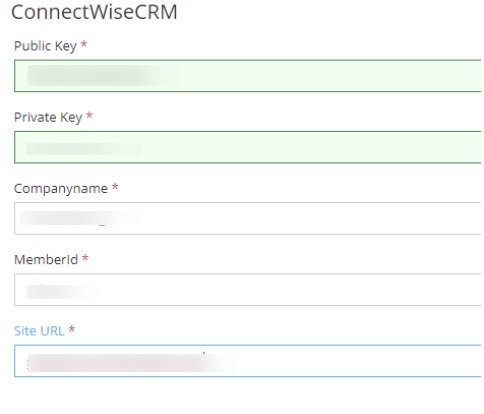 Contact Filter: - You can choose a different field to filter by, please contact your consultant to check which other options are supported if you wish to use a field outside of Company Type.
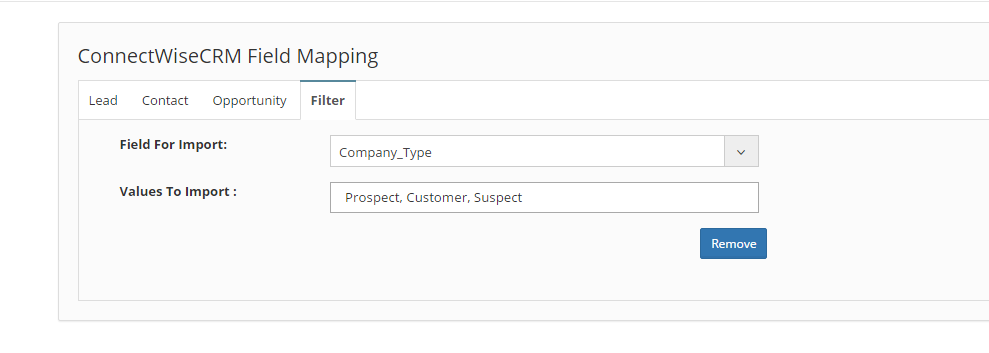
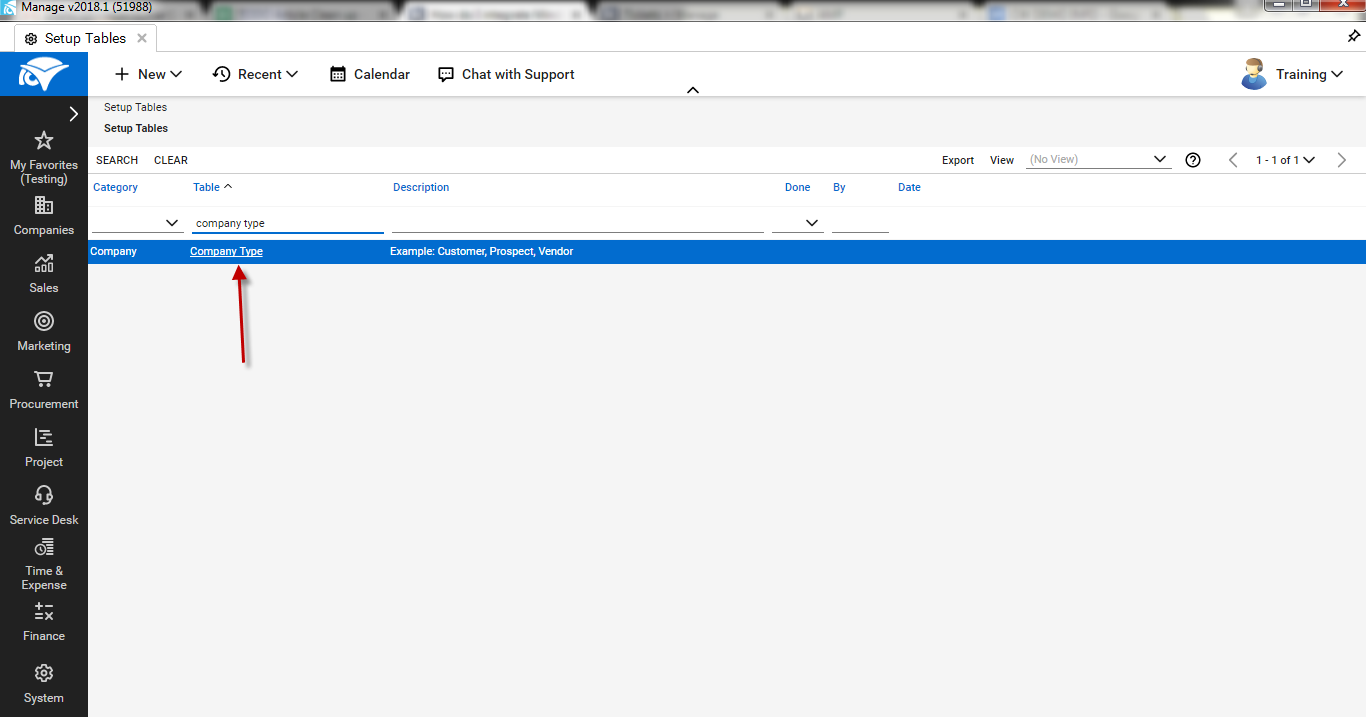
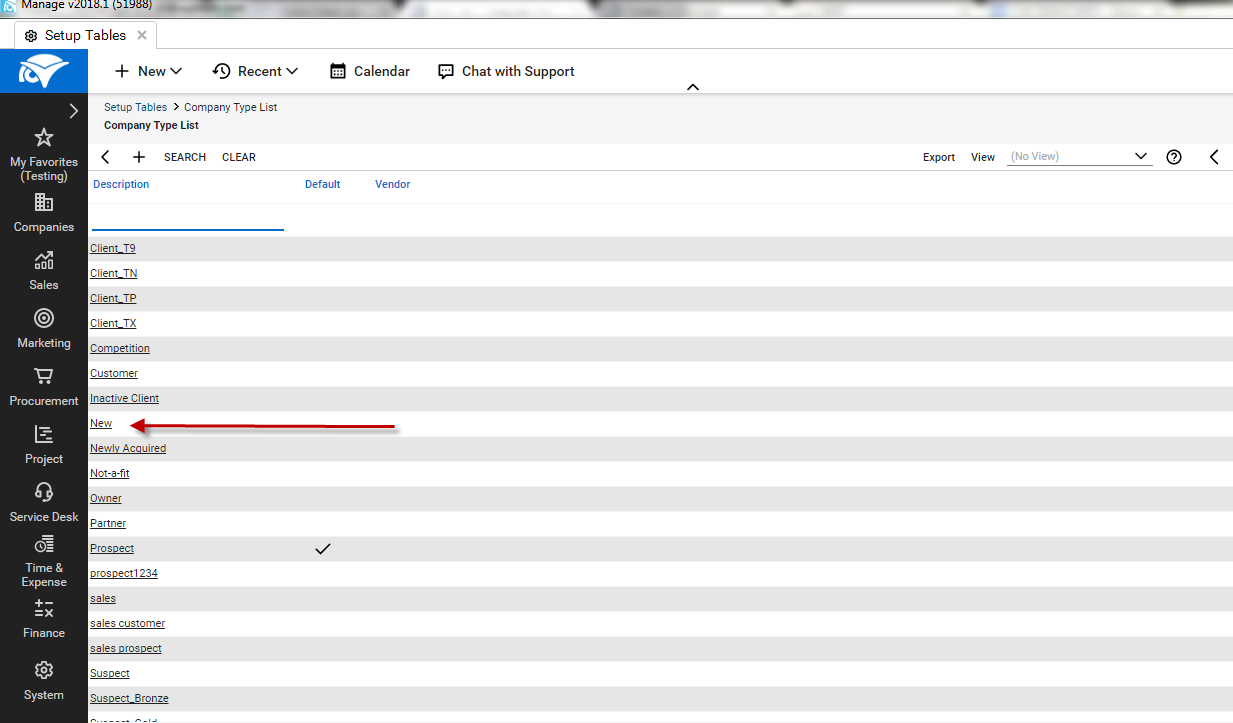
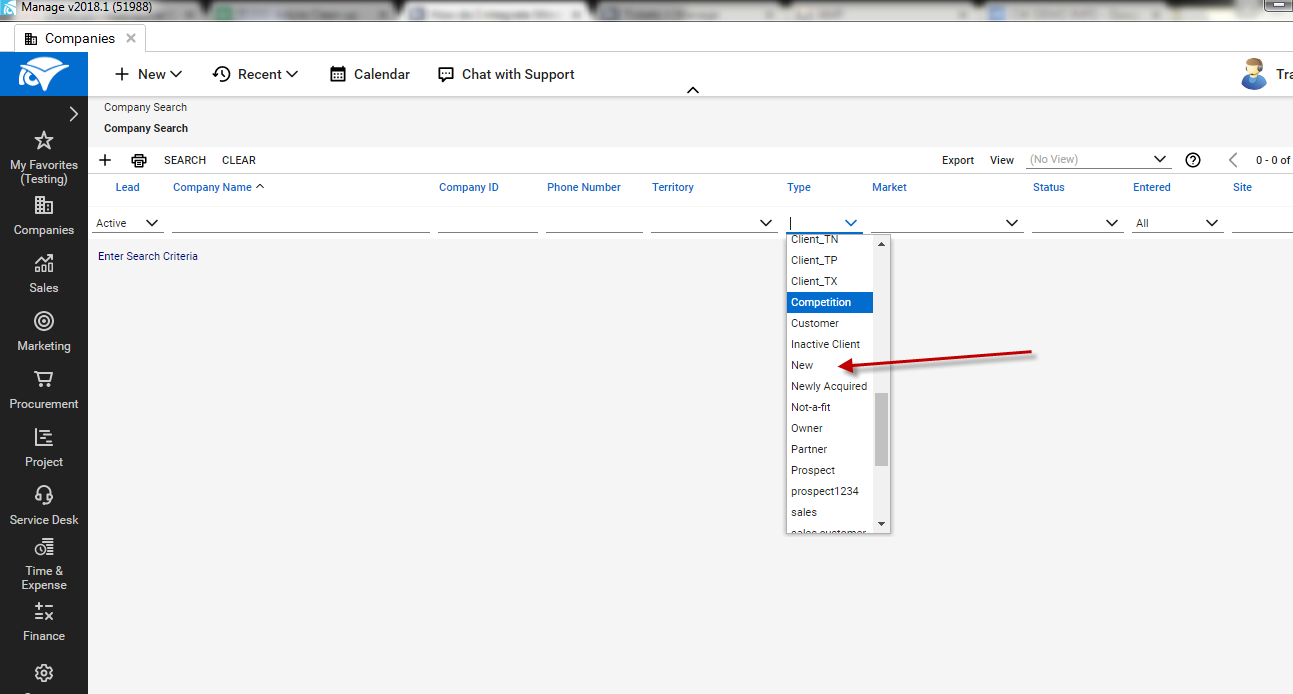
Recommended: Company Type for Contact Filter - Values: Customer, Prospect, Suspect In your ConnectWise company profile, the dropdown ‘type’, displays static contact company types (competition, customer, not-a-fit, owner, partner, prospect, suspect, unknown, and vendor). These options define company type of the contact.
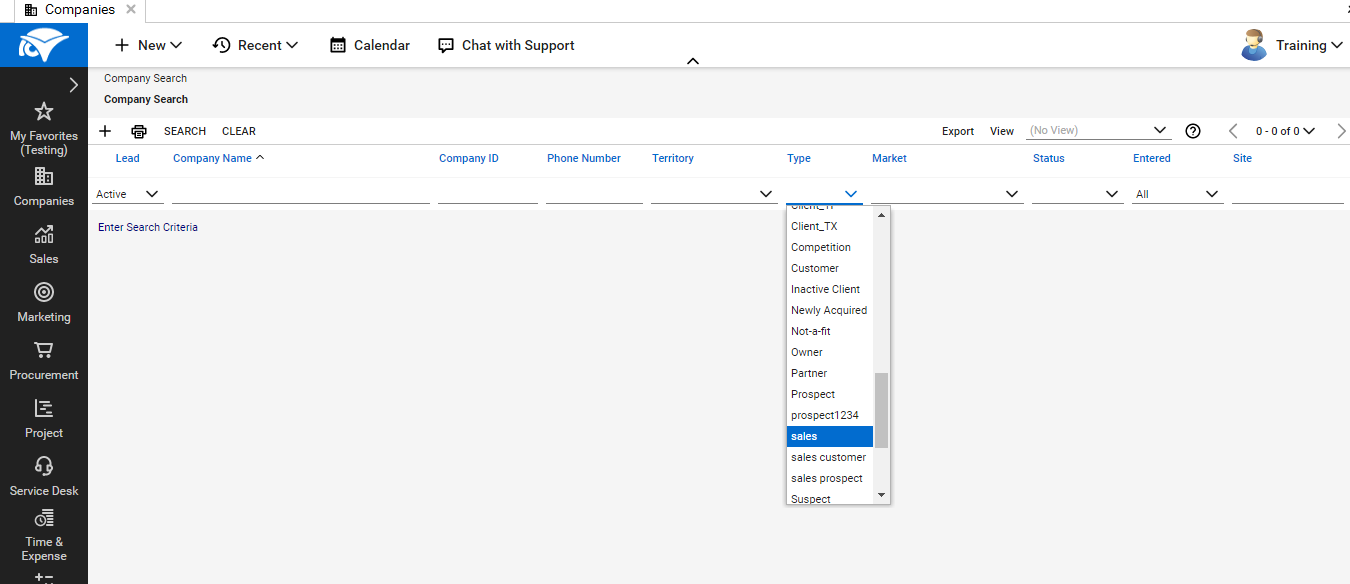
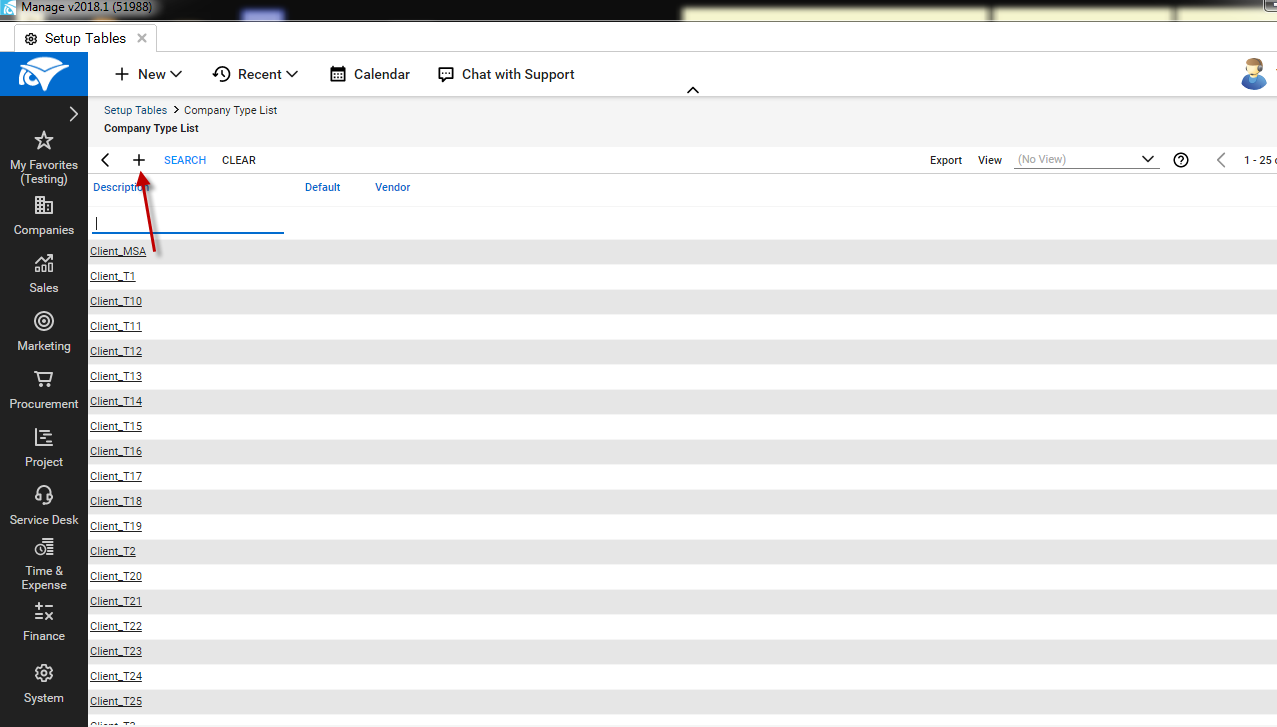
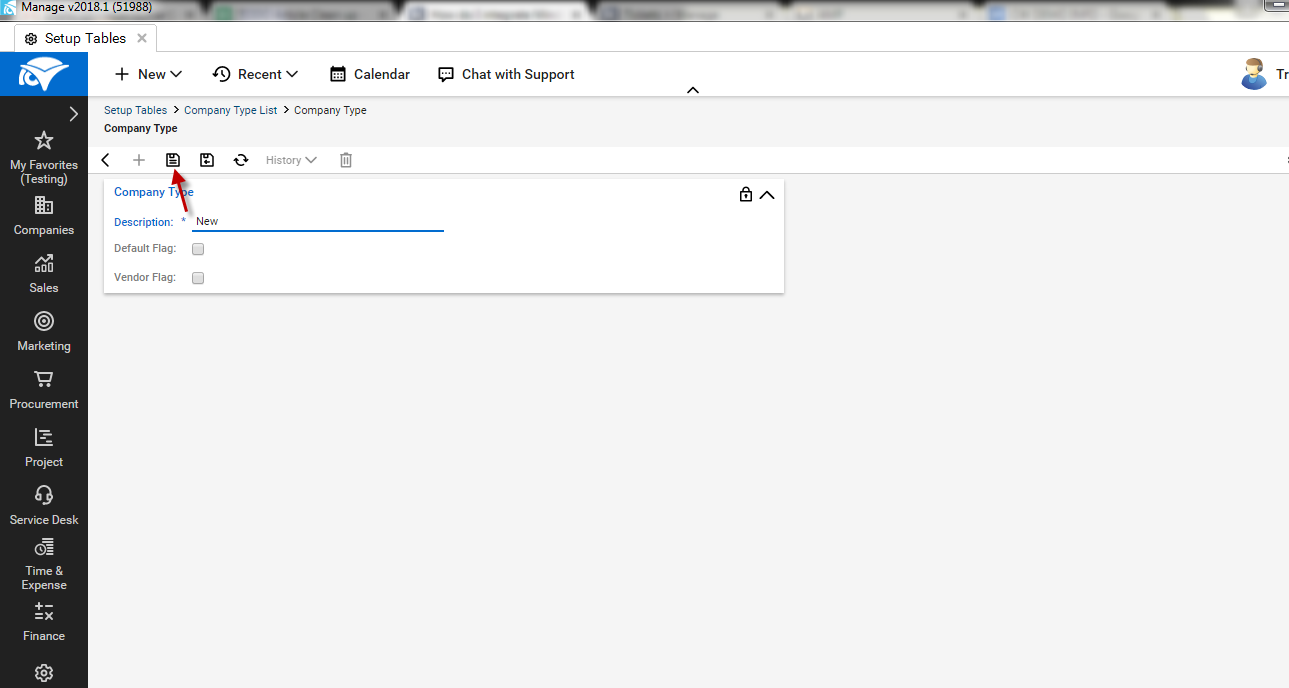
NOTE: You can add custom contact company type in your ConnectWise account. 

To import specific contact company type, separate each contact company type by comma in the ‘Contacts Company Type’ field. For e.g. if you wish to import ConnectWise contacts with company types as customer, prospect, and owner then insert a comma between each option in this field. Click ‘Save’.
-AMP is now integrated with your ConnectWise account. 
Click the ‘contact’ tab, and map ConnectWise contact fields with AMP contact fields. You may create custom fields to accommodate required ConnectWise contact fields in AMP. Click ‘save’ to save mapped contact fields.
NOTE: ConnectWise custom contact fields cannot be mapped to AMP contact fields. 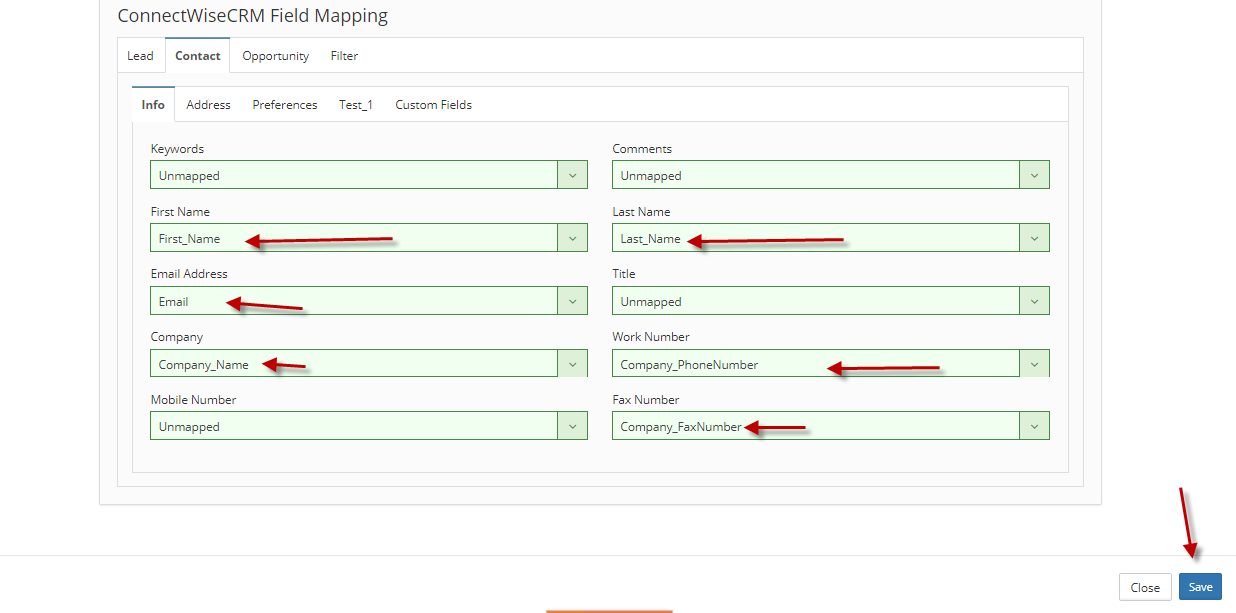
NOTE: You can map ConnectWise company fields: Company_Market, Company_Employees, Company_Territory, Company_Type, Company_FaxNumber, Company_PhoneNumber, Company_Status and Company_WebSite. 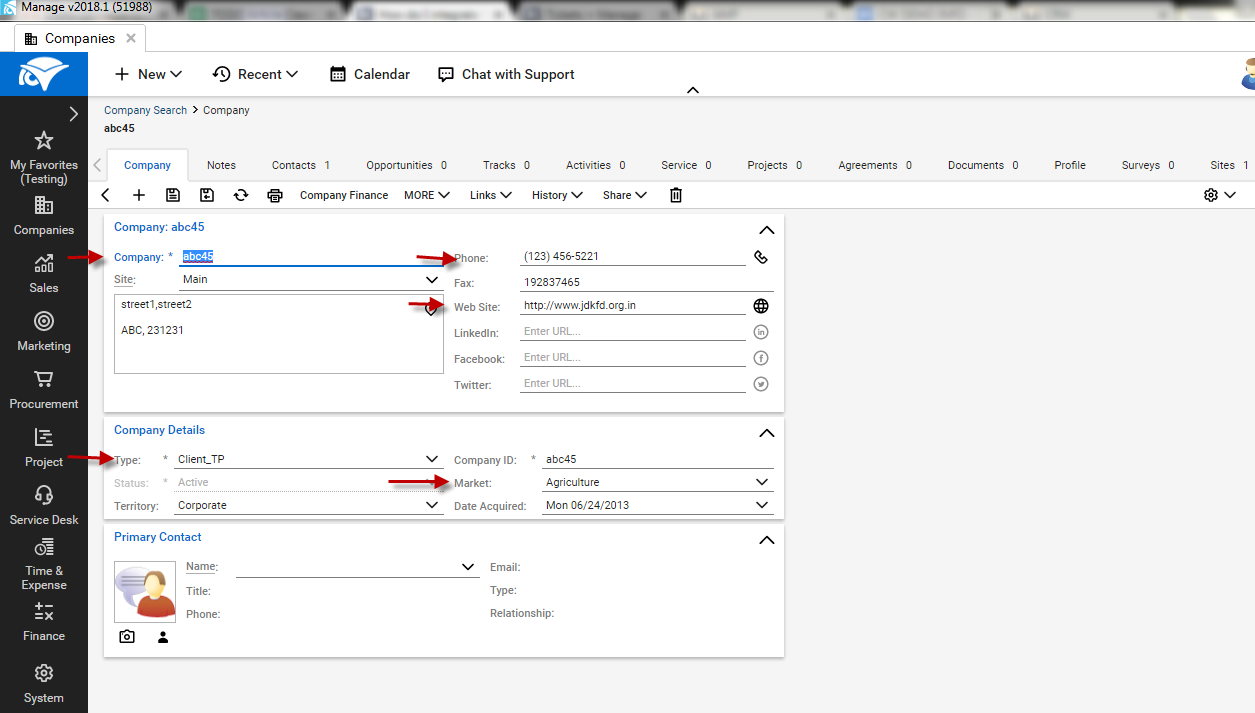
Make sure you are mapping relevant fields only. If not, the data won’t be saved to CRM account and vice versa. If fields are not mapped, the system will consider the default setting to push data. 

Exporting your AMP ‘to-dos’ to your ConnectWise accountNOTE: ‘To dos’ can be exported only for contacts who are present both in AMP and ConnectWise.
|