How do I setup opportunity sync to Salesforce?

It is possible to personalize navigation menus within Mindmatrix software. If you are unable to navigate to the correct page, contact your platform administrator.
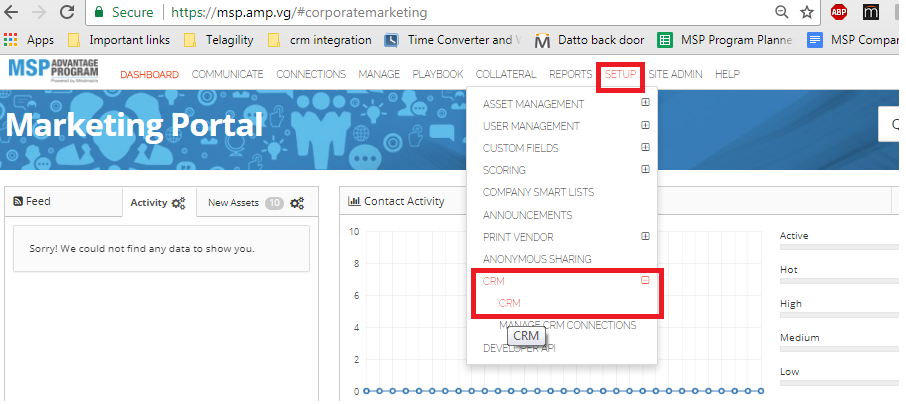
How to setup opportunity sync to SalesforceStep 1: Go to Setup > CRM > CRM
Step 2: Click on the “Configure Button”
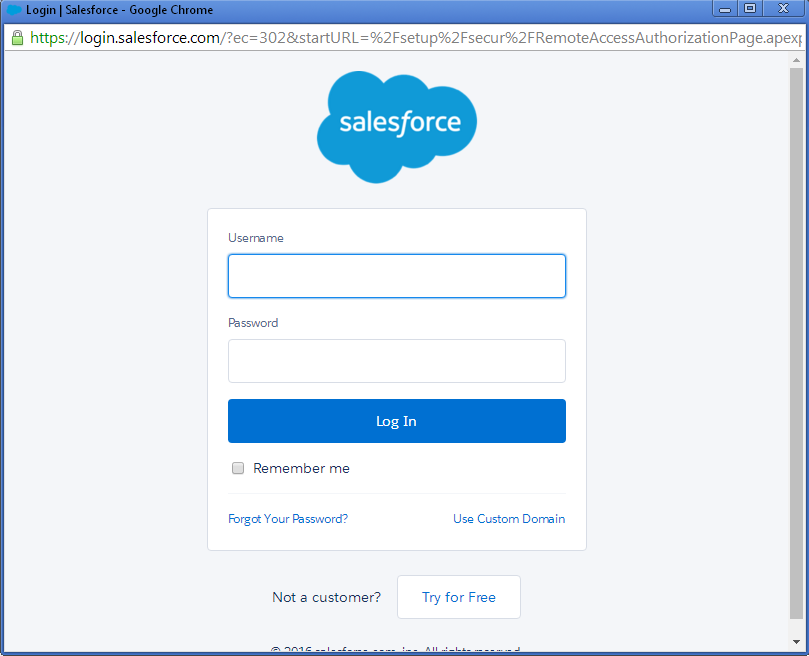
Step 3: Login to sales force.
Step 4: Click on “Opportunities” Step 5: Map Mindmatrix fields with your Salesforce Opportunity fields, click next > then finish to complete. | |
Related Articles
SFDC: CRM Sync Setting and Integration
The sections and functions related to CRM Sync Setting and Integration are listed below: COMMON SECTION: Please review below for the functions and its description: 1. Time Interval: It essentially illustrates how long synchronization should take. 2. ...How to create Cases or sync them with CRM?
Feature: This functionality will be used to create Cases and can be synced with CRMs. Who will be using this? Any user having Cases permission can view/create/edit/own it. Only Super Admins have access to create Case custom fields layout aka Case ...How do I push an opportunity into my CRM?
Posted by The Team at Mindmatrix on 18 March 2016 12:07 PM Step 1: Click to expand “Views” and then click on “Report”. Step 2: Click on “Push To CRM”. Note: The Opportunities with Contacts can also be Auto Pushed depending on the Interest Level ...How to get started with CRM TODO / activity in Salesforce
Reference this article to get started with ToDo notifications from Mindmatrix. https://helpdesk.mindmatrix.net/portal/kb/articles/create-smartlist-todo-notificationsl This article will display how todo activities are generated for Salesforce. ToDo ...How do I integrate my Salesforce PRM account with Mindmatrix and activate the SSO connection?
Before you integrate your Salesforce PRM account with Mindmatrix, you will need the Mindmatrix app package installed within Salesforce. User requirements: You must be an Admin in Salesforce PRM with an access to integrate with third party ...


