This article details how to use the following module(s):
FACILITATION |
Contracts |
Allows configuration of print templates to create contracts which can be sent to Contacts in the system. |
Who would use this? The contract module can be used by users who have access to create contracts via roles. Instructions:
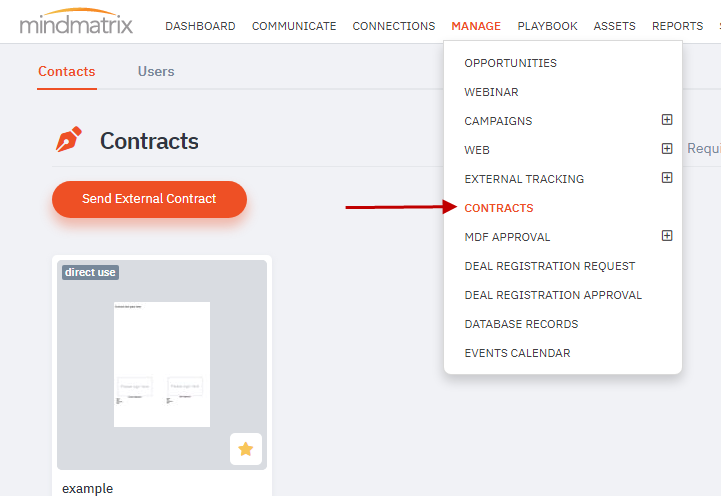
- To create a media of the contract, from the Manage tab select Contracts
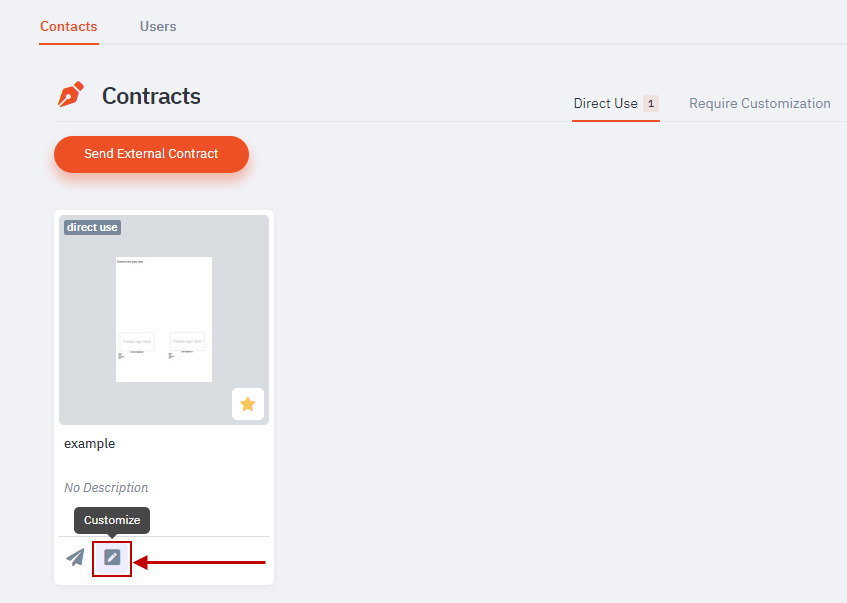
- You can either send the contract directly to a contact or you can customize it before sending. Click on the customize button on the contract thumbnail.
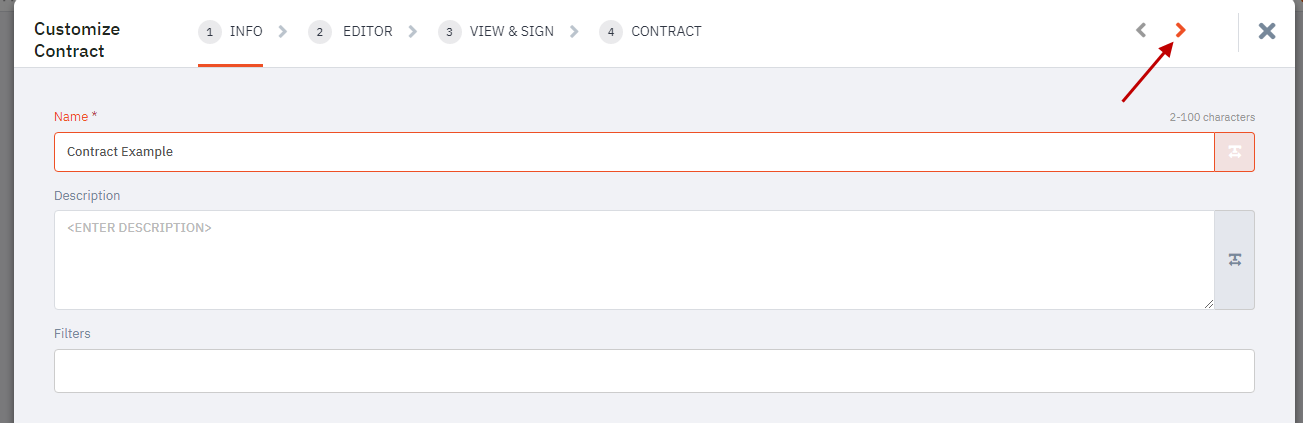
- Just like the template section, here you get the option to give the contract media a name, description and filters. Click on ‘Next’ to continue
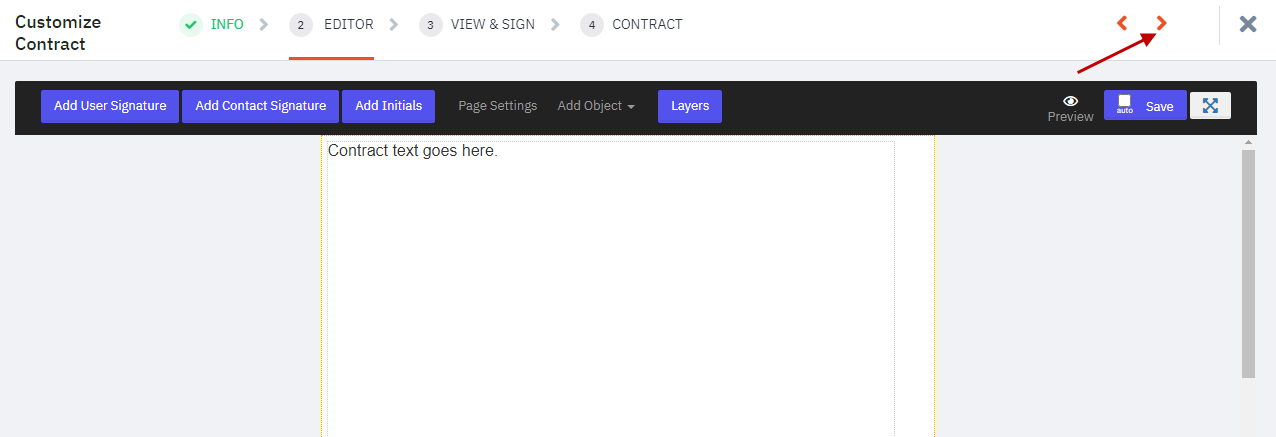
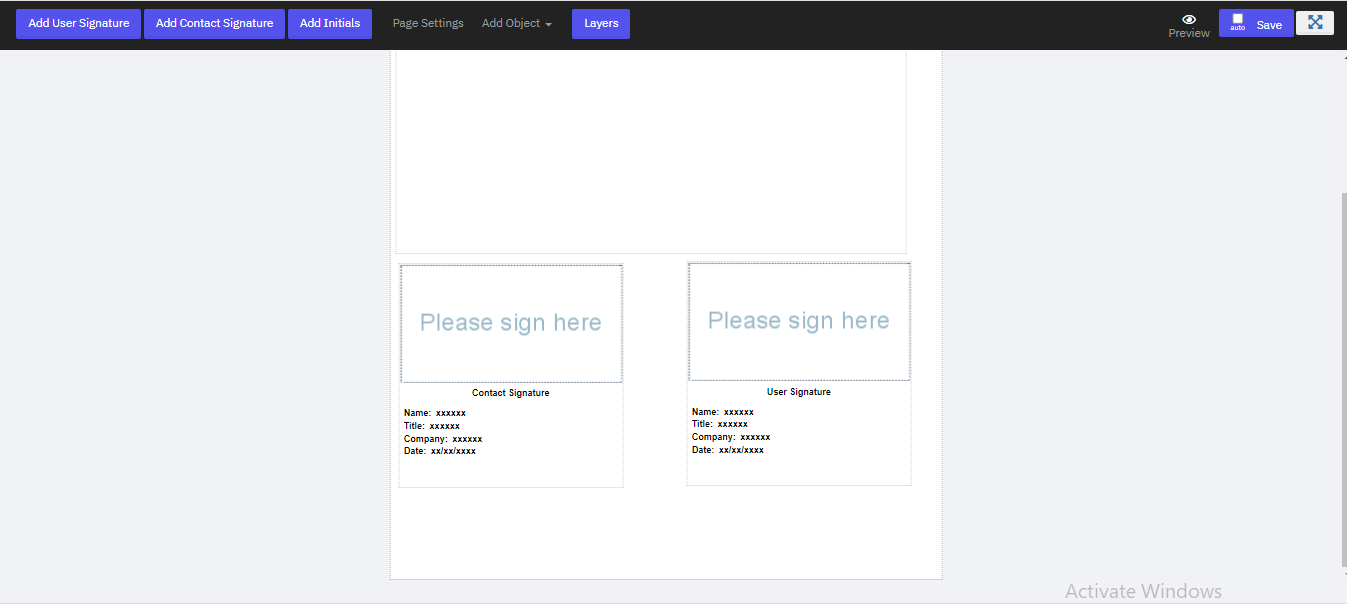
- The next step is the editor and get the option to either edit or add more objects to the contract using the same tools provided in the template editor.
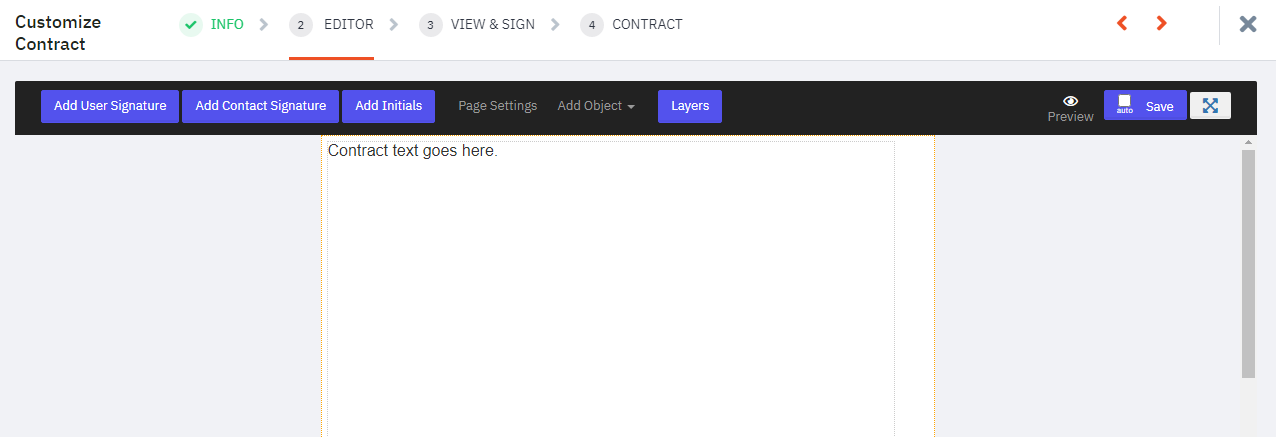
- Click on ‘Next’ to proceed to the next step
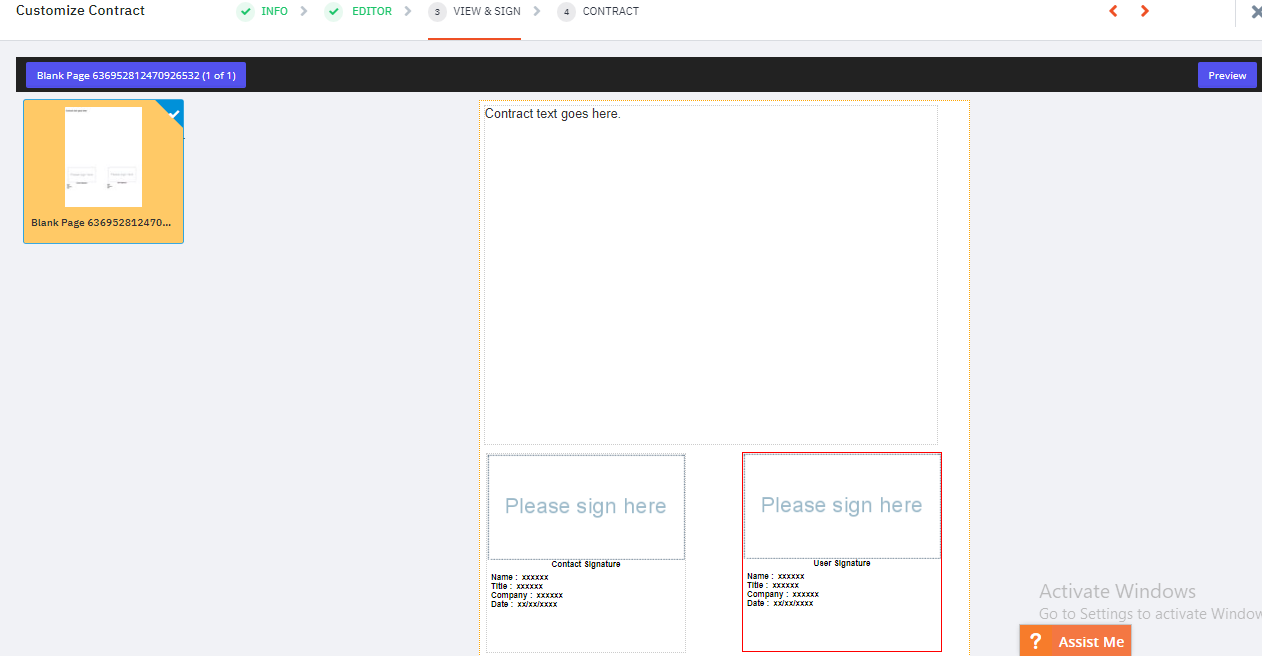
- This is the ‘View & Sign’ step. This is where the user/recipient has to sign the contract. You cannot proceed to the next step without signing the contract.
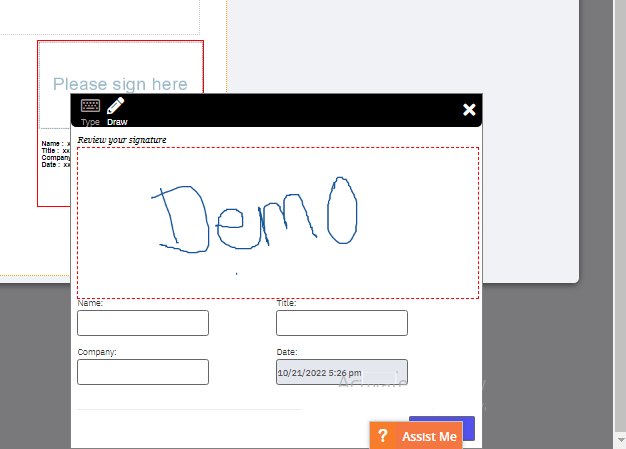
- To sign the contract, click on the user signature block
- Clicking on the signature block gives you:
- Your name
- Title
- Company name
- The time when the agreement was signed (this field will always be disabled and cannot be edited.)
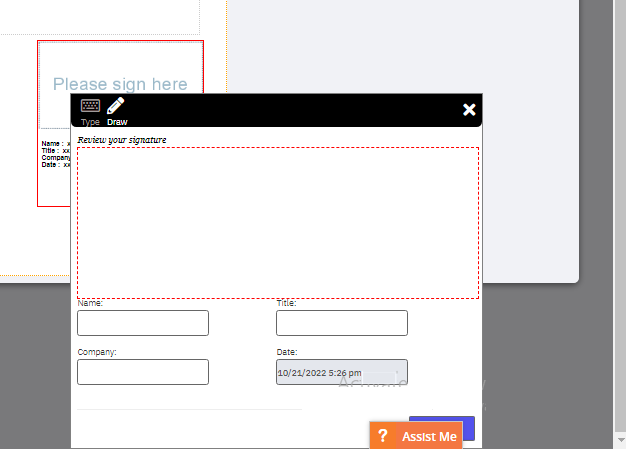
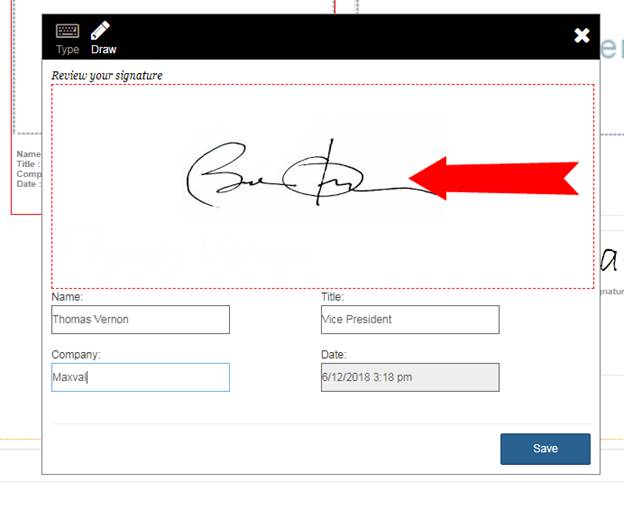
- The value added in the name field becomes the signature of the user. If you do not want the name to be the signature you have the option to draw your signature. To draw, click on the ‘Draw’ button
- Use the mouse to draw your signature in the designated area. Once done click on the ‘Save’ Button
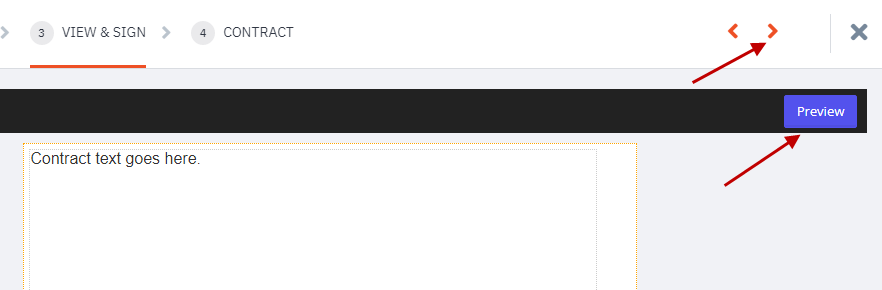
- Click on the Preview button to get a preview of your contract, otherwise click on ‘next’ to move to the next step
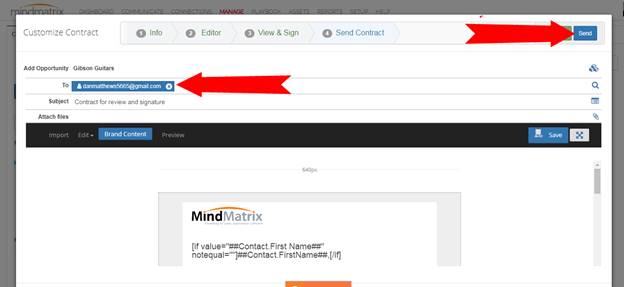
- In this step, you can directly type in the name of a contact, or select one from the look up section.
Note: A contract can only be sent to one contact. The option to add multiple contacts has been disabled
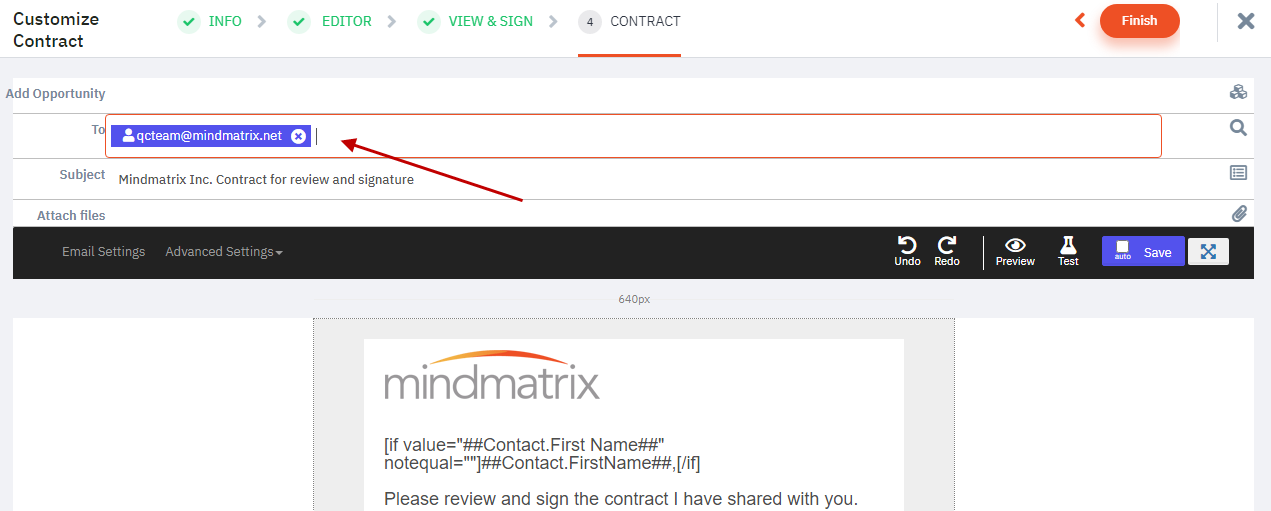
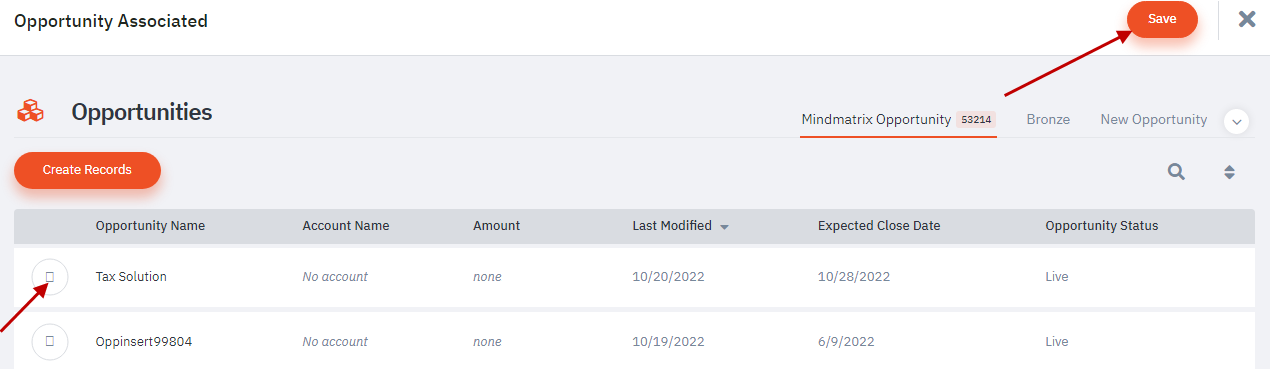
- The other way to add a contact to the contract is by associating an opportunity to it. Click on the opportunity icon

- Select an opportunity record -> click on “save”
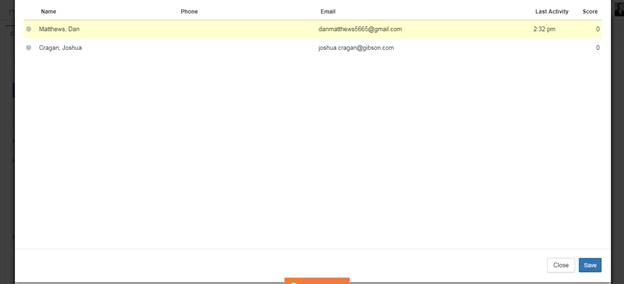
- A pop-up displaying the names of the contacts associated with the selected opportunity record will appear. Select one contact and click on “save”
Note: On selecting an opportunity if you select a contact from the look up section, the contact automatically gets associated with the opportunity record
- The selected contact gets added to the recipient list. Click on the send button to send the contract to the selected contact
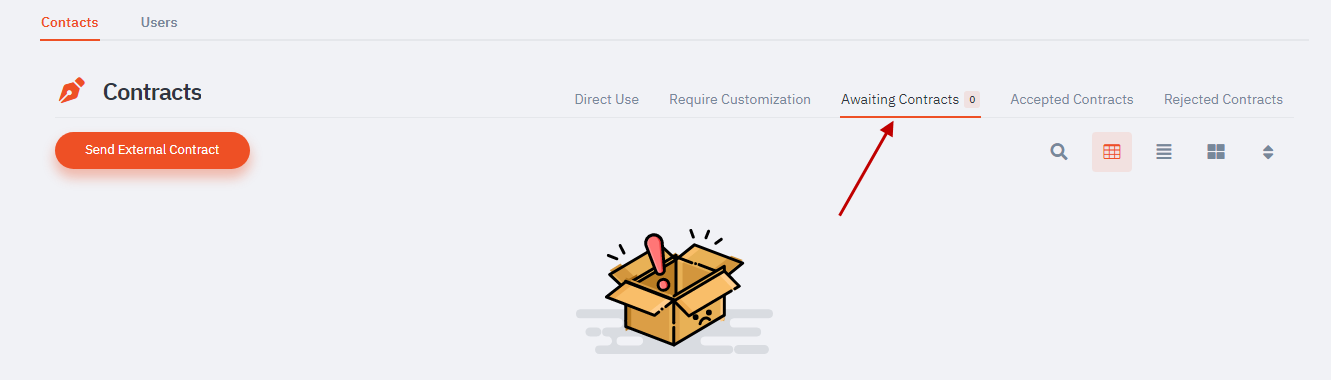
- All contracts that have been sent to contact but not signed and accepted can be found under the awaiting contracts folder
How to accept/sign a contract (client/recipient side)
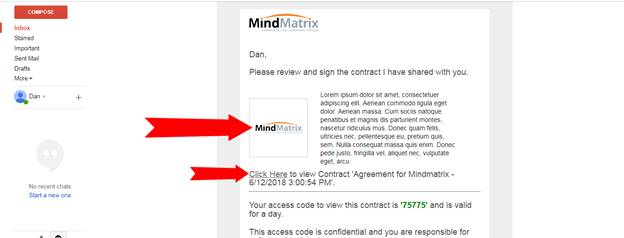
- On opening the received email, click on the thumbnail of the contract or click on the link below it to open it
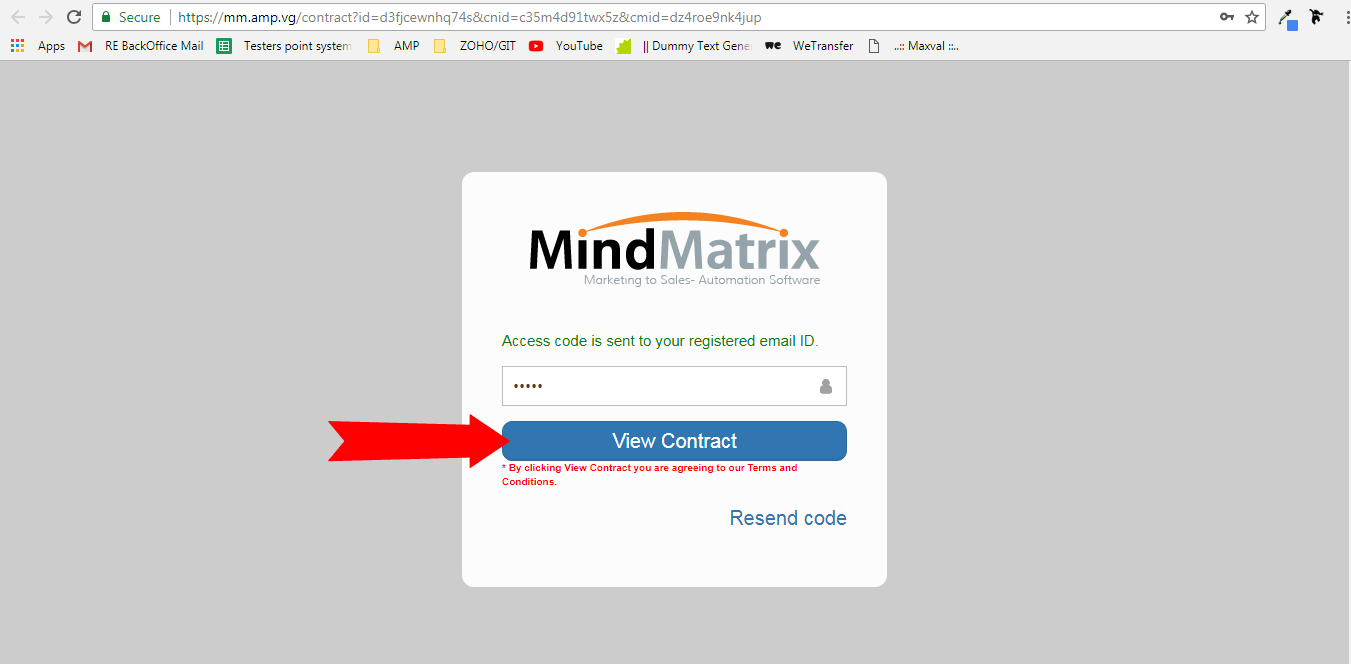
- Enter the access code received with the email -> click on view contract
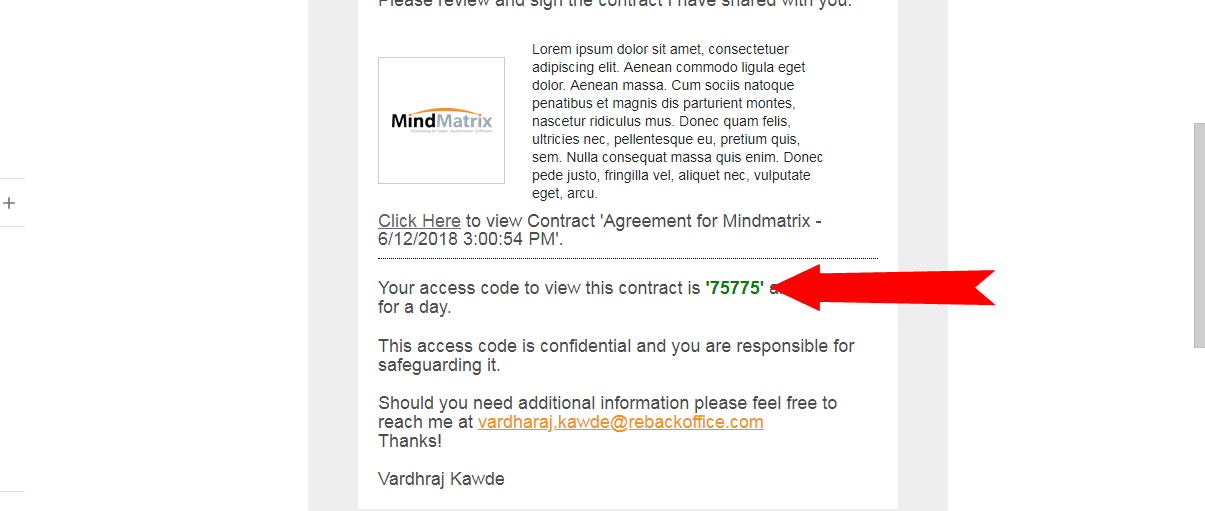 
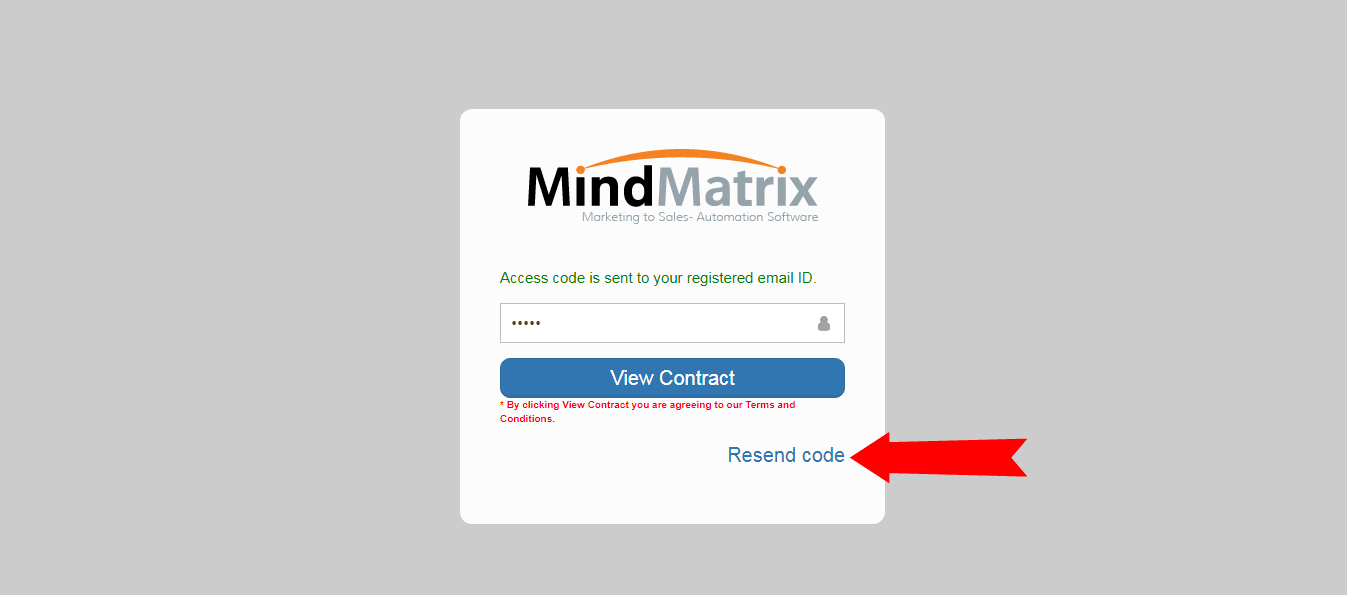
- The access code is valid only for a day. If you wish to view the contract after its expiration, click on the resend code link and the new access code will be sent to you via email
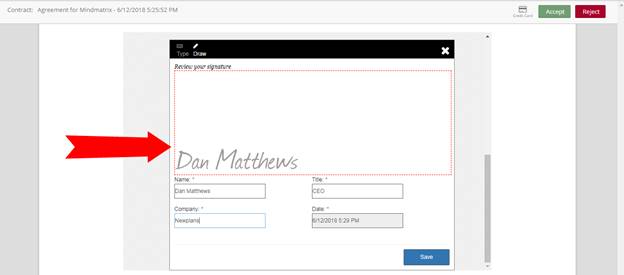
- Once you get access to the contract, click on the contact signature block to sign and enter the other details
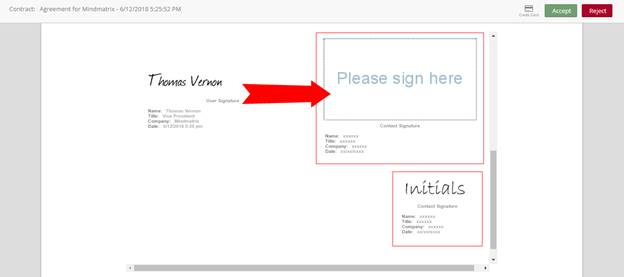
- Contacts can either type in their name for the signature or draw the signature
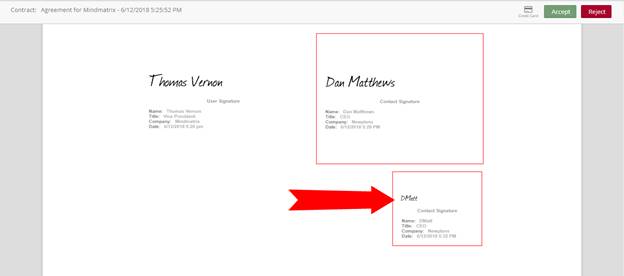
- Follow the similar steps to add initials
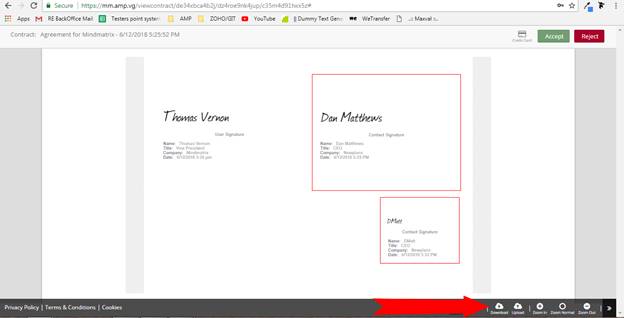
- At the bottom of every page are the following options:
- Download: Option to download the contract
- Upload: Contacts can download the contract, sign the contract offline, scan the documents and then upload them back to the system
- Zoom In: Allows contacts to zoom into the contract
- Zoom Out: Allows contacts to zoom out of the contract
- Zoom Normal: sets the stage back to normal zoom level
- If the contact does not agree to the terms and conditions stipulated in the contract, it can be rejected by clicking on the ‘reject’ button
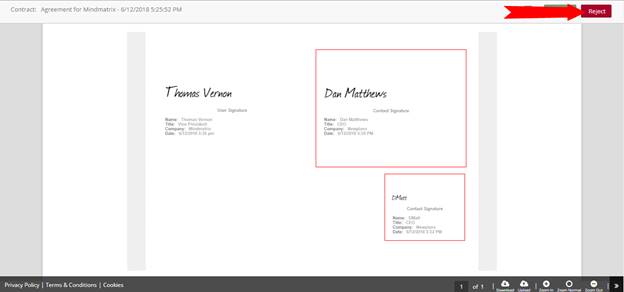
- Users can find all the rejected contracts under the ‘rejected contracts’ folder

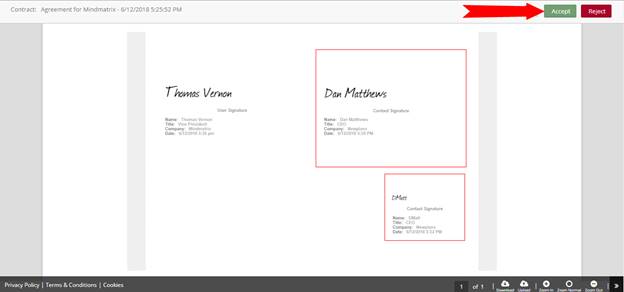
- If the terms and conditions in the contract are accepted by the contact, they may click on the ‘accept’ button
- Agree with the terms and condition of the contract, click on OK or cancel
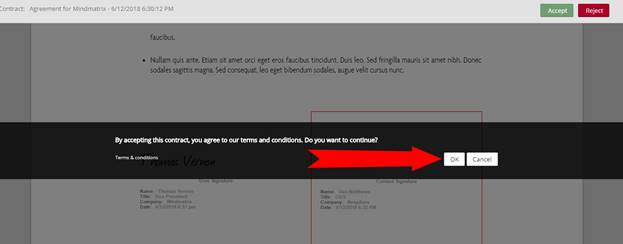
- Once you click on OK you will be directed to the success page that displays the details of the contract. If you wish to view the contract again, click on the ‘view contract’ button
All contracts that have been accepted by the contacts can be found under the ‘accepted contracts’ folder |
