How do I add an event to the Events Calendar?
Click on the '+' icon on the calendar
Set a name, date, and time for your event, and then click on the 'next' icon.
New Feature: Enhanced Event Sharing in Events Calendar
New capability: Share events with Channel Managers and partner admins within your company.
Updated sharing interface: Two new tabs added - "Managers" and "Partner Admins".
"Managers" tab: Displays all managers associated with your organization's groups.
"Partner Admins" tab: Lists all Partner Admins of your organization.
Benefit: Improves internal collaboration and streamlines event communication.
To use this feature:
Create an event
Navigate to the sharing tab
Select either "Managers" or "Partner Admins" to share with the respective groups

The event will now appear on the calendar.
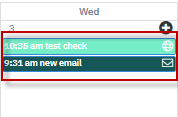
Clicking on the event will give you detailed information about the event.
In the Roles section under the Advanced Settings tab, a new checkbox Only View Events has been added. If selected, users will only be able to view events without having the ability to perform any actions such as editing, sharing, or deleting the event. If the checkbox is unchecked, users will have full permission to perform these actions on events they create.
How It Works:
Below are examples of how the calendar looks when the checkbox is unchecked versus when it is checked.
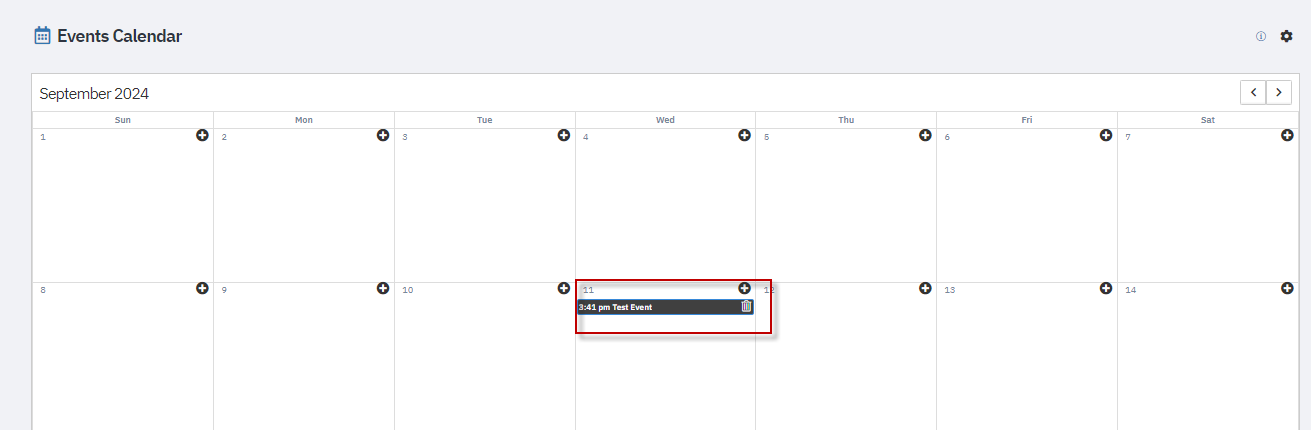
Screenshot: Event When Checkbox is Unchecked
The screenshot below shows the event with all permissions enabled (Checkbox unchecked). Users can perform actions such as editing or deleting the event.
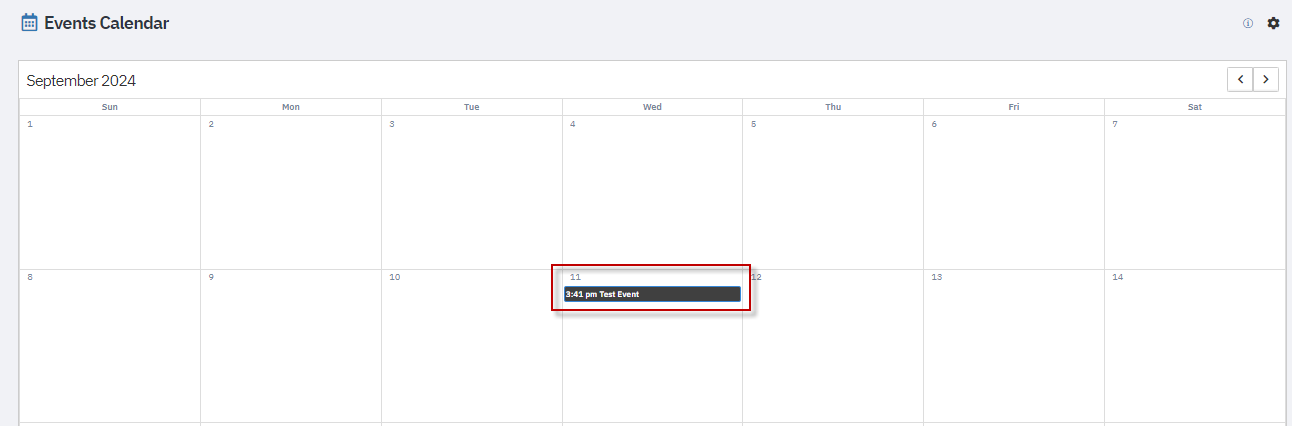
Screenshot: Event When Checkbox is Checked
In the screenshot below, the event is visible with no permissions to edit, delete, or share the event (Checkbox checked). The event is strictly in "view-only" mode for the user.
Super Admin Banner Customization for Event Calendar Page
Super Admin users can now edit the banner displayed on the Event Calendar page to customize the appearance and messaging.
How to Edit the Banner:
Navigate to the Event Calendar page
Click the Edit icon located on the banner
Update any of the following fields:
Title – Main heading text for the banner
Description – Additional descriptive text
Background Color – Banner background color
Banner Image – Custom image for the banner background
Click Save to apply the changes
Important Notes:
This feature is available only to Super Admin users
All updates will be reflected immediately on the Event Calendar banner
Changes persist until manually updated again
This enhancement allows organizations to customize the Event Calendar page to match their branding and messaging needs.
Related Articles
How Do I Integrate Google Calendar with Mindmatrix?
Feature: This feature allows users to integrate Google calendar with Mindmatrix including syncing calendar events and associated contacts. Who will be using this? This feature can be enabled for all users in a company to have the ability to integrate ...How do I import events into the Bridge Calendar System?
Introduction: The ability to import events into an event calendar system significantly enhances event management efficiency. This feature allows users to integrate event data from sources like Excel spreadsheets, eliminating the need for manual data ...How do I create tasks from a system event in a drip campaign?
Who would use this? Users responsible for contact management and structuring marketing drip campaigns - Usually a Marketing Manager or Marketing Coordinator. For information on how to access and use the drip template editor, see How to Create a ...How do I add contacts to a drip campaign?
It is possible to personalize navigation menus within Mindmatrix software. If you are unable to navigate to the correct page, contact your platform administrator. There are three ways to add contacts to a drip campaign: 1. Adding contacts from the ...How do I create a System Event task in an an Email Drip Campaign template?
When making a drip campaign, using a system event will allow you to set contact information, move a contact to a new node in the program, or move the contact into an entirely new campaign. Opening the System Event Menu: In any drip campaign template, ...