Implementation of Super Admin Page to Configure Email Notifications
Introduction:
Accessing the System Notification Configurator:
Navigate to the System Notifications Page:
Locate and open the "System Notifications" page from the admin panel or visit this URL - /setup/system/notification/configuration. It varies based on the portal wise.
View Available Modules:
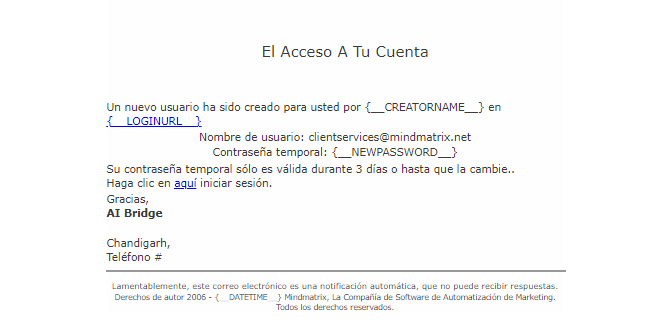
The page will display all modules that require email notifications. Currently, the feature is available for two modules: Temporary Password and Announcement Share Notifications.
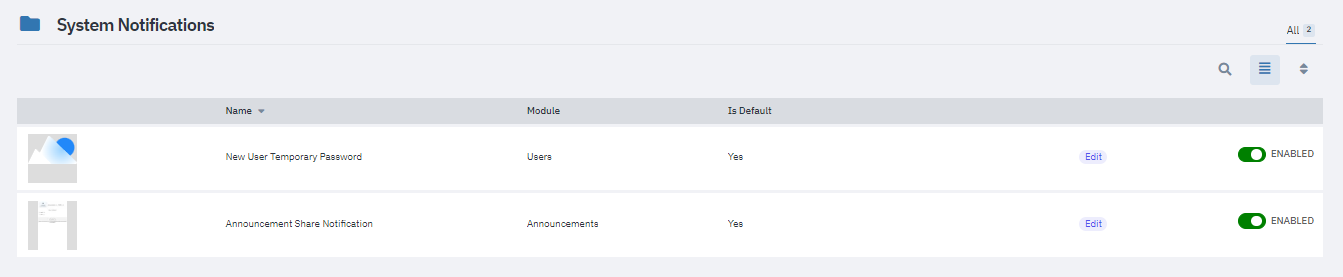
Understanding the Columns:
Module Name: Displays the name of the module.
Default Template: Indicates whether the template is the default version or has been customized.
Edit and Set All to Default: Provides options to edit the template or revert all templates to the default settings.
Enabled/Disabled Toggle: Controls whether the email notifications for the module are active or inactive.

Configuring Email Notifications:
Enabling/Disabling Notifications:
Use the toggle switch to enable or disable notifications for the entire company. Disabling notifications here overrides individual user settings, preventing any user from receiving emails for that module.
Editing the Email Template:
Click on the "Edit" button to modify the email template for a specific module.
A modal will appear showing the template in all supported languages.
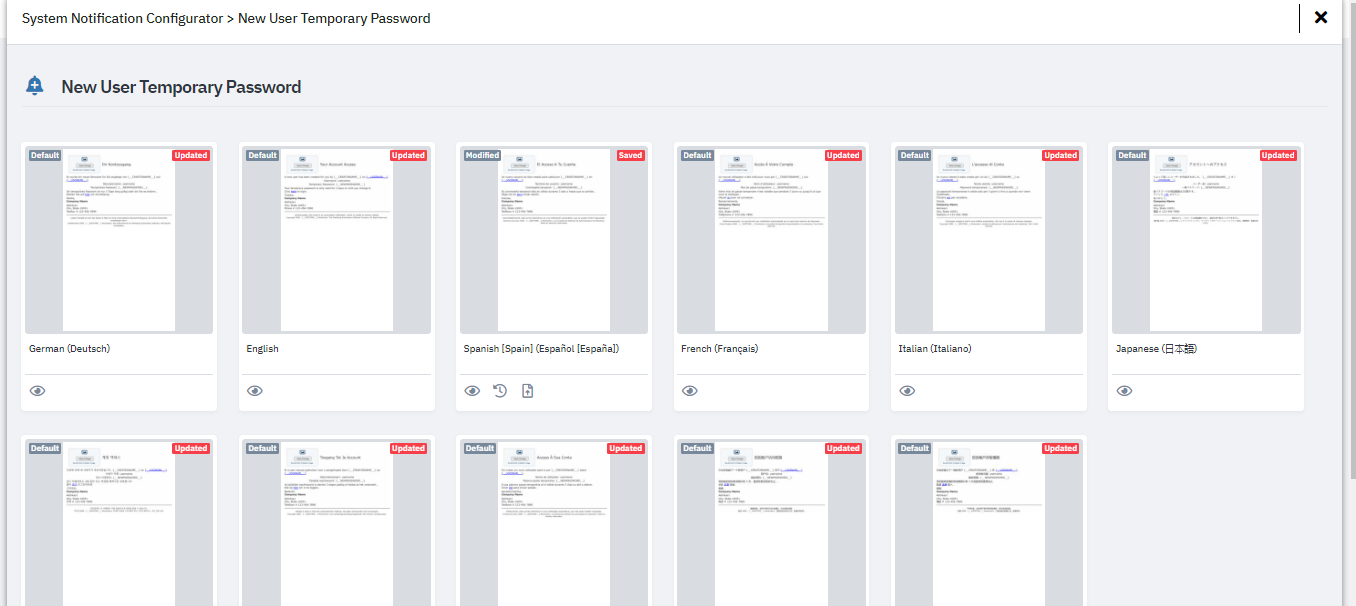
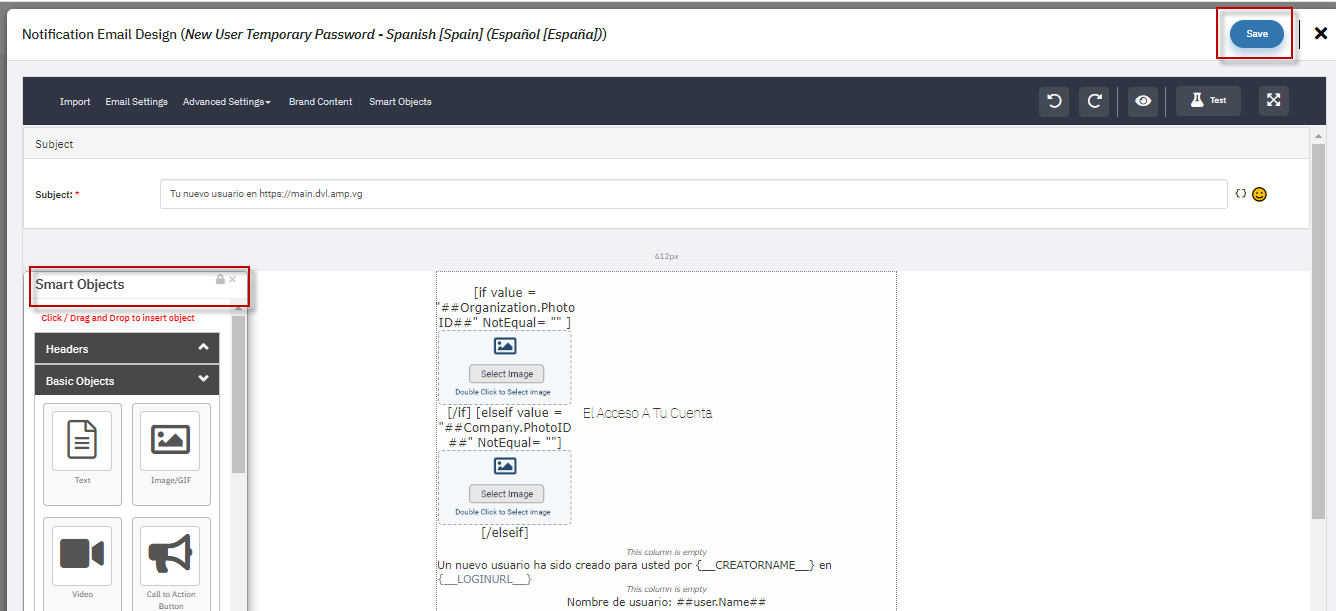
Customizing the Template:
Select the language you wish to edit.
The template editor will display the current email template, which can be modified using various smart objects.
Save the changes, either by clicking "Save and Continue" to make further edits or "Save and Close" to finalize the template.
Setting All Templates to Default:
If multiple languages have been customized, the "Set All to Default" button will revert all templates to their default state.
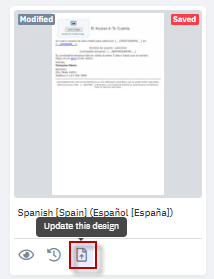
Updating the Template Design:
After making edits, ensure the template is marked as "Updated" by using the "Update Design" option. This ensures the newly customized template is used for sending notifications.
Previewing the Template:
Use the "Preview" option to view the updated email template before finalizing it.
Reverting to Default:
- If necessary, the template can be reverted to its original default design using the "Revert to Default" option.

Related Articles
How do I configure the Install login page?
Introduction: The login portal is more than just an entry point – it's the first impression users have of your digital platform. As a Super Admin, you hold the key to crafting a seamless and personalized experience. This expert guide is designed ...Customizing Your Portal Settings: A Guide for Super Admins
Introduction As a Super Admin, you have the power to customize the portal settings, ensuring a seamless and visually appealing experience for your users. In this comprehensive guide, we will delve into the various aspects of configuring the portal ...How do I toggle a Company Smart List's display setting (from 'Public' to 'Private' or vise versa)? (For Super Admins)
A Company Smart List's 'Display' setting controls whether a list will be automatically visible to all Users within a Company, or only visible to other 'Super Admin' Users. This allows Super Admins to better control User access to Company Smart List ...How do I configure the navigation layout for the company?
In order to access the navigation layout page, it needs to be enabled for your account. Email support@mindmatrix.net in order to make this page accessible. Warning: Adjusting settings on the navigation page only hides the menu option. If you want to ...How do I enable Email and ToDo notifications for a Smart List?
For more information about how to create or edit a Smart List, see How do I create a Smart List?, or How do I create a User Smart List? Note: On the Bridge platform, clients can personalize menu navigation to better suit the specific needs of their ...