How do I use LMS (learning management system) in Mindmatrix?

1. Training Widget (Optional)
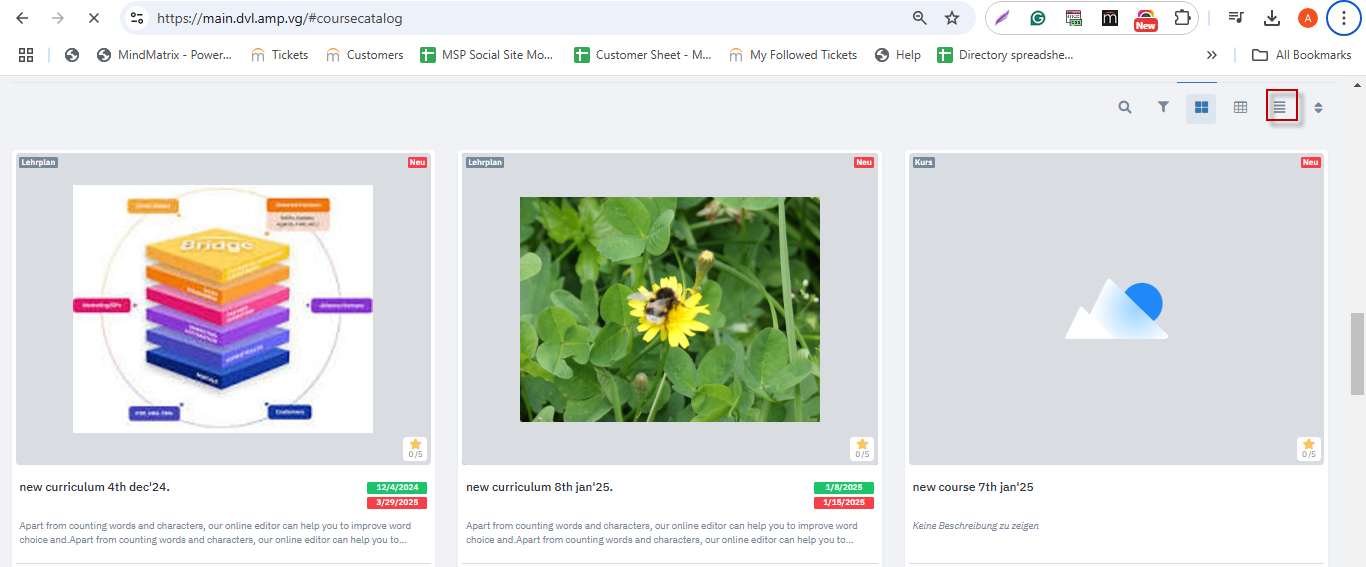
2. Courses

New Feature: List View on the Media Side of LMS
The ‘List View’ option has now been implemented on the media side of the LMS section. Earlier, this feature was only available on the template side.
Benefits:
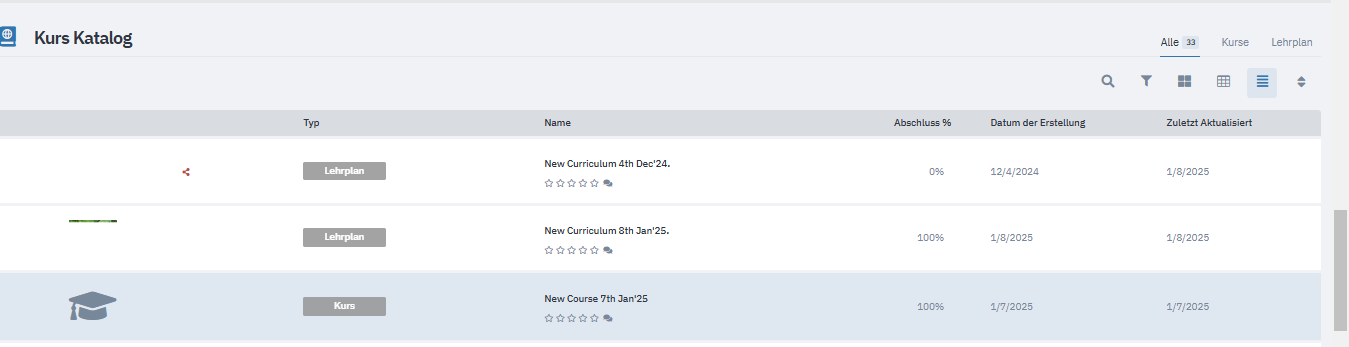
You can now view LMS in the List View mode on the media side.
This enhancement allows you to access and view additional statistics conveniently when the List View is selected.
Refer to the screenshot below for an example:
3. Curriculum

Feature Update / Overview
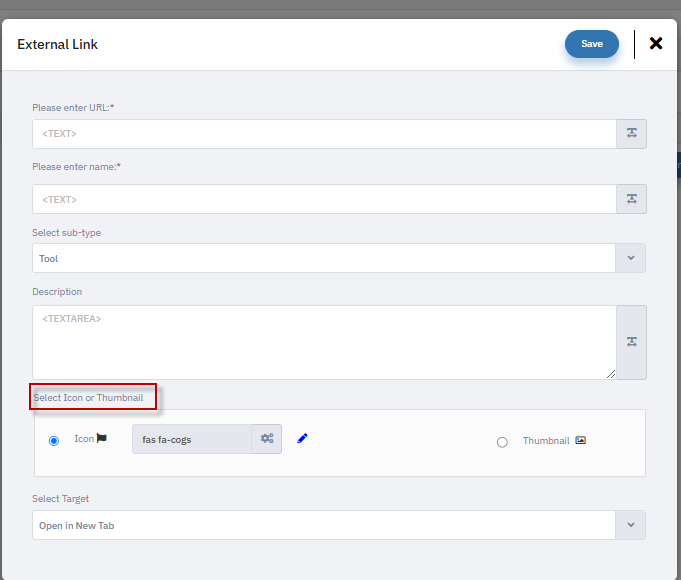
A new enhancement has been introduced in the Learning Management System (LMS), allowing users to upload an icon or thumbnail when using the External Link option while creating a course or curriculum.
This feature improves visual recognition and enhances the user experience by making courses and curriculums more identifiable.
1. Adding an Icon or Thumbnail to an External Link in LMS
Steps to Add an Icon or Thumbnail:
Navigate to LMS in the Mindmatrix platform.
Select Create a new course or curriculum or edit an existing one.
Choose the External Link option when adding a resource.
Locate the "Add Icon or Thumbnail" option.
Upload the desired icon or thumbnail image from your system.
Save the course or curriculum to apply changes.
Once uploaded, the icon or thumbnail will be displayed alongside the external link, helping users quickly recognize the content.
2. Benefits of Adding Icons or Thumbnails to LMS External Links
Better Course Identification: Icons and thumbnails help users easily recognize different courses and curriculums.
Enhanced User Experience: Provides a more visually engaging interface for learners.
Customization Flexibility: allows users to select relevant icons or images that align with course content.
This enhancement ensures better course organization, branding, and user engagement.
 If you have any additional questions, please reach out to support@mindmatrix.net or your account consultant.
Related Articles
Course Catalog v 5.0 preview
Below are changes coming to the course catalog in Mindmatrix after May of 2025. Banner and stats We've introduced a new banner you can personalize with a title and description. This contains access to a tab that will show widgets for: Total Courses ...How can I create a list that segments users by LMS (courses, curriculum, scorm) activity?
The learning management system in Mindmatrix provides courses, curriculum and scorm based testing and certification for users. In order create lists of users based on their LMS related activities, you can create a user-based smart list to segment ...How do I create a SCORM-based Course?
To create a SCORM based course, go to “Set Up”, and open the “Learning Management” drop-down. Then select “Courses”. From here, and click on the “Create” button. Note: Mindmatrix supports only Scorm 1.2 On the Bridge platform, clients can personalize ...How to create a Solution Management?
Feature: The Solution Management feature is designed to facilitate the sharing of solutions among various vendors within the company. This functionality supports many-to-many interactions between Solution Providers and different Vendors within the ...How to add/delete filters from Filter Management and Filter Category?
Introduction: This article will delve into the intricacies of filter management within the assets. However, in this article we will see how to manage the filters in a Learning Management System (LMS), specifically focusing on distinguishing between ...