How do I create a Contact Recipient List?
 Recipient lists are the static lists where contacts are added manually i.e. one at a time or by importing bulk contacts into the desired list.
  Note: On the Bridge platform, clients can personalize menu navigation to better suit the specific needs of their Users. Things may be under a different part of your navigation bar depending on your settings and customization. Contact your platform administrator, Support Team or Consultant for further assistance if you can’t find the selection noted.
 For more information about Email Subscription Lists, see How do I create a subscription list for my marketing campaigns?
- View Users/User Groups,
- View only Users/ User Groups that you are sharing to,
- View only Users/ User Groups that you are not sharing to.
New feature enables sharing entire recipient lists, including all contacts, enhancing collaboration and simplifying list management across users and groups.
New Feature: Comprehensive Recipient List Sharing
Key Points:
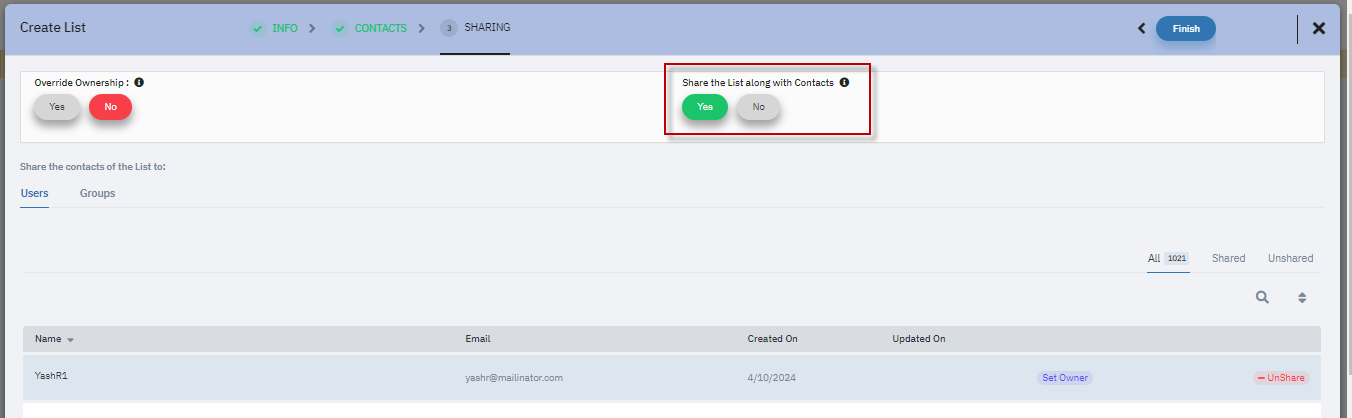
What's New: Share entire recipient lists, including all contacts
Previous Limitation: Only contacts created within a list could be shared
How to Share: Use the "Share the List along with Contacts" button on the sharing page
User Experience:
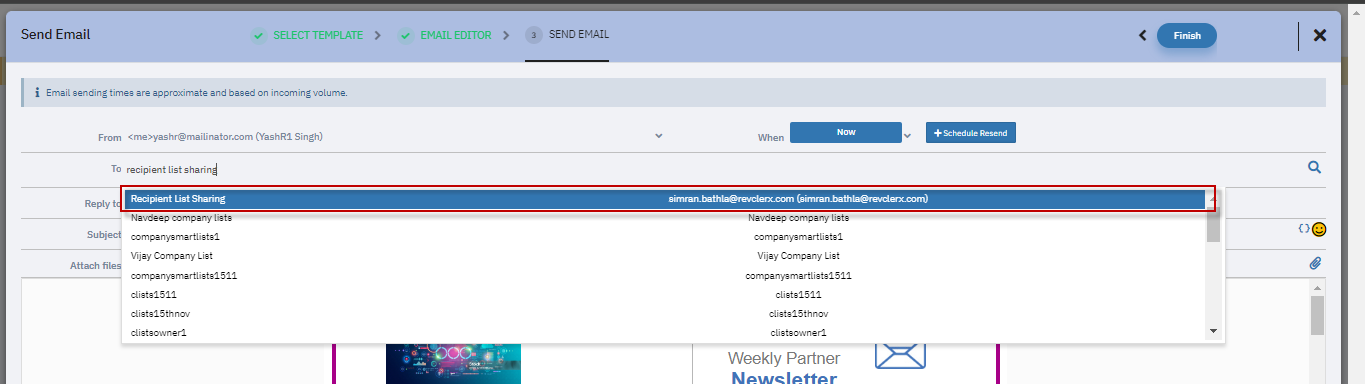
Shared lists appear in the recipient's Recipient List folder
Shared lists are marked with a shared icon
Creator's name is displayed when using shared lists for sending emails

Important Notes:
Users cannot copy or delete shared lists from their accounts
Benefits:
Streamlines collaboration on contact lists
Simplifies sharing of comprehensive contact information
Maintains list integrity and creator attribution