How do I use the “Asset with Links” option in marketing playbooks?
For more information on how to setup a marketing playbook, read this knowledge base article.
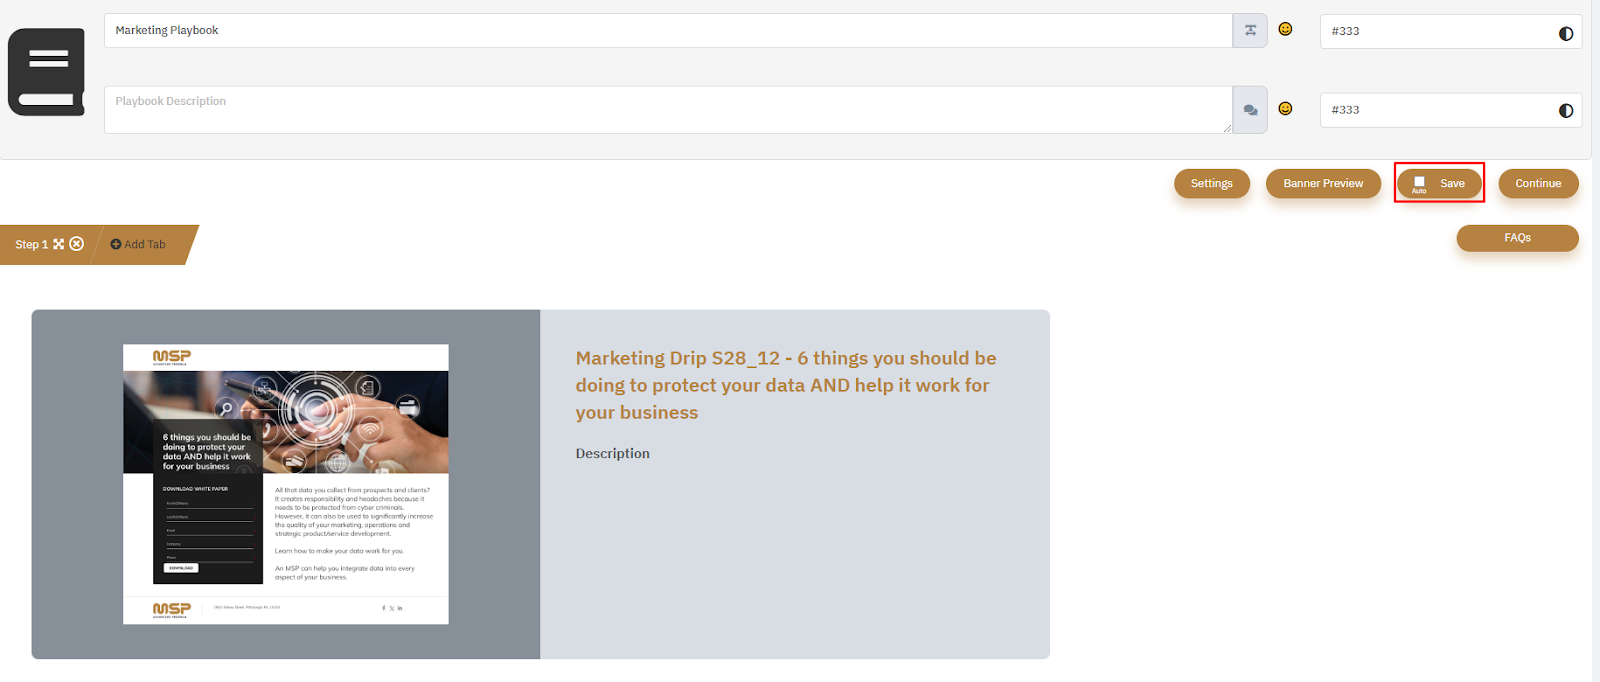
To add “Asset with Links” in the marketing playbook, select “Add tab”, then select the “Embedded Asset” option.

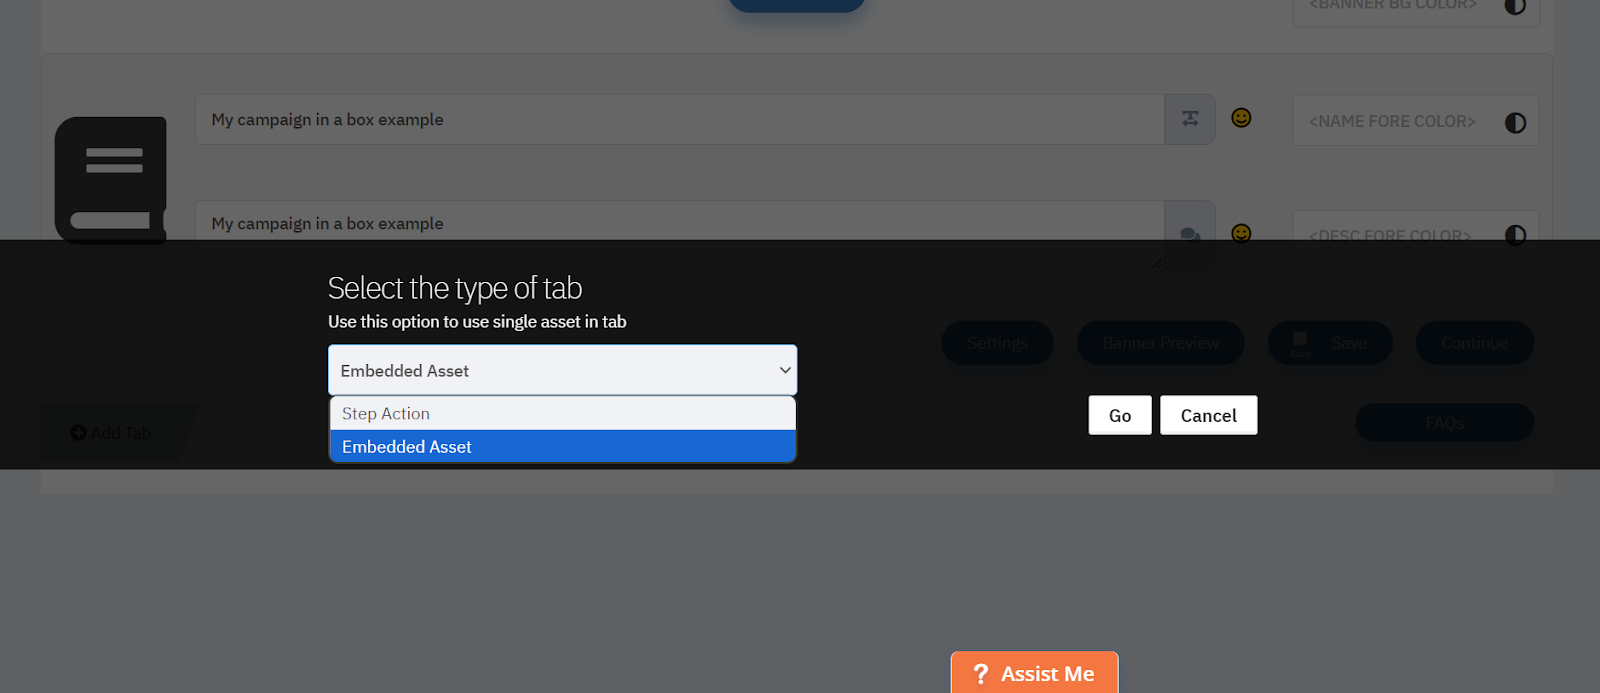
Click “Go”.
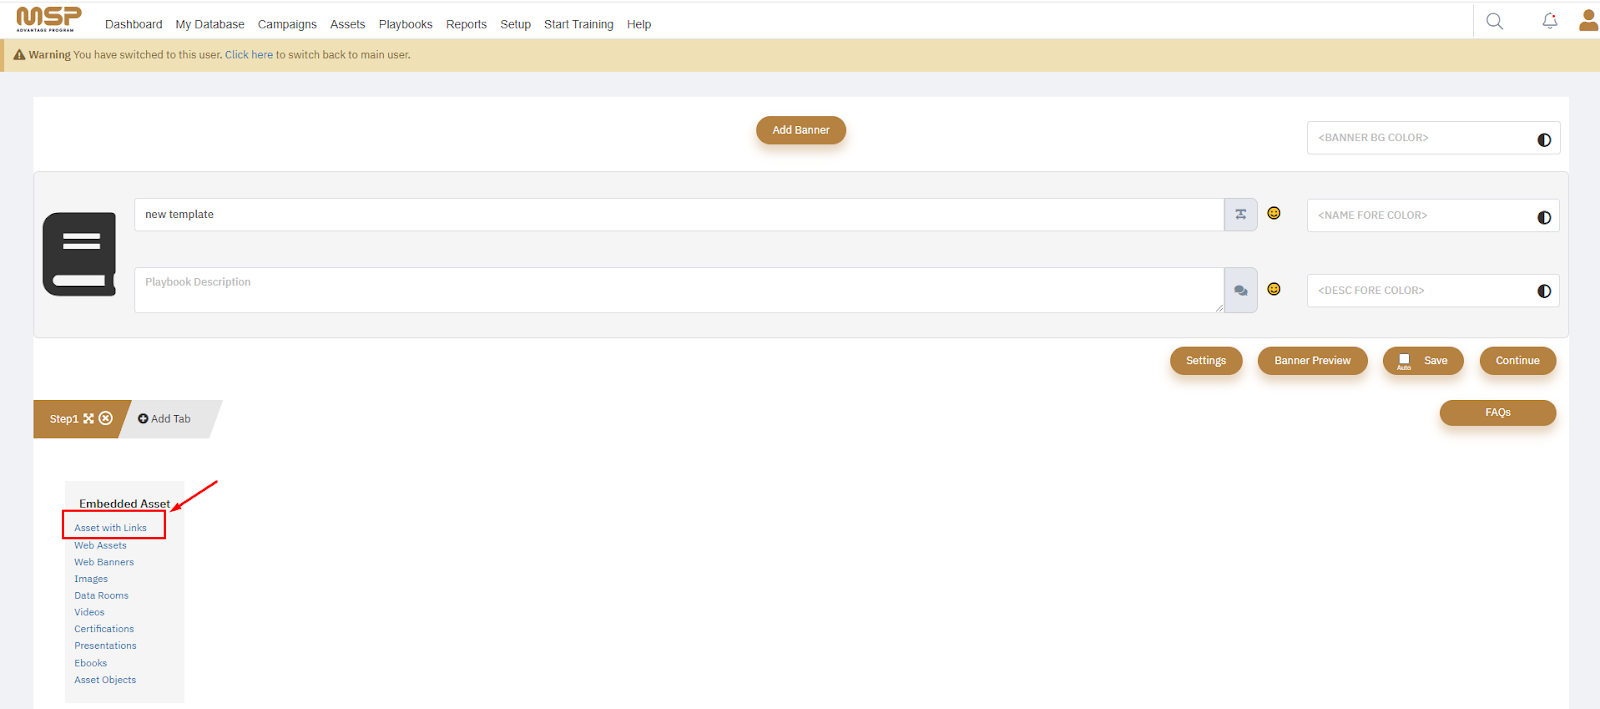
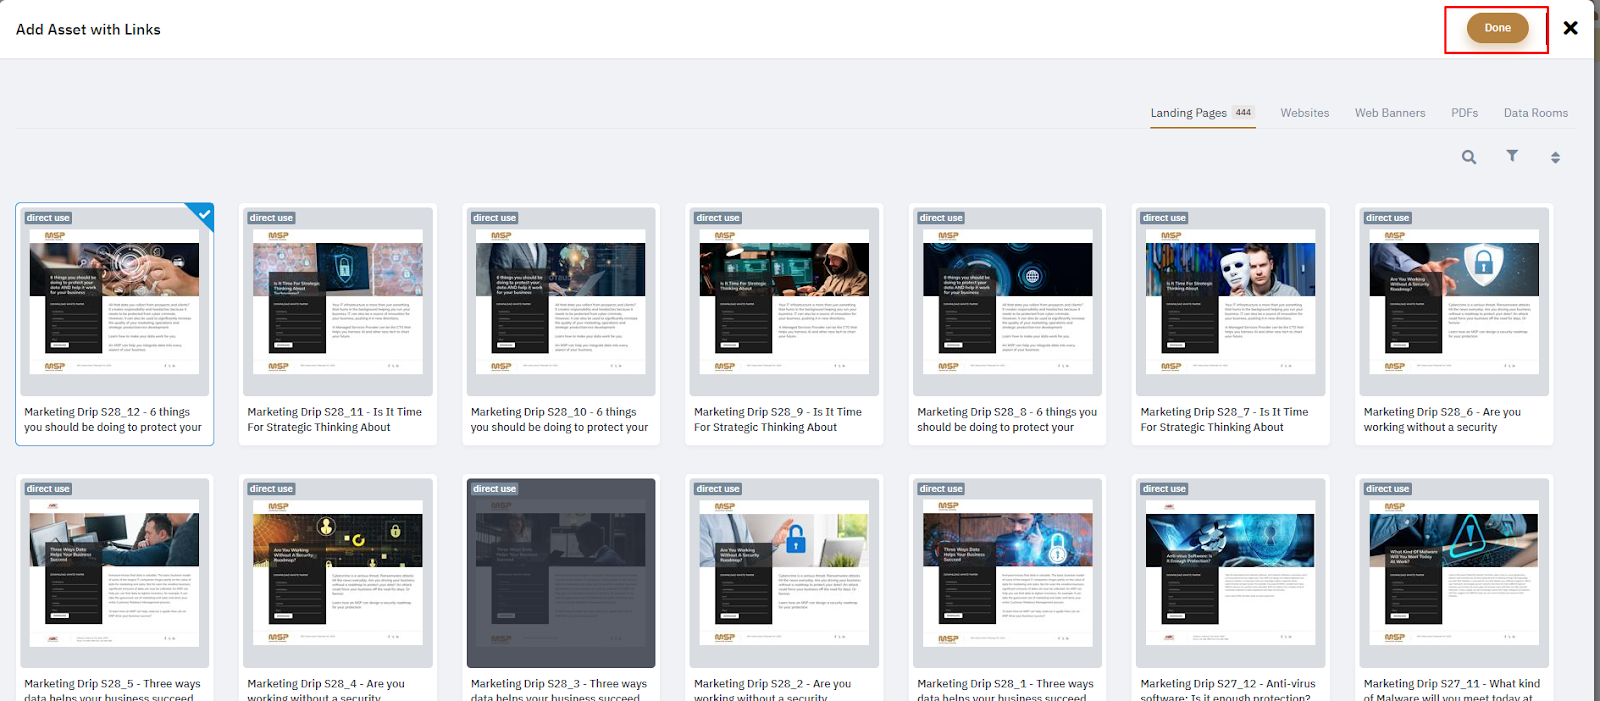
The following types of assets can be added under the “Asset with Links” option.
Landing Pages
Websites
Web Banners
PDFs
Data Rooms
Select the required asset and then click on the “Done” button.
Click on the “Save” button.
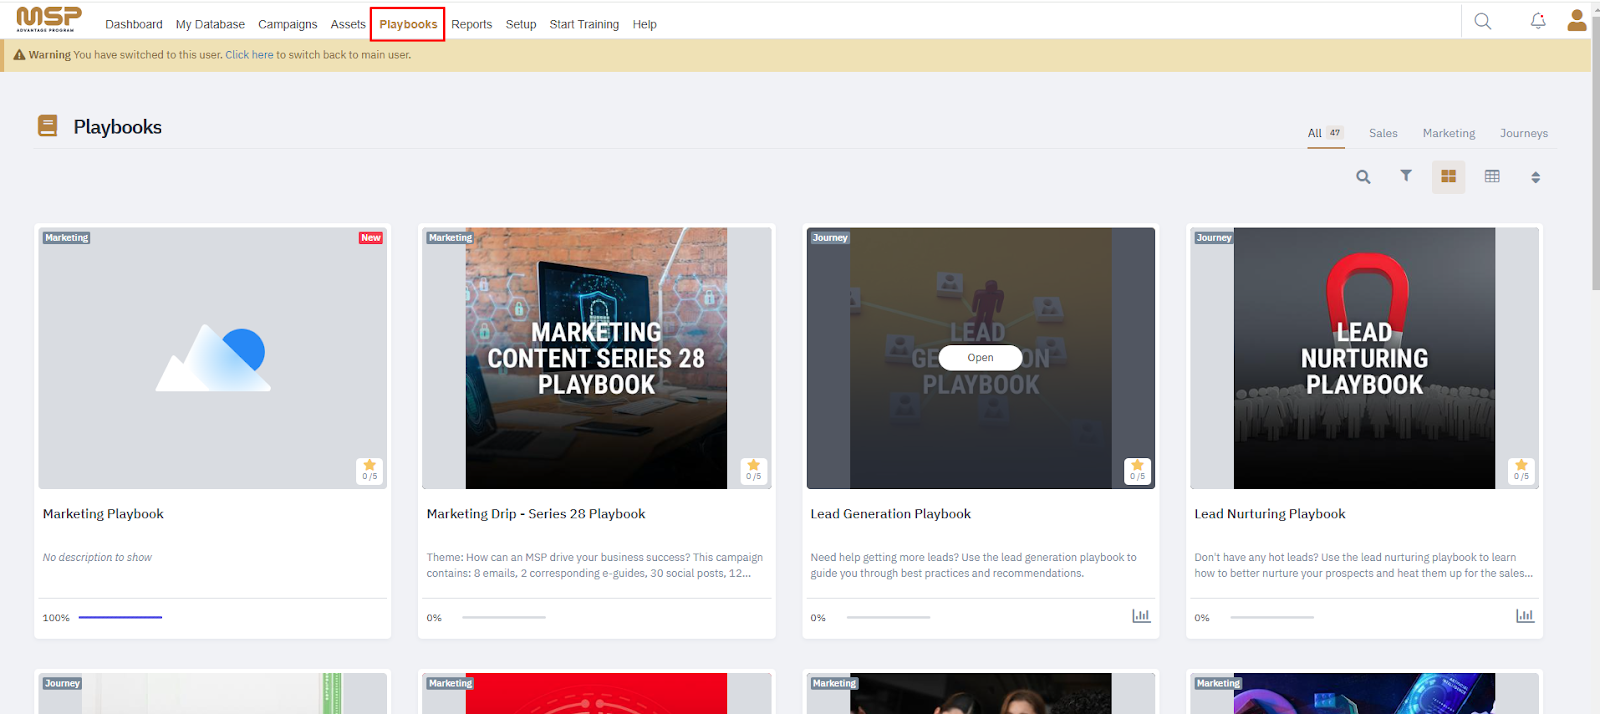
You can review the marketing playbook with the “Asset with Links” option configured by going to your playbook page in your navigation menu. (Note: Your playbook page may be in a different location if you’ve customized your navigation menu.)
Here you can see the asset you have created and open it.
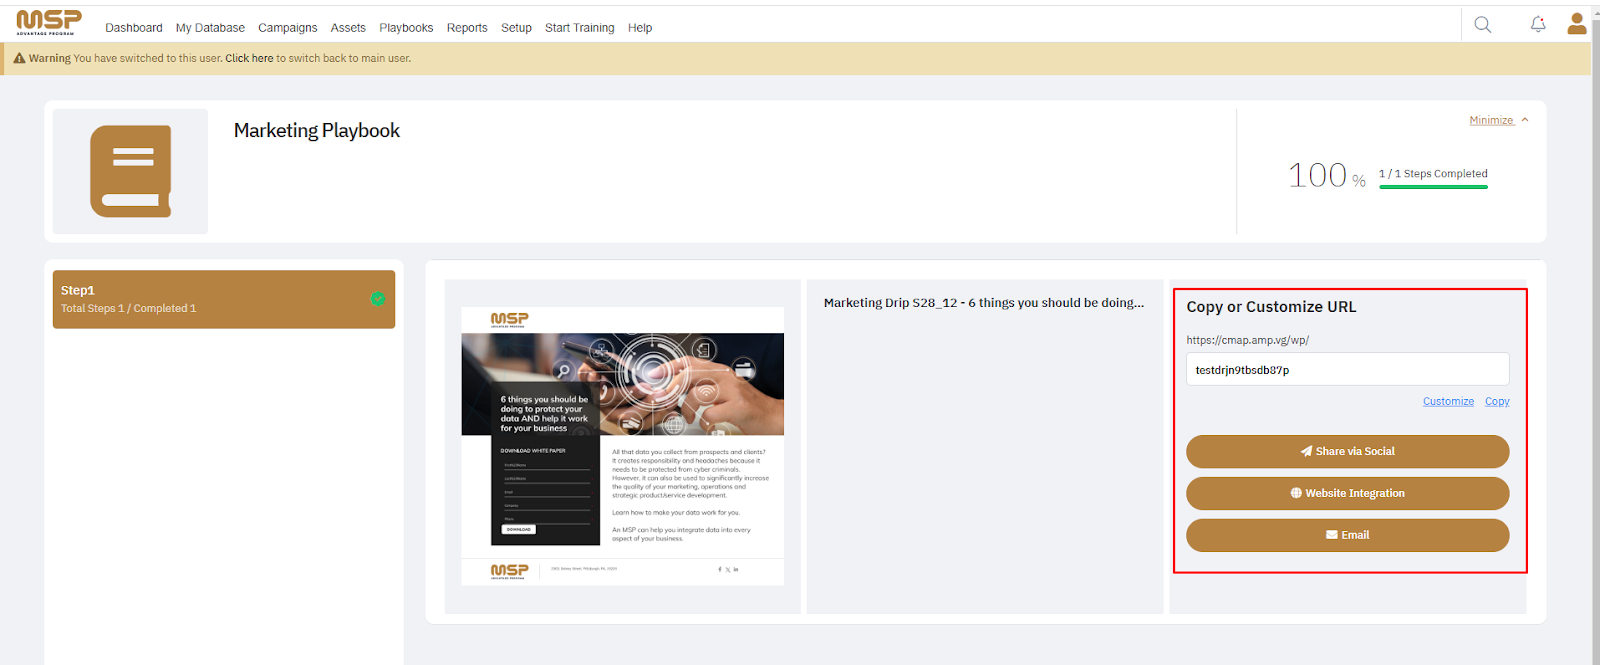
Now that the asset has been added, the user can:
Copy or customize the asset URL
Share the asset on social media sites
Add the asset embed code on their website
Send the asset via email
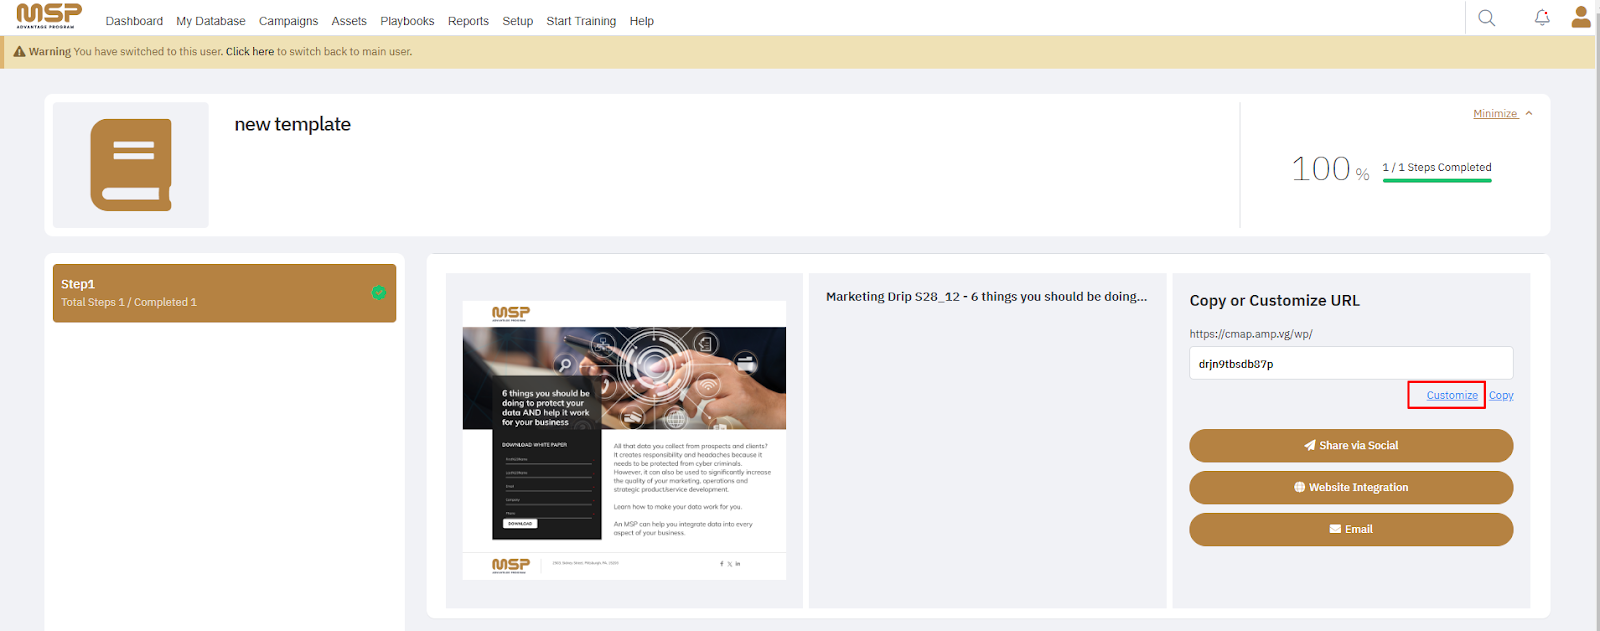
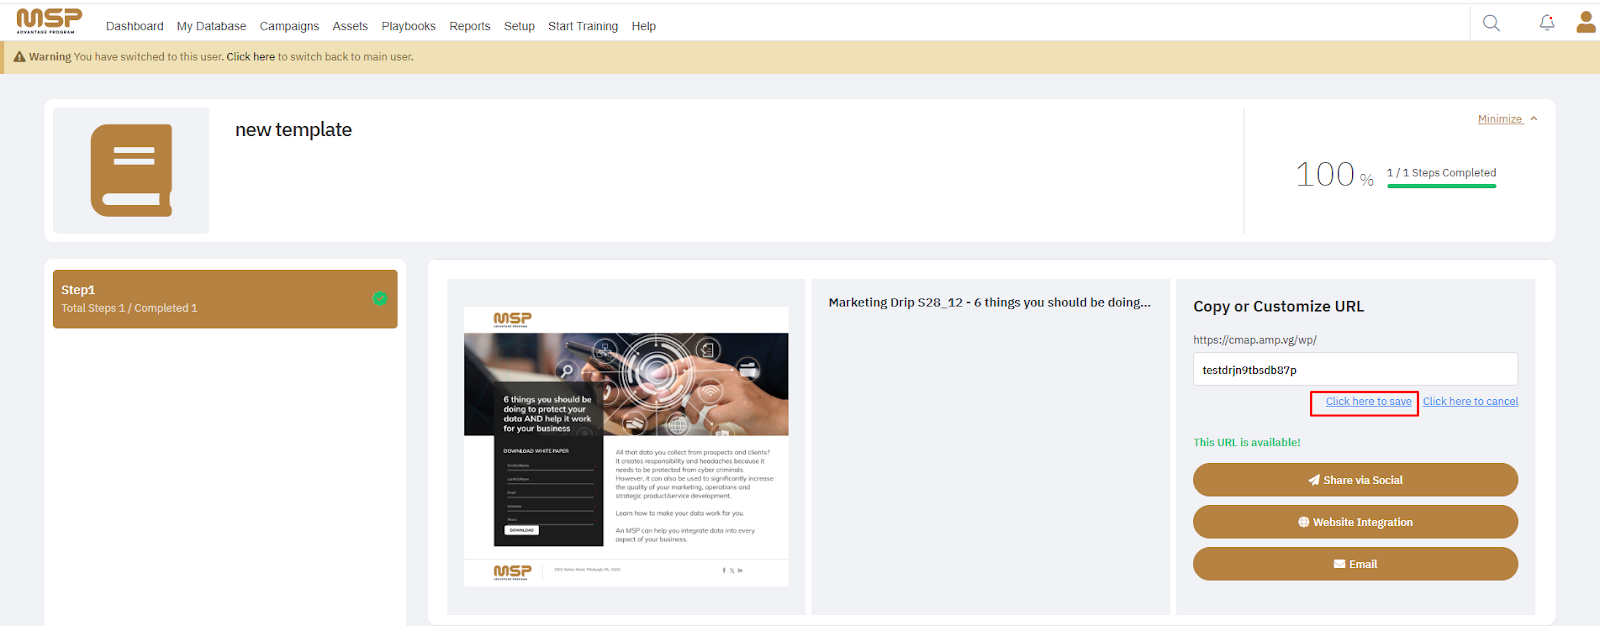
Customize URL: The user can click “Customize” to enter their own customized URL, and “Click here to save”.
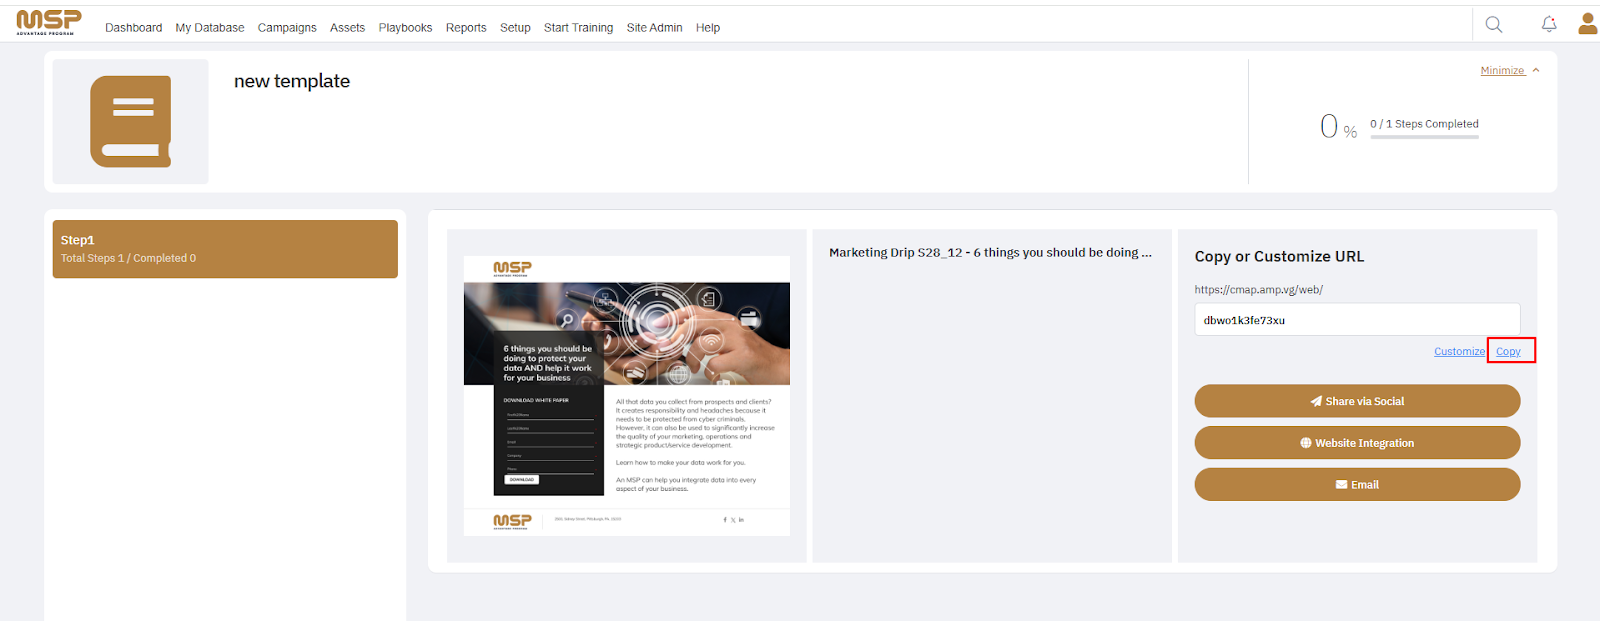
Copy: The user can copy the link by clicking on the “Copy” button.
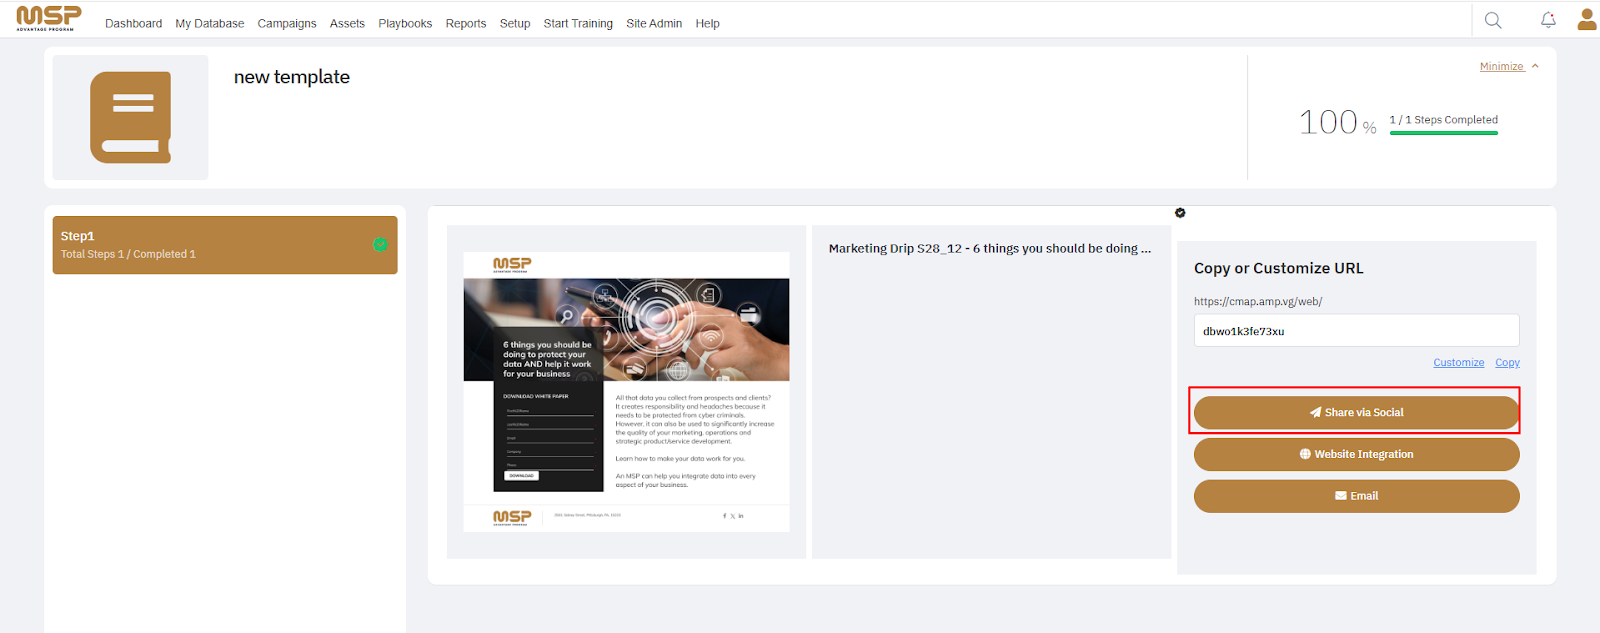
Send via Social: The user can click “Send via Social” to publish the asset to their social media networks.
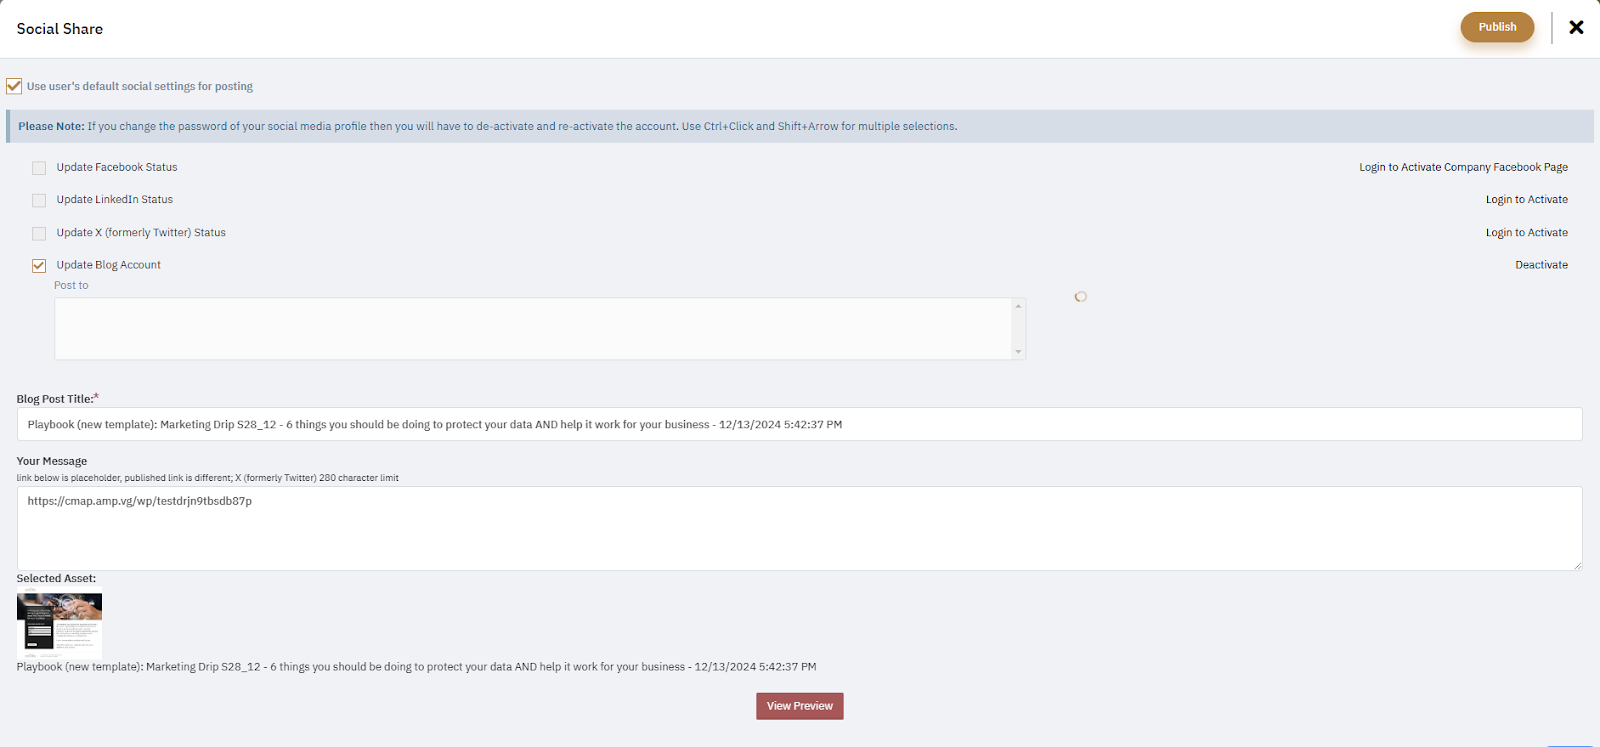
Activate Social Media: The user can activate their social media accounts from this page. If the user has already activated their social media accounts, then they can select the page or wall where they’d like the message to be published.
Website Integration: The user can select “Website Integration” to capture the iframe or other embed code to be added to their website.
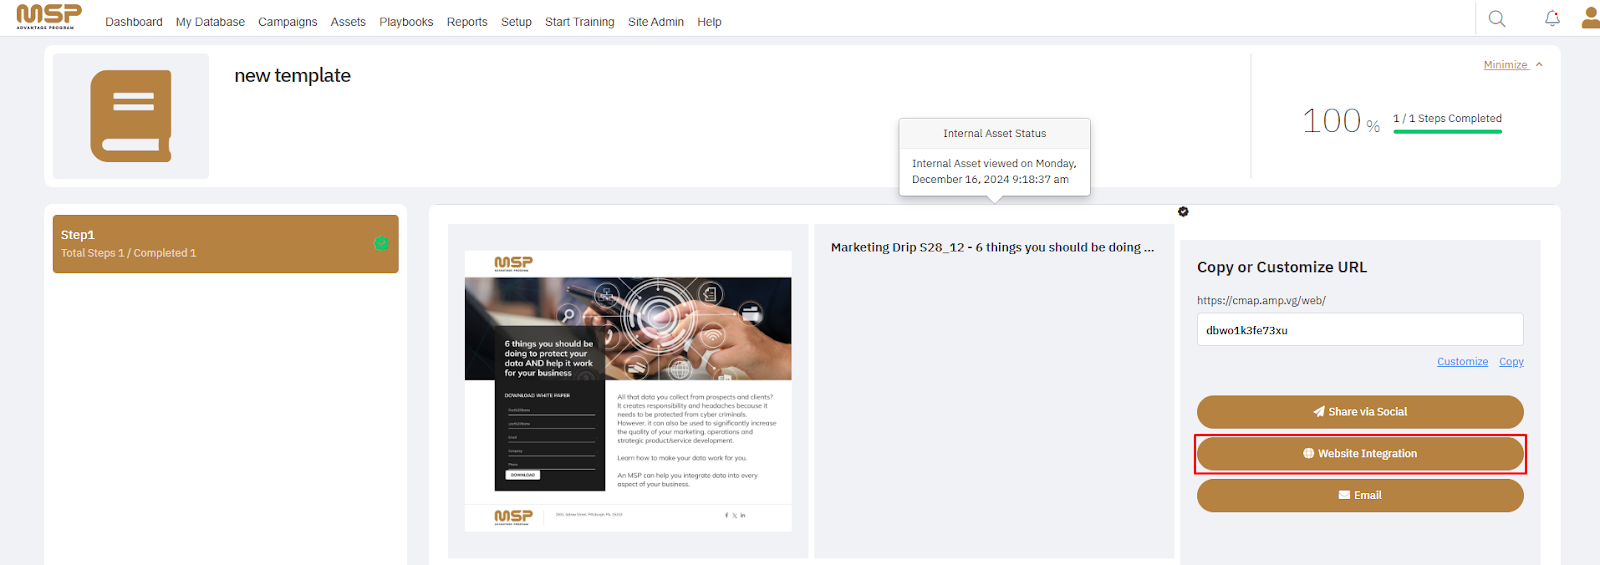
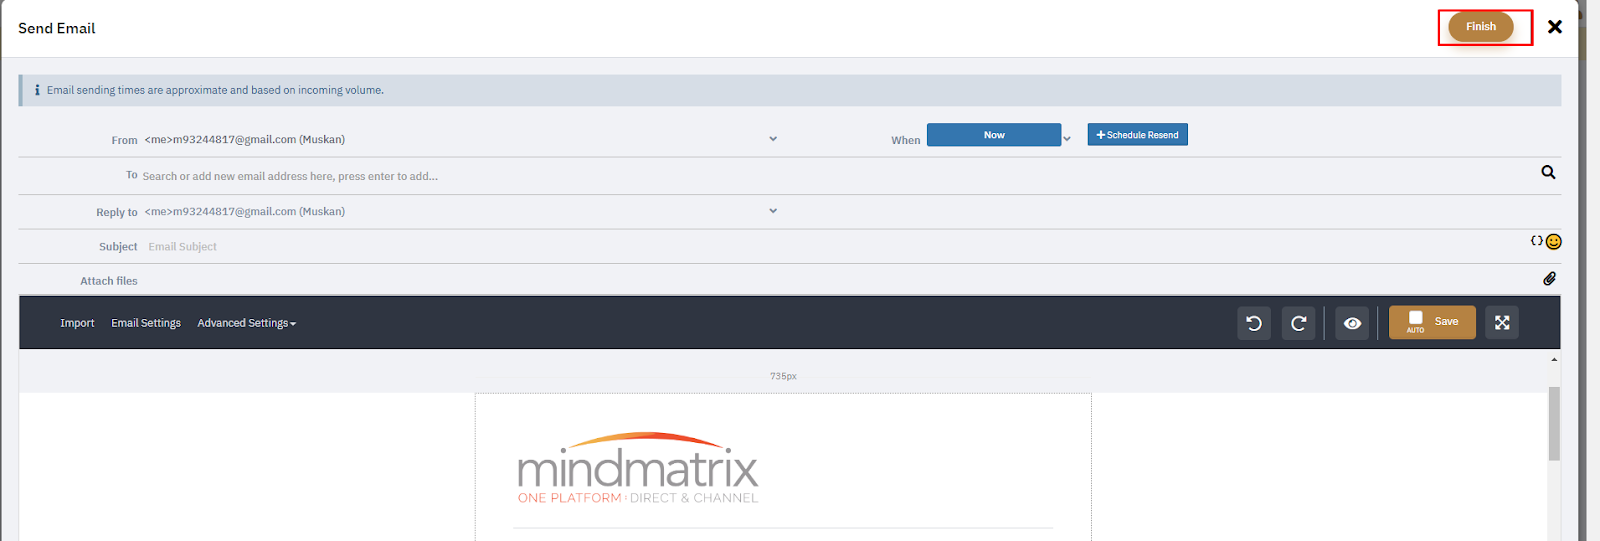
Email: The user can select the “Email” option to send the asset via email.
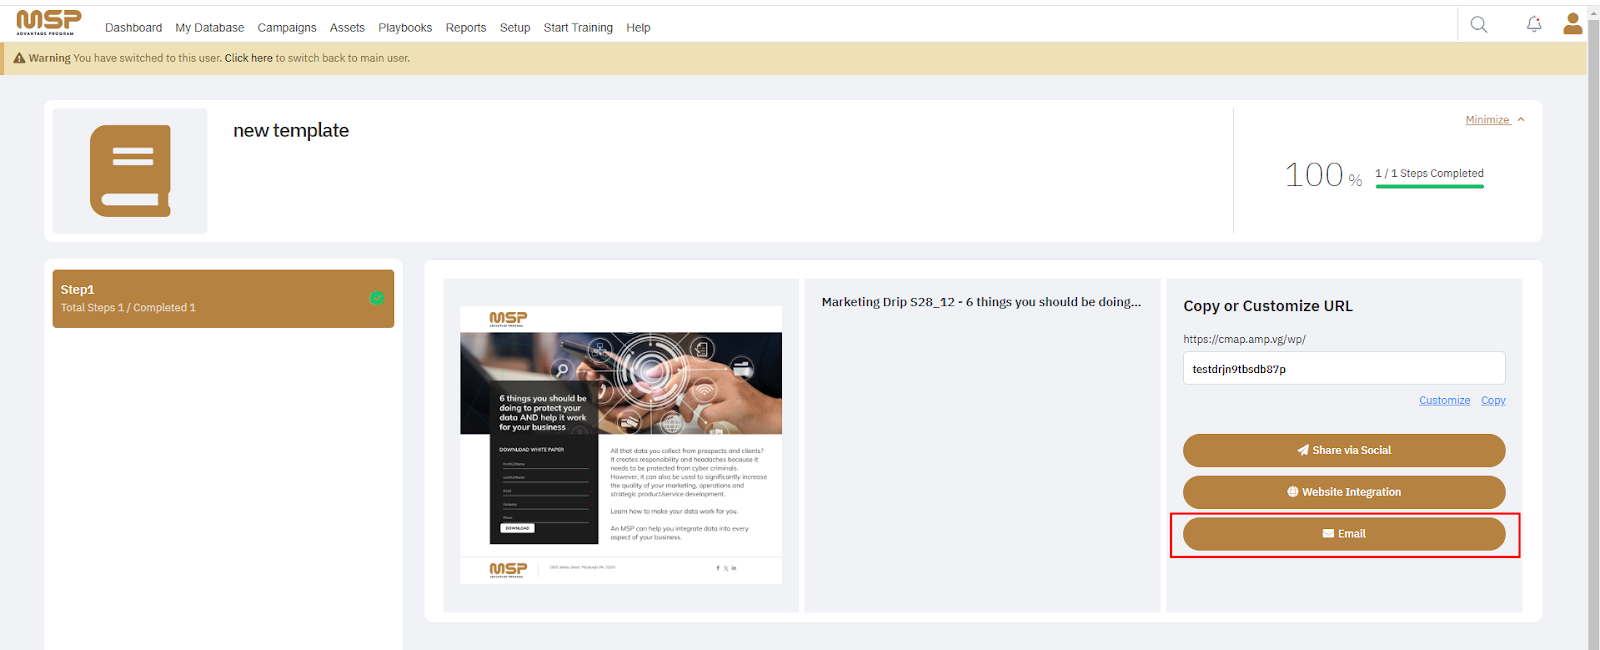
Before the email is sent, the user can:
Edit the Subject line
Update the “From” and “Reply to” user selected (If permissions are granted)
Select recipients to send the email to in the “To” section
Select the options in the “When” settings to send “Now”, “Schedule” or “Save as Draft”
Select “Finish” when complete.