How do I create a SCORM-based Course?
To create a SCORM based course, go to “Set Up”, and open the “Learning Management” drop-down. Then select “Courses”. From here, and click on the “Create” button.
 Note: Mindmatrix supports only Scorm 1.2
 On the Bridge platform, clients can personalize menu navigation to better suit the specific needs of their Users. Things may be under a different part of your navigation bar depending on your settings and customization. Contact your platform administrator, Support Team or Consultant for further assistance if you can’t find the selection noted.
When the “Select Course Type” prompt appears, select “Import SCORM Package” and then click “Go”.
In the “Info” section, give your template a name, description, apply any relevant filters, and then click “Next”.

Optional information fields:
A. Language: Select the default localization language for this template
B. Description: add any relevant explanatory notes and comments
C. Valid From, Valid To, and Expiry Reminder: set an expiration date for your template
D. Filters and Filter Category: add search filter tags
In the settings tab, select a Thumbnail for your playbook, and then click “Next” again.
Settings:
A. Select gallery thumbnail image
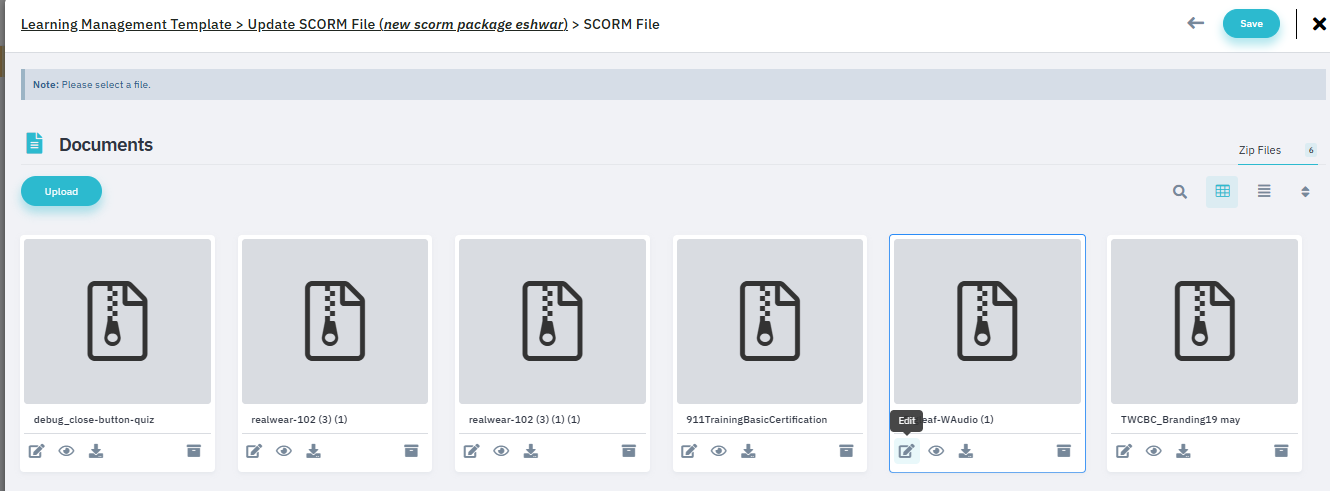
In the “Choose File” section, select a SCORM zip file from your document gallery, or upload a zip file directly from your hard drive. When you have made your selection, move to the “Sharing” section.
In the "Sharing" section, use the sliders to determine which users and groups will have access to your course, and then click “Finish”.
 For more information about template sharing settings, see How do I share a single asset template with Users, Groups, and/or Organizations?
The SCORM compliant course will then appear in the “Courses” gallery.
Replace SCORM File in Existing Courses
 Overview
A new enhancement allows users to replace the SCORM file associated with an existing course. This eliminates the need to recreate a course when updating SCORM content, supporting efficient version control.

Steps to Replace SCORM File
Option 1: From the Editor Page
Navigate to the course and click the Edit icon.
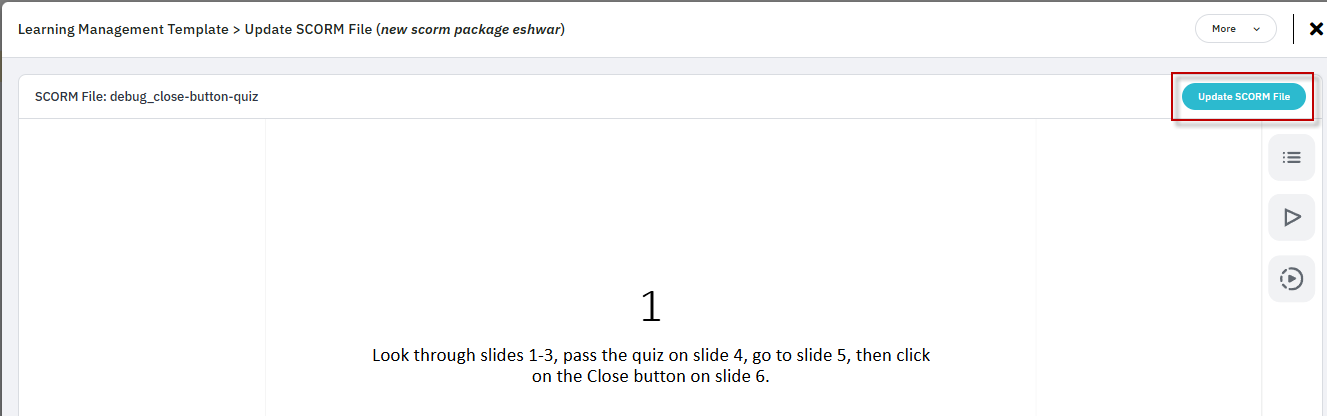
On the editor screen, click the Update SCORM File button.
Upload the new SCORM package to replace the existing one.


Option 2: From the “More” Dropdown
Click the More menu next to the course.
Select Update SCORM File.
You'll be redirected to the editor where you can upload the updated SCORM package.


Conclusion
This feature enhances course maintenance efficiency by allowing version-controlled updates to SCORM content without recreating the course structure.
Related Articles
How can I create a list that segments users by LMS (courses, curriculum, scorm) activity?
The learning management system in Mindmatrix provides courses, curriculum and scorm based testing and certification for users. In order create lists of users based on their LMS related activities, you can create a user-based smart list to segment ...Course Catalog v 5.0 preview
Below are changes coming to the course catalog in Mindmatrix after May of 2025. Banner and stats We've introduced a new banner you can personalize with a title and description. This contains access to a tab that will show widgets for: Total Courses ...How do I use LMS (learning management system) in Mindmatrix?
This article will cover the new Learning Management System feature available through Mindmatrix. This new system will allow you and your team to build new and engaging content (such as print, web, certifications, etc) that can be distributed through ...How can I streamline user engagement by Incorporating Course and Curriculum Activity Status?
Introduction: This article presents a demonstration of a recent enhancement focusing on the integration of Course Activity Status and Curriculum Activity Status into user lists, user drip campaigns, and user scoring. The primary objective is to ...How to create a Solution Management?
Feature: The Solution Management feature is designed to facilitate the sharing of solutions among various vendors within the company. This functionality supports many-to-many interactions between Solution Providers and different Vendors within the ...