How do I create or edit an Email Template?


Creating a New Email Template

If possible, make a Copy of that template to use for editing instead.
Feature Update: Localization of Copied Email Templates
A new feature has been introduced to simplify the localization of email templates by enabling automatic translations during the template copying process.
Steps to Localize Email Templates:
Access the Email Template:
Navigate to the Email Templates section in the system.
Initiate the Copy Process:
Click on the ‘Copy’ button for the email template you wish to localize.
Choose Language for Localization:
A dropdown menu labeled ‘Choose Language’ will appear.
Select the desired language from the dropdown.
Note: If ‘No Translation’ is selected, the copied template will remain in the original language.
Translation Notice:
A note below the dropdown informs you that the translation is generated using a third-party tool and may contain some inaccuracies.
Finalize the Copy:
Click ‘Go’ to proceed.
The system will create a localized version of the email template with translated text.

 Skip to step Step 8 if you are editing an already created email template


Editing an Email Template
- User - pulls from that User’s profile
- Company - pulls from the overall company profile
- Contact - pulls from the contact on the receiving end
- Drag an object where you’d like to place it
- A yellow highlight will color the placement block
- Click the ^ < v > arrows to place the Smart Object below, above, left or right of the yellow highlighted block
- Click the to replace the block highlighted
- Double click on an image block after dropping it into the template
- Pick from Gallery to use an already uploaded image, or upload a new image OR map to a responsive input that will pull in branding
- Change the size of the image container, alt text, image alignment within container, and border
- Link an image to an internal asset or external URL
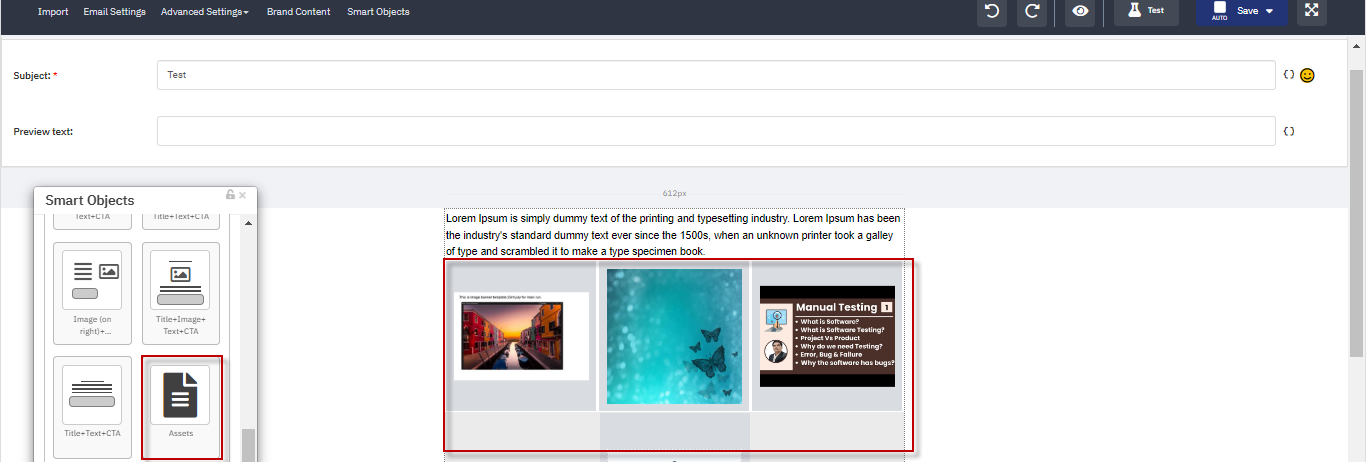
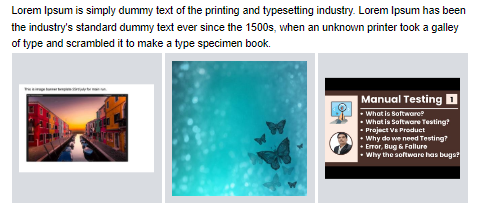
A new smart object called "Asset" has been added to the email editor under the Advanced Objects section. This feature allows you to incorporate various assets into your email templates, enhancing their content and visual appeal.
- Access the email editor.
- Navigate to the Advanced Objects section.
- Locate and select the new "Asset" smart object.
- Insert the Asset object into your desired location within the email template.
- Once added, you can select from different types of assets to include.
- You can add multiple assets to a single email template as needed.
Tips for Using Assets
- Consider the relevance of each asset to your email's content and purpose.
- Ensure that the assets you choose complement your email's design and don't overcrowd the template.
- Test your email template with different asset combinations to find the most effective layout.
Related Articles
How do I edit the email templates in an Email Drip Campaign?
Along with editing and creating email campaigns individually, by template you can also edit the email templates already in a drip from the Email Drip Campaign editor. This helps streamline your edits so you're not switching back-and-forth between ...How can I lock content in an email template to prevent other users from changing it?
If you need to control your brand, using the lock feature can allow you to take and maintain control over what other users are allowed to change in any emails you share with them. Use the locking feature in order to prevent key attributes from being ...How do I create a poll?
For information on how to access and use the landing page editor, see: How do I create landing page web templates? Inserting a poll into a webpage template: In the landing page template editor, click on the “Add Object” drop-down and select “Poll”. ...How do I send a one-off email to contacts?
1. Click on Campaigns > Email > Email Sends. Once the page has loaded, select "Compose" If you are a Corporate User in the Channel or Enterprise program, you can further select, “Contacts” to send an email to leads, or “Users” to send an email to ...How do I use the email director?
The email director tool will allow you to send emails on behalf of multiple users at once, as long as those users have opted-in to the process. The email director is a permissions-based setting that is only available if an admin has configured it ...