How do I co-brand a print template?
Accessing the print template editor
Setup > Asset Management > Templates
Print > "Create" or select a print template thumbnail card to edit.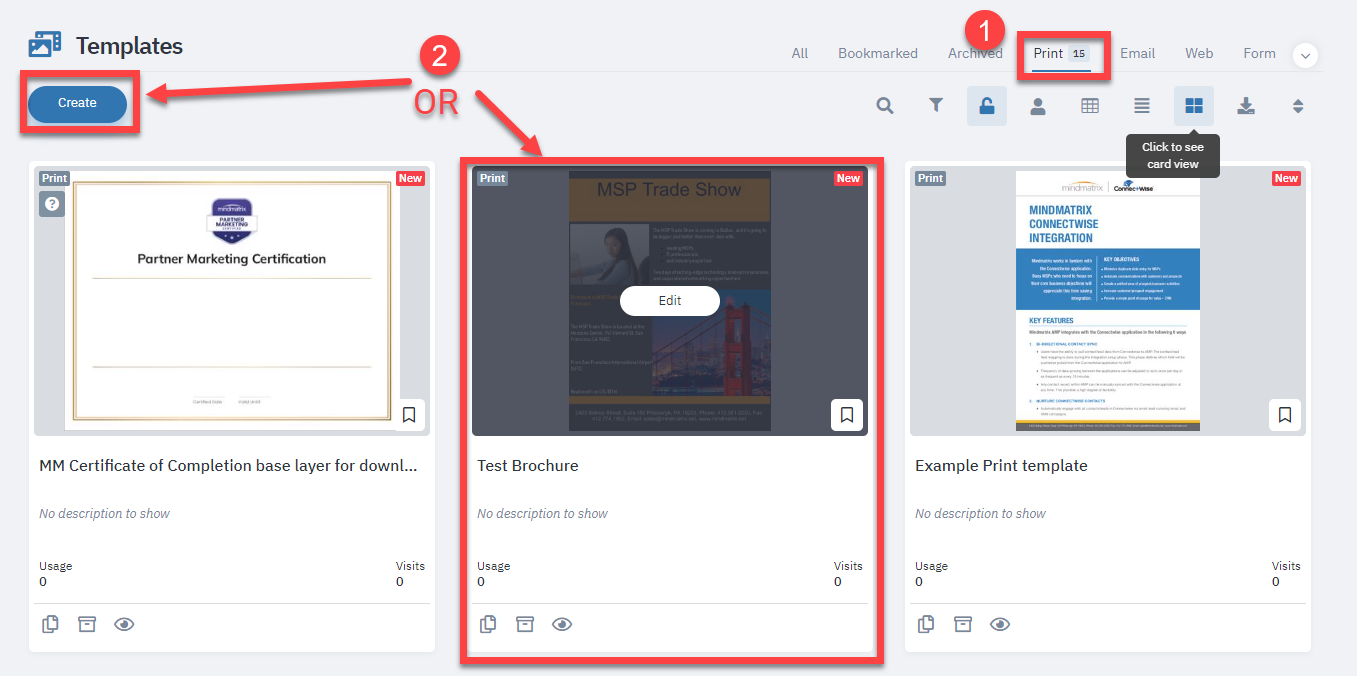

For more information on how to create a new print template, visit this article.
Co-branding an image
Method 1
Double-click on the image to open the image properties menu, select a variable from the "Map Image To" drop-down menu, and then click "Save".
Method 2
Click on the image, click on the show/hide property toggle to set the Image Object menu to visible, click on the on the "Map to field" option, and then select a variable.
Co-branding Text
Click on the text block where you want to add cobranded text.
Set your cursor where you want the co-branded text to appear, and then click on the field chooser icon.
Use the tabs to select between automatic personalization based on user, company, or contact/recipient data. Then select a personalization variable type. After that, use the "field type" personalization drop-down menus to generate your cobranding/personalization code, and then click "Save".
Format the text as you would any other text element, and then click "Save" to exit the text editor.
Previewing your work
You can check how your cobranded elements might look by clicking on the preview icon.