For Channel and CorePRM Programs: How to create a co-branded asset and give partners access

Step 1: Create the asset
Go to Setup > Asset Management > Templates
Select the type of asset you’d like to create on the left column under “Folder” and click “Create”
Use the following how to articles to create an asset based on type:
Step 2: Add dynamic partner co-branding and contact information
- Add dynamic partner branding and/or personalization (contact information) to your asset
- Add the partner’s logo:
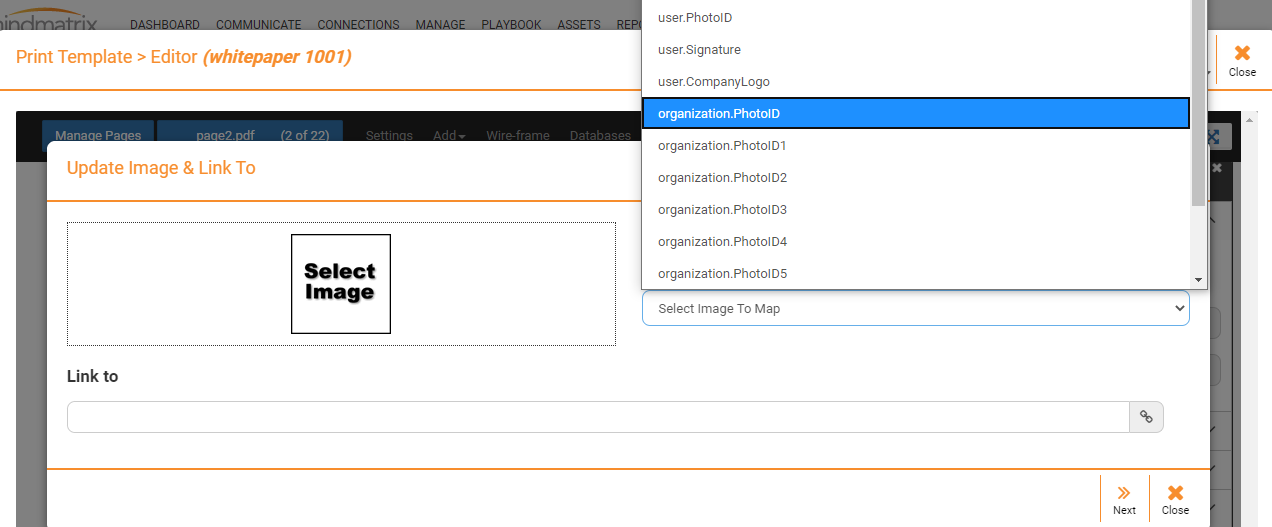
- Click to add an image object.

- Select the drop down next to “map to” and select “organization.photoID”.
Note: Your partners are all setup in their own organizations under your company. Their logo will be placed in the organization photo field. This will then dynamically update when they generate the asset on their end with the logo from their organization profile.
Here’s a how to article for print.

Add the partner’s contact information:
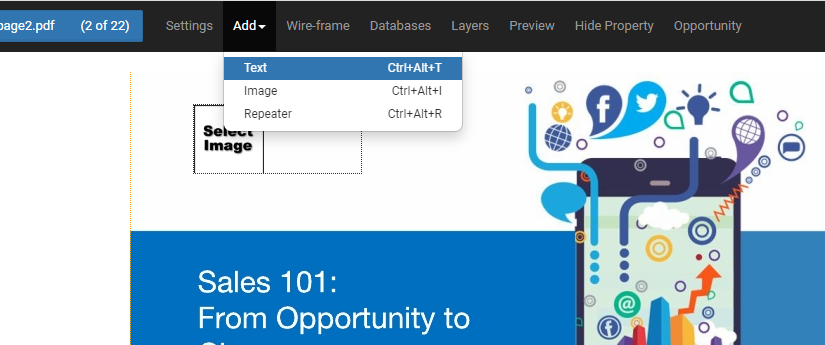
Click to add a text object.
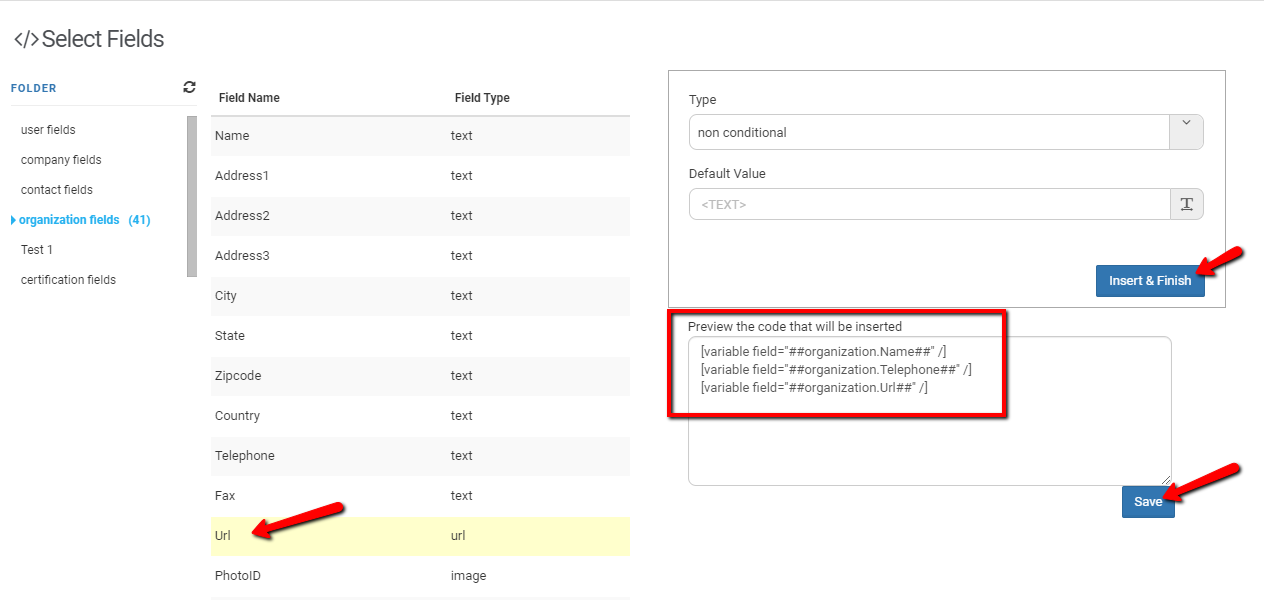
Select the “field chooser” icon.
For partner’s contact information, you have 2 options “User” variables or “Organization” variables.
User: Insert the partner’s individual user contact information from their user profile
Organization: Insert the partner’s company level or main office contact information from their organization profile

Insert the variables you’d like to appear in the asset dynamically (such as: ##organization.name## ##organization.url##). When you are done, click save.

Here’s an example of how to add variables to an email template.
Make sure to click “save” as you go, so you don’t lose your work.
Step 3: Share the asset to your partners
For guidance on how to share an individual template: How do I share a single asset template with Users, Groups, and/or Organizations?
For guidance on sharing multiple templates at once: How do I share multiple asset templates at once with Users, Groups, and/or Organizations?
Related Articles
What types of assets should I be considering for the launch of my partner portal?
Setting up the right assets in your partner portal can ensure the success of your resellers. As you get started with this process, we've put together a short guide for you to think through the needs of your portal to increase your chances of a ...How do I create a list that segments Users by Engagement Status for a given activity? (For Channel Program Admins)
User Smart Lists are great tools to dynamically segment users based on their attributes or actions. You can also use Smart Lists to send notifications to other Users or to yourself. If you are a channel manager admin, you can utilize the user smart ...How do I create landing page web templates?
In order to use a landing page, you need to publish the landing page template into "Output" mode. You can learn more about using landing pages in Output mode here: How do I use landing pages? 1. To create a landing page, you will need to utilize a ...How do I View My Asset Library?
Your asset library contains many pre-constructed content packs ranging from Emails to Blog Posts to Playbooks to help enable your sales and marketing teams. You also have the ability to create and upload your own content that can be used within the ...How do I setup asset configuration tabs and categories?
It is possible to personalize navigation menus within Mindmatrix software. If you are unable to navigate to the correct page, contact your platform administrator. Asset Configuration will set up the search features in Assets > View Assets page. How ...